Article Summary
- Understanding causes of ceiling stains
- Materials needed
- Step by Step guide to repairing and painting ceiling stains
- Frequently asked questions
With all the rain we've been getting lately in Massachusetts and Northern Connecticut, it's no surprise that many homeowners are starting to notice unsightly water stains on their ceilings. Such stains can be an eyesore, but don’t worry—you don’t have to live with them forever. Whether you're a DIY enthusiast, a homeowner looking to spruce up your space, or a seasoned renovator, this guide will walk you through the steps to effectively paint over water-stained ceilings.
Understanding the Cause
Water stains on ceilings are generally caused by leaks or excessive moisture. The source could be a leaky roof, plumbing issues, or even condensation from an attic or poorly ventilated bathroom. Identifying and fixing the underlying problem is crucial before addressing the cosmetic repair. Ignoring the source of the moisture can lead to recurring stains, as well as mold growth and structural damage over time. Once the cause is resolved, you can move on to preparing the ceiling for repainting.
Step-by-Step Guide to Painting Over Water Stains
Tools and Materials Needed
Before you start, make sure you have all the necessary tools and materials to complete the job effectively. Here's a list to get you started:
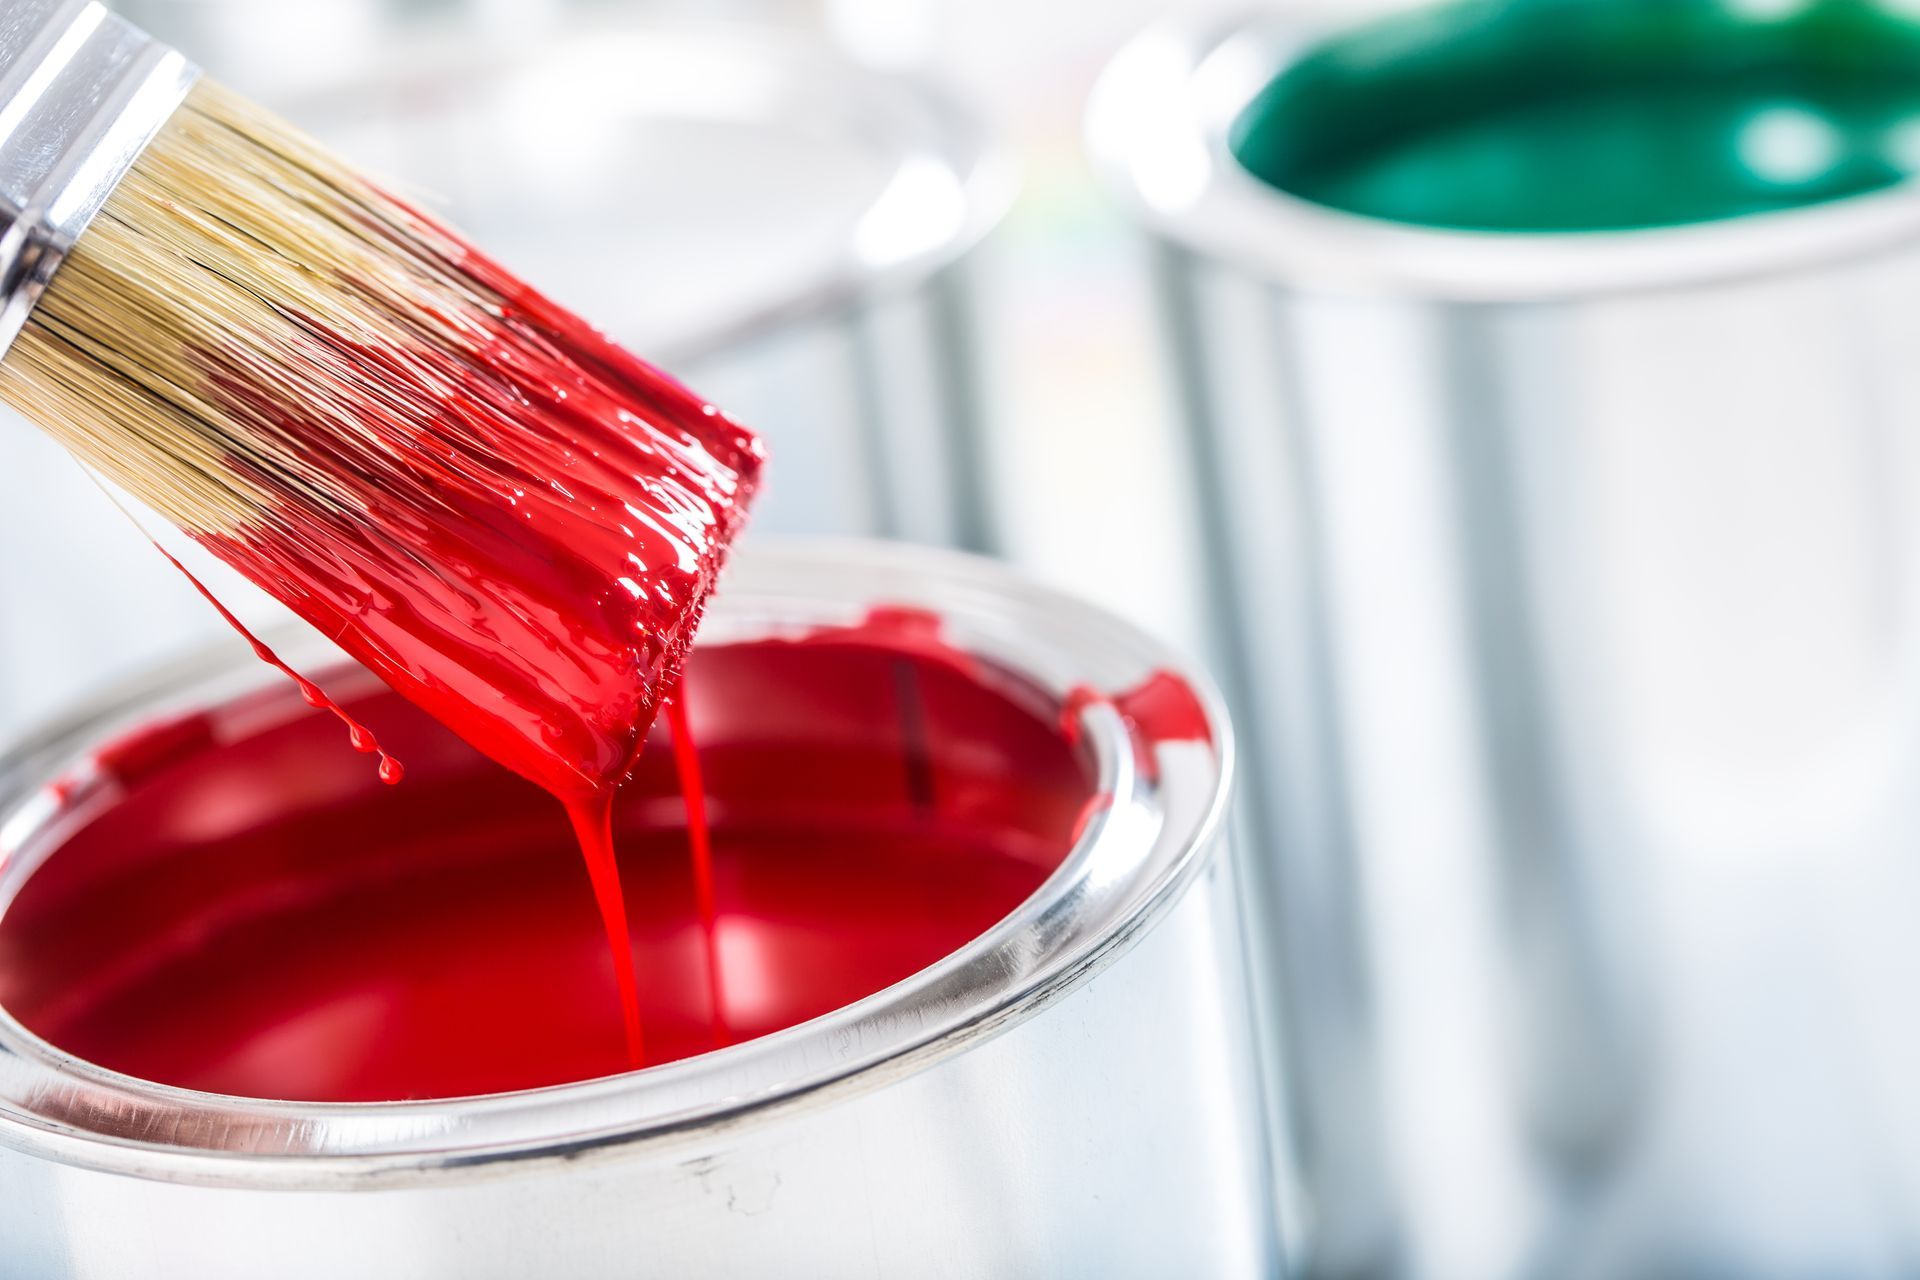
- Stain-blocking primer
- Ceiling paint (matching your existing ceiling color)
- Paintbrushes and rollers
- Painter’s tape
- Plastic sheeting or drop cloths
- Sandpaper (medium to fine grit)
- Cleaning supplies (mild detergent, water, and sponge)
- Ladder or step stool
- Mask and goggles
- Protective gloves (optional)
Step 1: Identify and Repair the Source of the Water Damage
Before you begin painting, it's critical to identify and fix the source of the water damage to prevent future stains and potential structural issues. Start by thoroughly inspecting the area above the stained ceiling. If the stain is located under a roof, check for any missing shingles, damaged flashing, or clogged gutters. For stains below a bathroom or kitchen, inspect the plumbing system for leaks in pipes, joints, or fixtures. Condensation issues may require improved ventilation in spaces like attics or bathrooms.
Once you've pinpointed the source, proceed with the necessary repairs. This might involve patching up the roof, tightening or replacing plumbing components, or installing ventilation fans. Ensure that the area is completely dry before moving forward; you can use fans or dehumidifiers to expedite the drying process. Only after the source of moisture is thoroughly addressed should you proceed to the next steps of cleaning and priming the stained area.
Step 2: Remove any Mold Issues and Ensure the Area is Completely Dry
Once the source of the water damage has been repaired, it's essential to address any mold that may have developed on the stained ceiling. Mold not only poses health risks but can also prevent paint from adhering properly to the surface. Begin by inspecting the stained area for any signs of mold, which often appears as black, green, or brown spots.
When dealing with mold, always wear a mask, goggles, and protective gloves to safeguard yourself from inhaling spores or coming into contact with mold. Use a mixture of mild detergent and water, or a commercial mold cleaner, to scrub the affected area. For stubborn mold, a solution of one part bleach to three parts water can be effective, but be sure to ventilate the area well when using bleach.
After cleaning, rinse the area thoroughly with clean water and allow it to dry completely. Using fans or a dehumidifier can help speed up this process. It's crucial that the ceiling is entirely dry before priming and painting; any remaining moisture can cause the stain to reappear and compromise your paint job. Once dry, you're ready to move on to the next steps of sanding and priming.
**It's important to note that some mold issues may not be fully resolved using commercial mold cleaners and may require more extensive intervention. In cases where mold has deeply penetrated into materials like drywall, insulation, or wood, these materials may need to be replaced entirely to ensure proper remediation. Additionally, all mold removal should ideally be handled by a certified mold removal specialist to ensure thorough and safe elimination, as improper handling can lead to further health risks and contamination.**
Step 3: Sand and Prime the Stained Area
Once the stained area is completely dry, the next step is to prepare the surface for painting by sanding and applying a stain-blocking primer. Sanding the area helps to smooth out any rough patches and provides a better surface for the primer and paint to adhere to. Use medium to fine grit sandpaper to gently sand the stained area, being careful not to damage the ceiling surface. Wipe away any sanding dust with a clean, damp cloth.
After sanding, apply a stain-blocking primer to the stained area. This type of primer is specifically designed to seal stains and prevent them from bleeding through the new paint. Use a paintbrush or roller to apply the primer evenly, ensuring full coverage of the stained area. If necessary, apply a second coat of primer for added protection against stubborn stains. Allow the primer to dry completely according to the manufacturer's instructions before moving on to painting the ceiling.
Properly priming the stained area is a crucial step in achieving a professional and lasting finish. It not only blocks the stain but also helps the topcoat adhere better, resulting in a more even and durable paint job. Be patient and thorough in this step, as it sets the foundation for the final appearance of your ceiling.
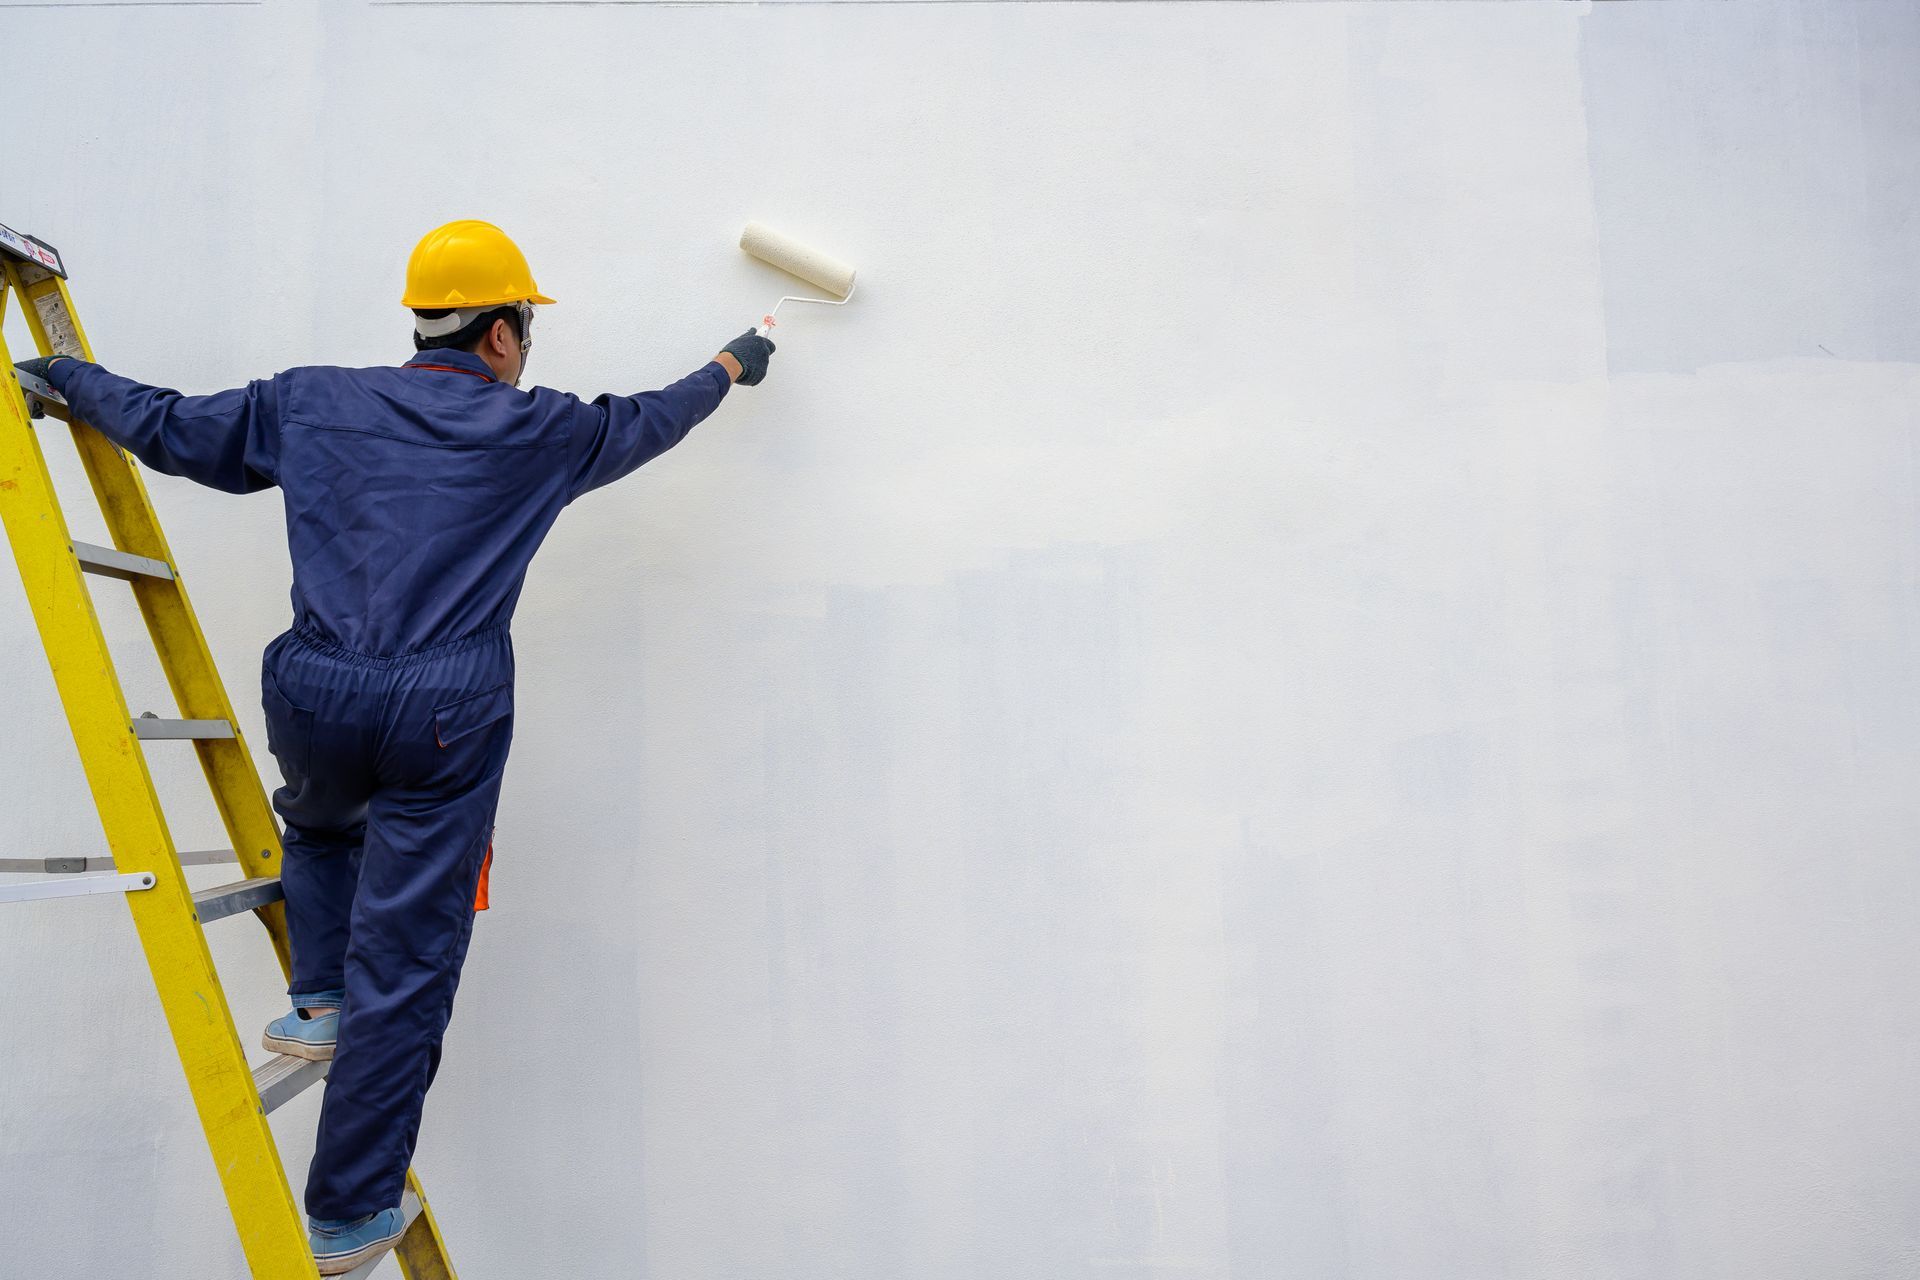
Step 4: Paint the Ceiling
Once the primer has dried completely, you are ready to paint the ceiling. Begin by selecting a high-quality ceiling paint that matches the color of your existing ceiling. Using a paintbrush, carefully cut in around the edges of the ceiling, taking care to create clean lines along the walls and any fixtures. For the rest of the ceiling, use a roller with an extension handle to apply the paint in even, overlapping strokes. This ensures a smooth and uniform finish.
Start painting near the edges and work your way toward the center of the room, holding the roller at a slight angle to help distribute the paint evenly. Allow the first coat to dry according to the manufacturer's instructions before deciding if a second coat is necessary. A second coat is often recommended to ensure full coverage and a professional finish, particularly if the water stains are severe. Once satisfied with the coverage, allow the final coat to dry completely.
Remember to remove any painter's tape and protective coverings once the paint has dried. Clean your brushes and rollers promptly to preserve their lifespan for future projects. With the ceiling now painted, your room will look refreshed and free of unsightly water stains, bringing back a clean and polished appearance to your space.
Consider Hiring Professional Painters
While DIY projects can be fulfilling and cost-effective, sometimes leaving the work to the professionals is the best option, especially when dealing with extensive water damage and ceiling repairs. In such cases, hiring painters in East Longmeadow or other experienced Western MA painters can be a wise decision. Professional painters not only have the skills and tools necessary to ensure a flawless finish but also bring valuable expertise in handling unexpected complications that might arise during the process.
Professional painters are well-versed in the nuances of surface preparation, from meticulously sanding and priming to selecting the right type of paint that ensures durability and a seamless match with your existing ceiling. They understand how to address underlying issues such as persistent mold or structural damage, which might be beyond the scope of a typical DIY enthusiast. Furthermore, professional painters save you time and effort, allowing you to focus on other important tasks, knowing that your ceiling is in capable hands.
Frequently Asked Questions (FAQ)
Expert Painters in Western MA and Northern Connecticut: Pioneer Painters
At Pioneer Painters, we offer a complete range of painting services to cater to all your needs, whether it's for your home, business, or any commercial property. We provide interior painting, exterior home painting, professional commercial painting services and more. Whether you're searching for a painter in Enfield, CT, or painters in Springfield, MA, Pioneer Painters is here for you with a team of experienced and skilled painting professionals who are passionate about delivering high-quality results.
Contact us today at (413) 798-4088 or get a fast online quote today!
Recent Blogs

Get A Fast Quote Online
Have a painting project you need a quote for? Submit a fast and easy quote request online