Article Summary
- General painting tips for painting over wood stain
- Painting over different types of surfaces and how
- Tips for a successful paint job
- FAQ
Transforming interior wood through painting can breathe new life into your living space, elevating your home's aesthetic without the need for costly renovations. Whether you're looking to refresh old furniture, trim, or doors, the right approach to painting can make all the difference. This guide will walk you through essential tips and techniques to achieve a stylish, durable finish that showcases your style while ensuring your wood surfaces' longevity. Let's explore how a splash of color can turn the ordinary into the extraordinary.
How to Paint Over Stained Wood: General Tips to Follow
Prepare the Surface
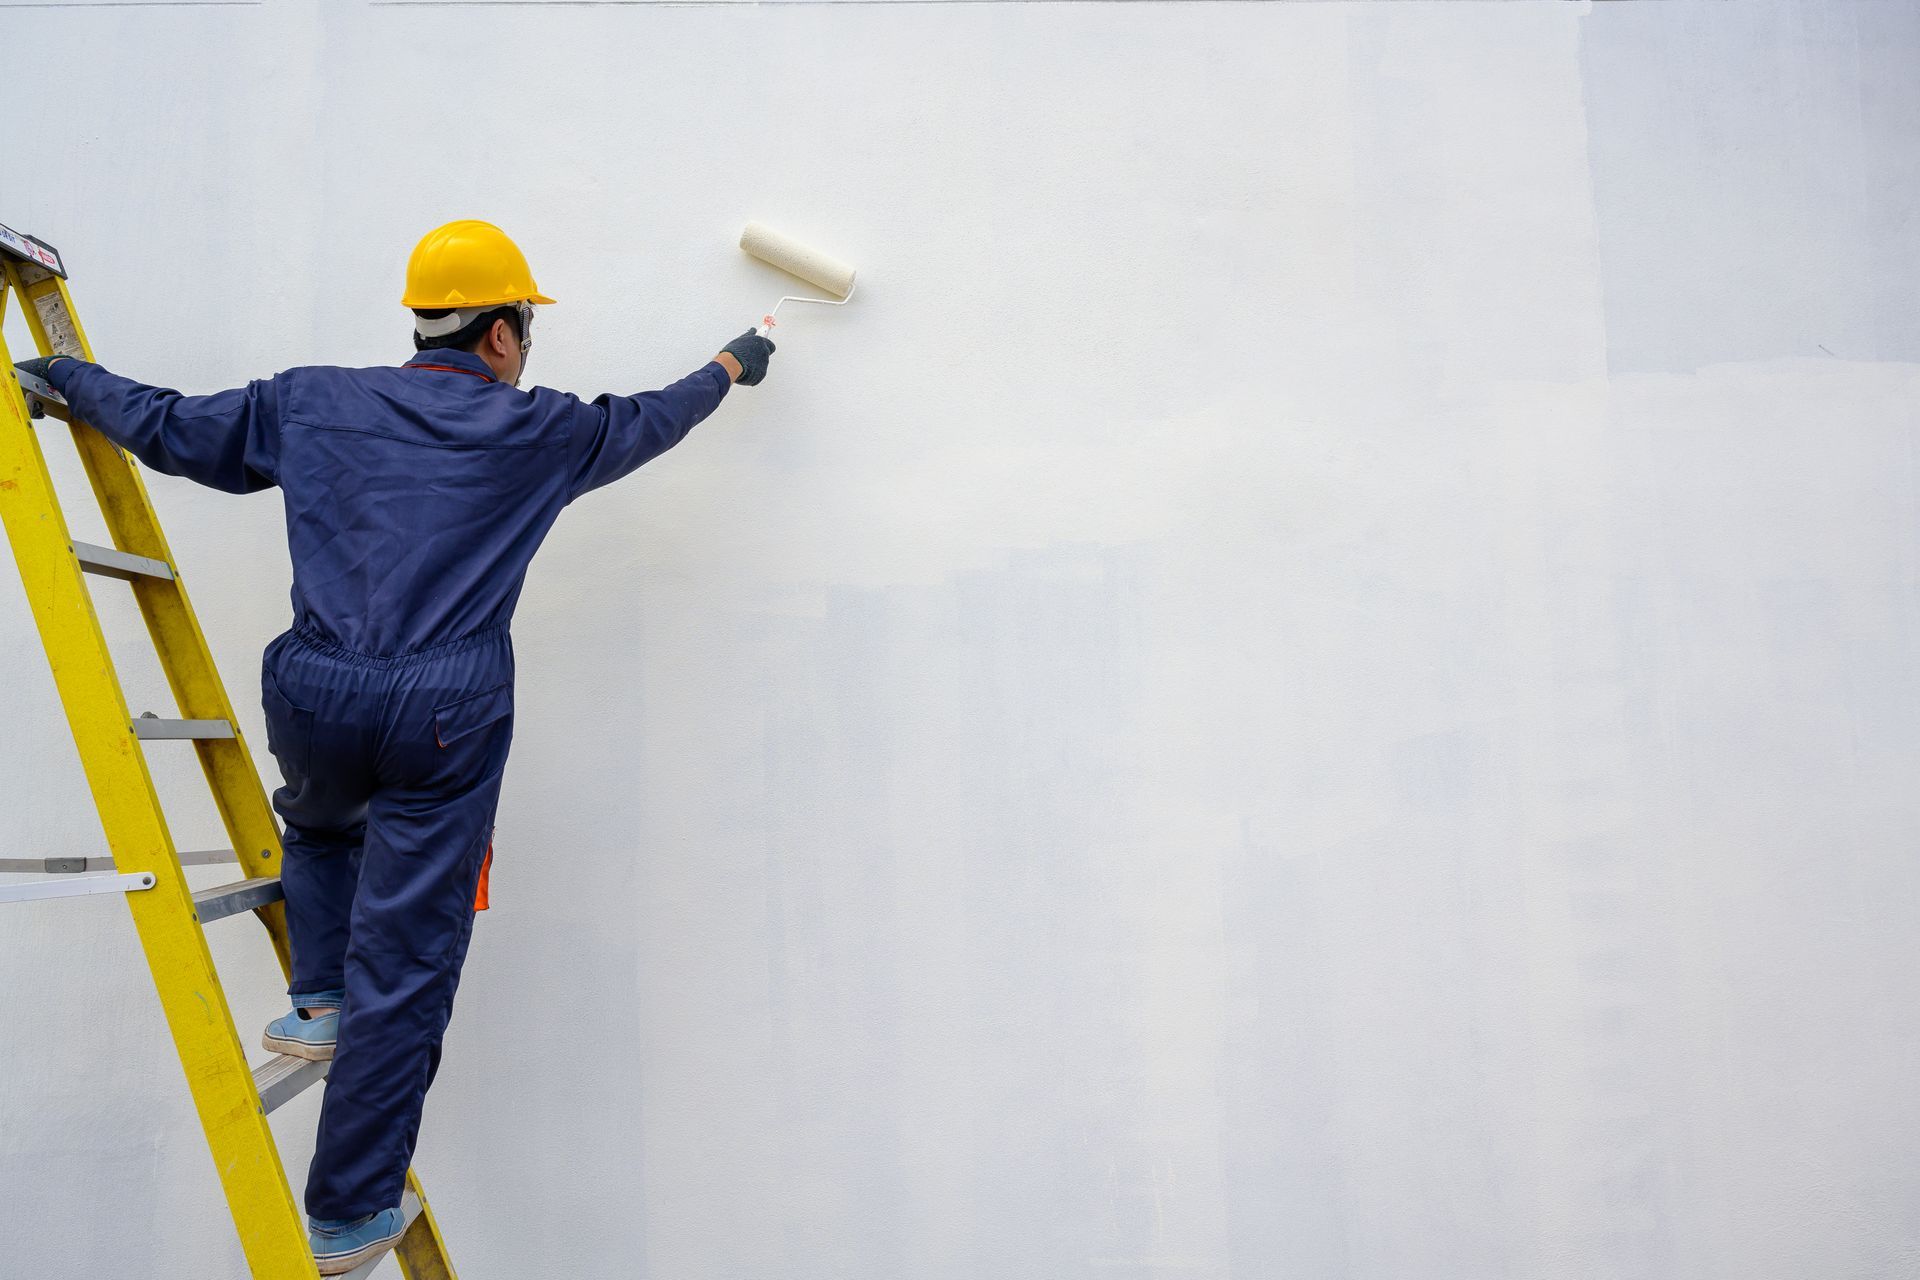
Before you can start painting, it's crucial to properly prepare the stained wood surface. Begin by cleaning the wood thoroughly to remove any dust, dirt, and oils that could interfere with paint adhesion. Use a mild detergent solution and a soft cloth to wipe down the wood, then let it dry completely. Next, lightly sand the surface using fine-grit sandpaper to create a slightly rough texture, which helps the paint adhere better. Be sure to sand in the direction of the wood grain to avoid scratches and irregularities. After sanding, remove any sanding dust with a tack cloth or a vacuum designed for fine particles. This meticulous preparation ensures a smooth base, setting the stage for a flawless paint job.
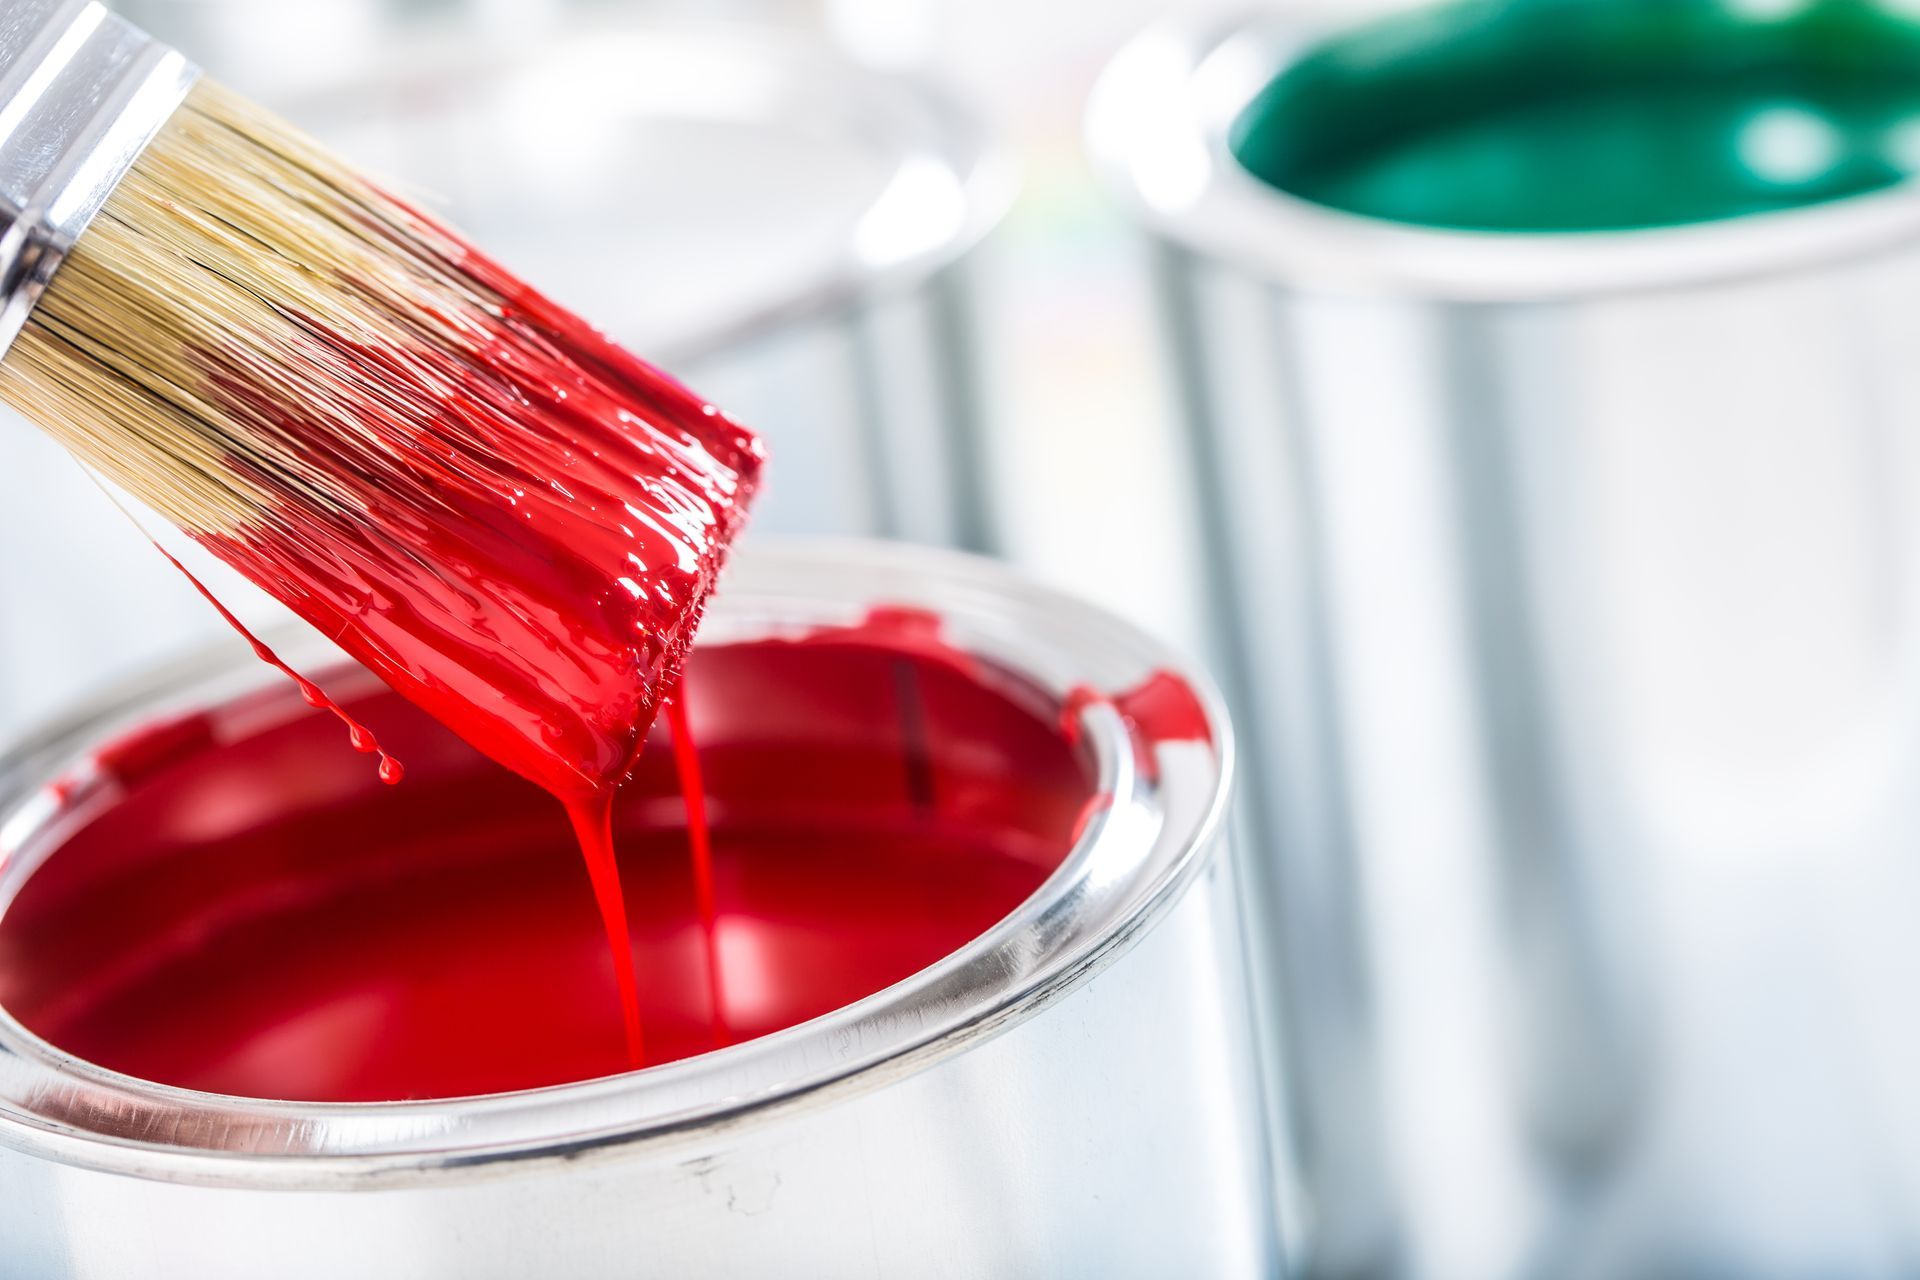
Choose the Right Paint and Primer
One of the most critical steps in painting stained wood is choosing the appropriate type of paint and primer. Since stained wood contains a natural, protective finish, it's essential to use a high-quality primer to ensure proper adhesion of the paint. A water-based primer is recommended for interior wood surfaces, as it dries quickly and has less odor. When it comes to paint, consider using a high-quality latex or acrylic-based paint that is specifically formulated for wood surfaces. These types of paint provide excellent coverage, durability, and color retention, making them ideal for interior wood projects.
Apply Multiple Thin Coats
When painting over stained wood, it's essential to apply multiple thin coats of paint rather than a single thick coat. Thin coats help to prevent drips, brush marks, and uneven coverage, resulting in a smooth and professional-looking finish. It's also important to let each coat dry completely before applying the next one. This may take longer, but it ensures that the paint bonds properly with the wood surface for long-lasting results.
Tips for Painting Different Types of Interior Wood
How to Paint Stained Doors
Painting stained doors is a great way to update your interior decor and add a pop of color. To achieve a flawless finish, remove the door from its hinges and lay it flat on a work surface. Sand the surface lightly, then wipe it down with a damp cloth. Next, apply primer using a high-quality brush or roller in smooth, even strokes. Once dry, lightly sand the primed surface and wipe it down again. Finally, apply two to three thin coats of paint, allowing each one to dry completely before adding the next.
Painting Stained Trim
Stained trim adds elegance and character to a room but can also become dull or outdated over time. To give your stained trim a fresh new look, start by cleaning the surface and lightly sanding it to remove any imperfections. Next, apply a quality primer followed by multiple thin coats of paint. Be sure to use a small brush for intricate areas and a roller for larger surfaces for the best results.
Refreshing Stained Furniture
Painting stained furniture can instantly transform its appearance while also providing an extra layer of protection against wear and tear. Begin by cleaning and lightly sanding the surface, then apply a high-quality primer specifically designed for furniture. Once dry, use a brush or roller to apply multiple thin coats of paint, allowing each one to dry completely before adding the next. For extra durability, consider applying a clear topcoat for added protection.
How to Paint Over Stained Railings
Painted railings can add a touch of sophistication to interior staircases and balconies. To paint over stained railings, start by cleaning the surface and lightly sanding it to remove any gloss or rough patches. Next, apply primer followed by multiple thin coats of paint in your desired color. When painting intricate areas such as spindles, use a small brush for precision and a roller for larger surfaces.
Additional Tips for a Successful Paint Job
Maintaining Your Painted Wood
Once you've successfully painted your interior wood, proper maintenance is key to preserving its pristine look. Regular cleaning with a soft, damp cloth will help keep dust and dirt at bay without damaging the paint. Avoid using harsh chemicals or abrasive pads, which can cause the paint to chip or wear prematurely. Additionally, consider applying a fresh coat of clear polyurethane every few years to protect the paint from daily wear and tear. This protective layer will help maintain the vibrant color and smooth finish, ensuring that your interiors remain stylish and polished for years to come.
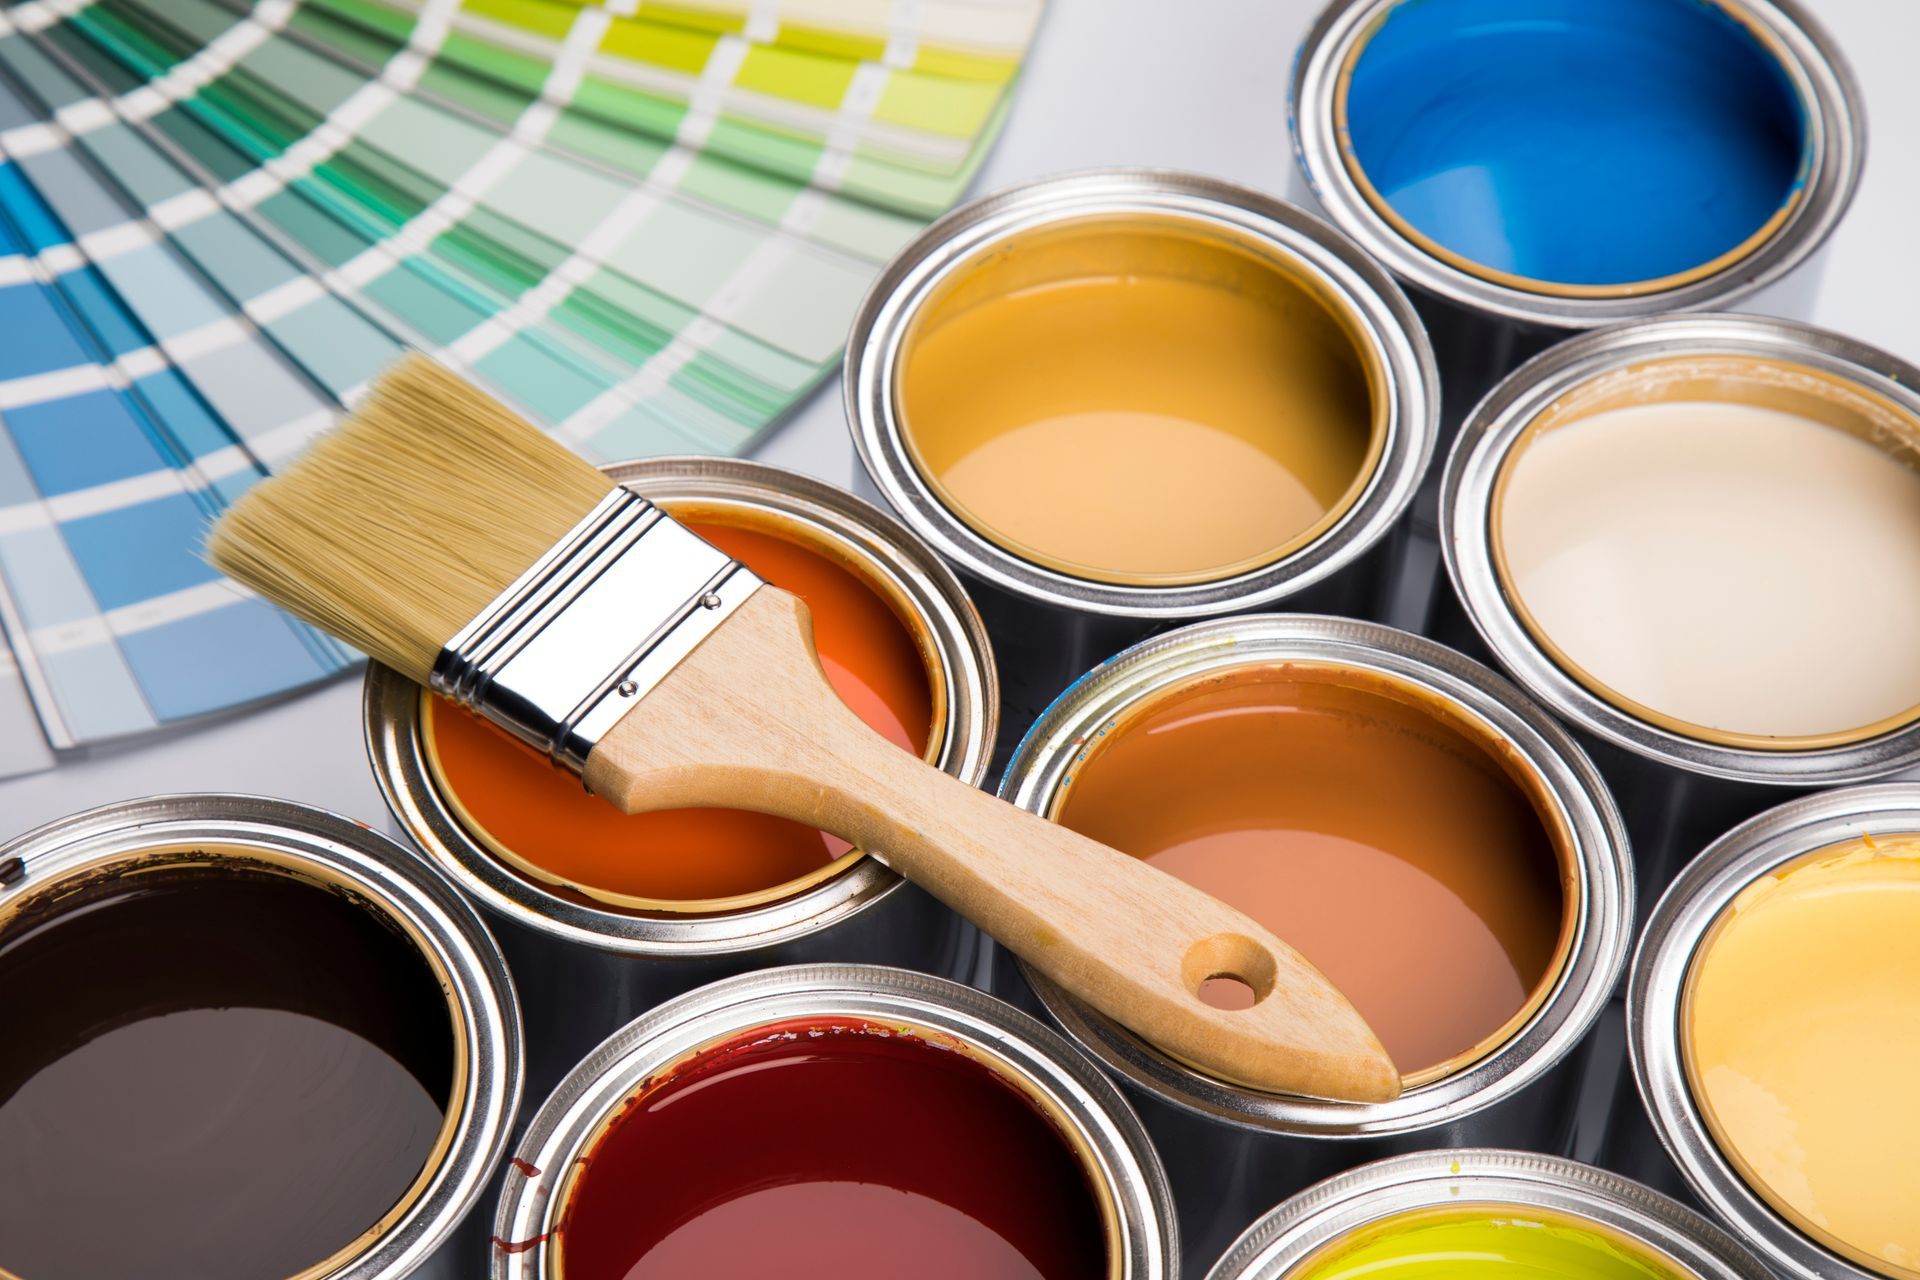
Experiment with Colors and Finishes
Don't be afraid to get creative with your painted wood surfaces! Experimenting with different colors and finishes can add personality and character to any room. Consider using a high-gloss finish for modern, bold look, or opt for a matte finish for a more subtle and sophisticated vibe. You can also try adding stenciled patterns or using multiple colors for a unique and eye-catching design. The possibilities are endless, so have fun and let your creativity shine through!
Use Quality Tools and Materials
Investing in quality tools and materials can make a significant difference in the outcome of your painting project. High-quality brushes, rollers, and painter's tape ensure smooth and even application, reducing the likelihood of streaks, drips, and uneven coverage. Additionally, using top-grade primers and paints will provide better adhesion, durability, and color retention, ultimately leading to a more professional finish. While these tools and materials may come at a higher cost, the results will be well worth the investment, yielding a beautifully painted surface that stands the test of time.
Conclusion
Painting over stained wood requires careful preparation and the right techniques to achieve a flawless finish. By following these tips, you can transform your interior wood surfaces from stained and outdated to stylish and modern. Remember to choose high-quality materials, apply multiple thin coats, and be patient in between each coat for the best results. With some time, effort, and creativity, you can easily breathe new life into your living space with a fresh coat of paint. So, get ready to unleash your inner artist and add a pop of color to your stained wood surfaces!
Contact Pioneer Painters Today
Ready to transform your space with a professional touch? Pioneer Painters are your trusted residential and commercial painting experts, proudly serving Western MA and Hartford County, CT. Our experienced team is dedicated to delivering high-quality craftsmanship, ensuring your wood surfaces receive a stylish and durable finish that stands the test of time. Whether your looking for painters in Enfield, CT or expert painters in Springfield, MA, Pioneer Painters has you covered. Contact us today for a free consultation and let us help you achieve your dream interior with our professional painting services.
Frequently Asked Questions (FAQ)
Recent Blogs
Get A Fast Quote Online
Have a painting project you need a quote for? Submit a fast and easy quote request online