Over decades, homes naturally settle or encounter foundation issues, often leading to a visible line in your drywall. These imperfections, particularly bulging drywall seams, can be an eyesore and affect the overall appearance of your walls. These bulging seams become really noticeable with larger entry ways and vaulted ceilings, where the light can hit them at certain angles and cast a shadow.
While these seams can be frustrating, the good news is there are ways to fix them and restore the smooth walls in your home.
Causes of Bulging Drywall Seams
Identifying the Root Causes
Before proceeding with repairs, it's crucial to identify what led to the bulging of the drywall seams. Generally, this issue can stem from several factors, each requiring a tailored approach to fix effectively. The most common causes include:
- Improper Installation: One of the primary reasons for bulging seams is the incorrect installation of drywall. This may involve insufficient securing of the drywall sheets to the framing, improper taping, or inadequate application of joint compound. Over time, these oversights can lead to seams that are not flush with the wall's surface.
- Moisture Damage: Exposure to moisture is another significant factor that can compromise the integrity of drywall. Water from leaks, high humidity levels, or flood damage can seep into drywall, causing it to swell and create bulges along the seams. Continual exposure to moisture can also lead to mold and mildew issues, exacerbating the problem.
- Structural Movement: Homes settle over time, and this natural process can lead to slight movements in the structure. Such movements can strain drywall seams, leading to bulging or cracking. In areas with extreme temperature fluctuations, the expansion and contraction of building materials can further accentuate this issue.
- Poor Quality Materials: Using inferior quality drywall or joint compound can also contribute to bulging seams. Low-quality materials may not withstand the typical stresses placed on them and can deteriorate faster than expected.
Understanding the specific cause of your bulging drywall seams is essential for choosing the appropriate repair method and preventing future occurrences. This diagnostic step ensures that any fixes applied are both effective and durable, paving the way for smooth, flawless walls.
Repairing Bulging Drywall Seams
Skim Coating: A Solution for Settling drywall seams
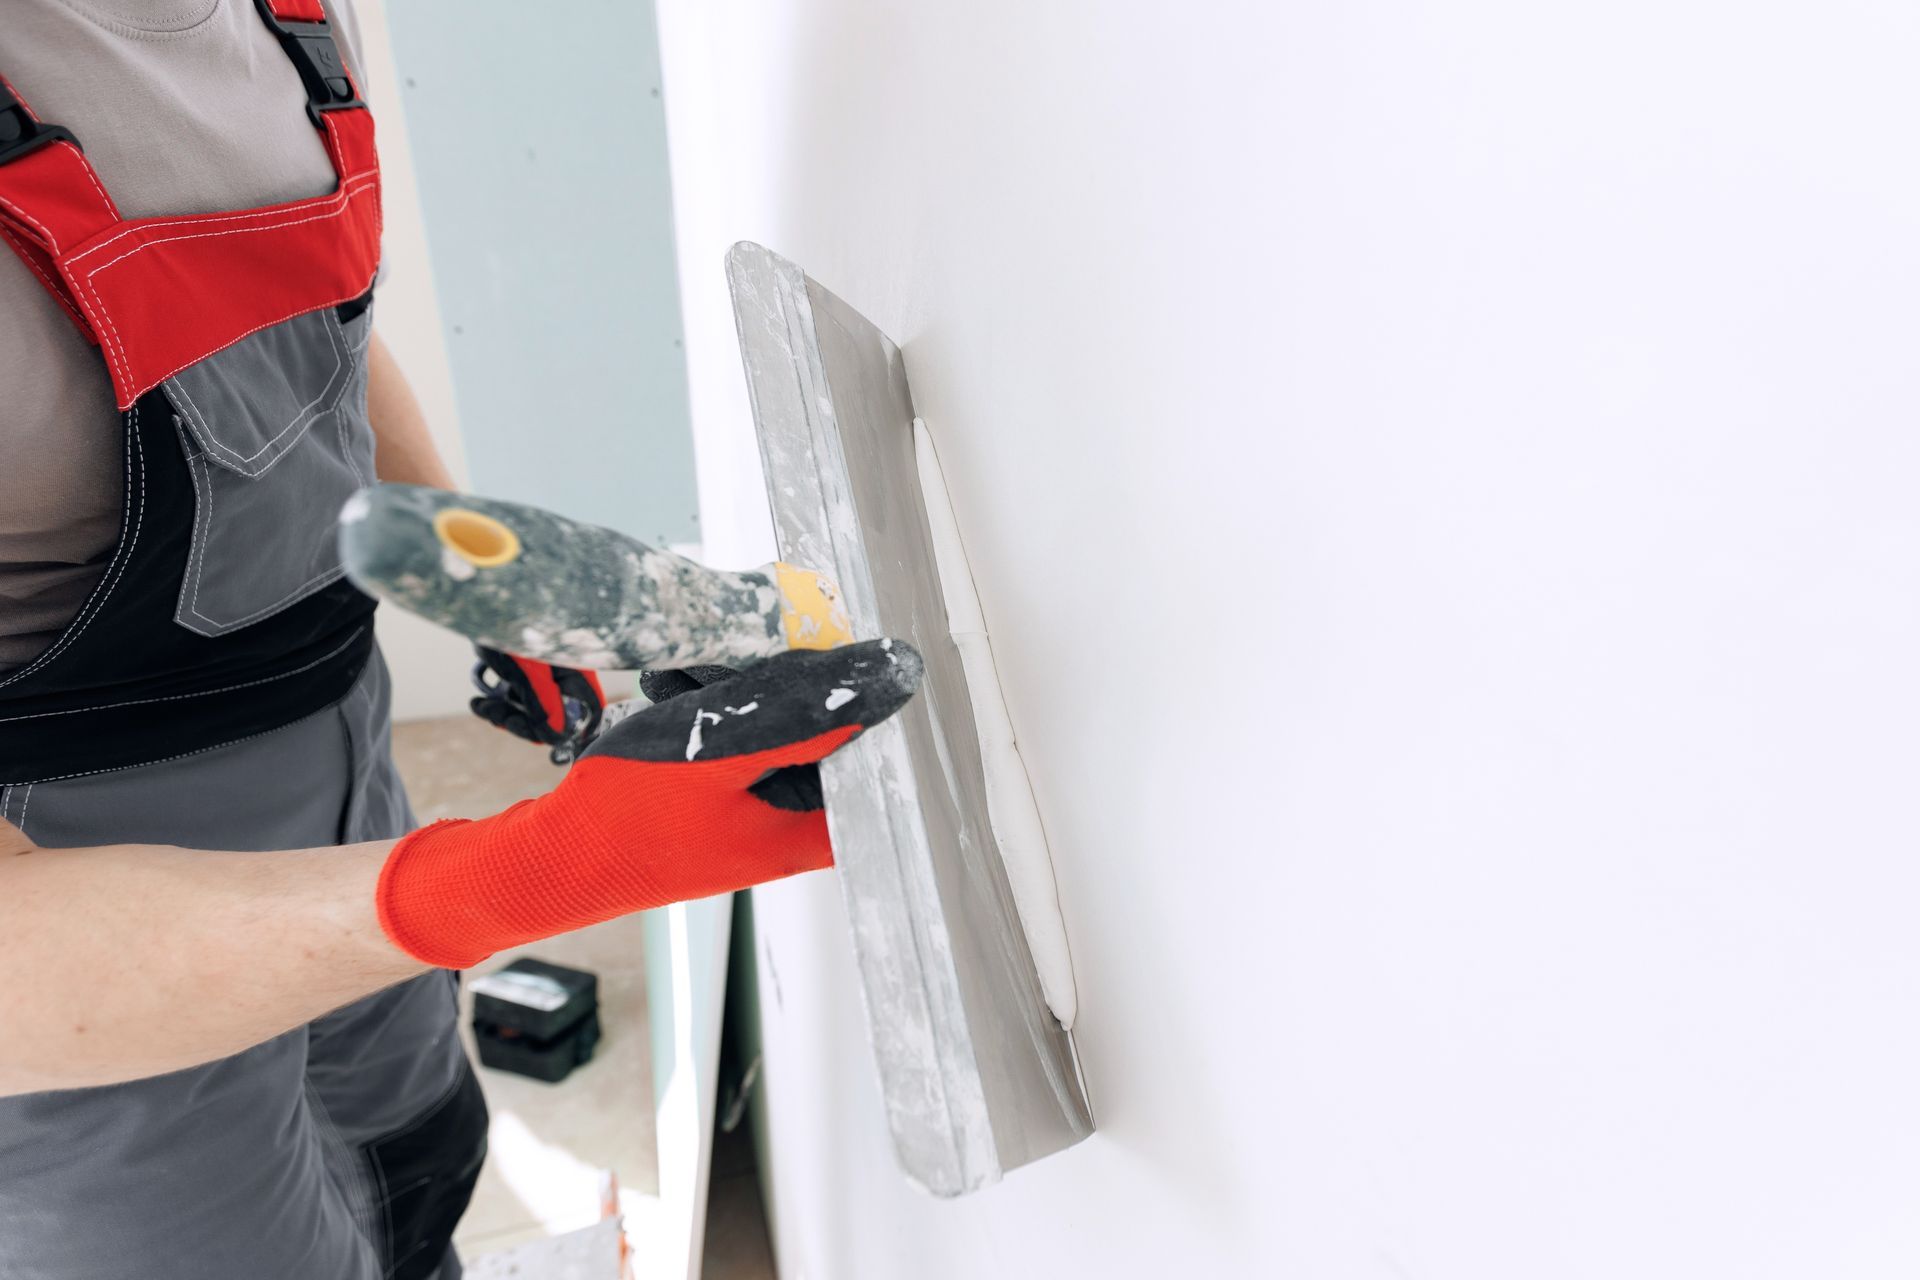
Skim coating is a highly effective technique for addressing bulging drywall seams, ideally recommended for your local painting company or drywall professional. This method involves applying a thin layer of joint compound over the entire wall surface, including the seams. The main goal is to create a smooth, uniform texture that disguises any imperfections, bulges, or unevenness.
Steps for Skim Coating
- Preparation: Begin by ensuring the wall is clean and free from dust, grease, or any loose material. For better adhesion, lightly sand the surface around the bulged seam.
- Mixing the Joint Compound: Prepare your joint compound according to the manufacturer's instructions. For skim coating, the compound should have a slightly thinner consistency than normal but still be thick enough to stick to the wall without dripping.
- Application: Using a drywall knife or trowel, apply the joint compound over the bulging seam and surrounding area. Spread the compound thinly across the wall in smooth, even strokes. Aim for a thin layer, about 1/8 inch thick. If you're new to skim coating, you might find it easier to work in small sections.
- Smoothing: After the first layer is applied, smooth it out as much as possible with your drywall knife. Don't worry about getting it perfect, as skim coating usually requires multiple layers.
- Drying and Sanding: Allow the compound to dry thoroughly. Depending on humidity levels, this can take anywhere from a few hours to overnight. Once dry, lightly sand the area to remove any ridges or high spots.
- Repeat: For best results, apply at least two to three layers of joint compound, sanding lightly between each layer. Each subsequent layer should be applied more thinly, helping to blend the repaired seam into the surrounding wall surface effortlessly.
Finishing Touches
Once you're satisfied with the smoothness of your walls, apply a primer to seal the surface before painting. Skim coating not only conceals bulges but also creates an ideal base for a fresh coat of paint, ensuring a flawless finish.
This method, while time-consuming, is an excellent way to fix bulging drywall seams and achieve smooth, gorgeous walls that enhance the beauty of your home.
Tips for Best Results
- Patience is Key: Don't rush the drying times between coats of joint compound. Adequate drying is crucial for a durable repair. Most joint compounds that are premixed and used by most DIY'ers come with a maximum dry time of 24 hours.
- Consider Hiring a Professional: Skim coating can be challenging for beginners and may require specialized tools and techniques. Consider hiring a professional contractor to ensure
- Quality Materials: Use high-quality joint compound and drywall tape to ensure a smooth, lasting repair.
- Proper Tools: Employ the right sized drywall knives (at least 6-inch and 12-inch blades) for applying and smoothing the joint compound.
Repairing Seams Caused by Loose or Damaged Drywall
Addressing the Underlying Issues
Loose or damaged drywall can lead to significant seam issues, including bulging or cracking. This problem often arises from impact damage, water infiltration, or the natural settling process of a house. Before attempting any repairs, it's essential to address the root cause of the loose or damaged drywall to prevent the problem from recurring.
Steps for Repairing Loose or Damaged Drywall Seams
- Inspection: Carefully inspect the area around the damaged seam to identify any loose drywall. Gently press on the wall to find spots that feel less firm, indicating underlying issues.
- Securing the Drywall: If the drywall is loose but not severely damaged, it may be re-secured to the studs using drywall screws. Place screws about 6 inches apart along the stud, ensuring they are slightly countersunk to avoid protrusions.
- Cutting Out Damaged Areas: When the drywall is too damaged to be simply re-secured, cut out the affected area with a utility knife or drywall saw. Be sure to cut a section that spans from one stud to another for easier repairs.
- Installing a Patch: Cut a new piece of drywall to fit the hole precisely. Secure this patch to the studs or joists using drywall screws. Ensure the patch sits flush with the surrounding wall.
- Taping the Seams: Apply drywall tape over the seams where the patch meets the existing wall. For better durability, consider using mesh tape which offers more strength and flexibility.
- Applying Joint Compound: Cover the taped seams with joint compound, feathering out the edges to blend seamlessly with the existing wall. Allow the first coat to dry completely before applying subsequent coats.
- Sanding and Finishing: Once the final coat of joint compound is dry, sand the area smooth. Pay careful attention to transitions between the patch and the existing wall to ensure a seamless repair.
Final Preparations Before Interior Painting
Ensuring your walls are properly prepared before painting is crucial for achieving high-quality, long-lasting results. After repairing bulging drywall seams or damage, take the following additional steps to ensure your walls are ready for a fresh coat of paint:
- Thorough Inspection: Conduct a final inspection of the wall surface for any minor imperfections or areas that may have been overlooked during the repair process. Small dents, nail holes, or imperfections should be filled with spackle or a light application of joint compound.
- Clean the Walls: Dust, dirt, and grease can prevent paint from adhering correctly to the wall surface. Clean your walls with a damp cloth or sponge and mild detergent if necessary. Allow the walls to dry completely before proceeding.
- Apply a High-Quality Primer: Applying a primer is especially important when working on skim-coated walls or patches of new drywall. Primer helps to seal the surface, providing a consistent, non-porous base for the paint. It also ensures better adhesion of the paint to the wall and can help in achieving true paint color with fewer coats.
- Tape off Trim and Ceilings: Use painter's tape to protect trim, moldings, windows, and ceilings from paint drips or overspray. Ensure the tape is applied smoothly and firmly along the edges to prevent paint from bleeding through.
- Choose the Right Paint and Tools: Selecting high-quality paint and the appropriate tools (brushes, rollers, etc.) can significantly impact the finish and durability of your paint job. Consider the sheen of the paint in relation to the room's function – for example, glossier finishes are easier to clean and are ideal for high-traffic areas.
- Testing Paint Color: Before committing to painting the entire room, it's advisable to test the paint color on a small section of the wall. This allows you to see how the color looks in the room's lighting and at different times of the day.
- Ventilation: Ensure adequate ventilation in the room to facilitate quick drying and to disperse any fumes from the paint.
By carefully preparing your walls before painting, you can avoid common pitfalls and ensure a beautiful, professional-looking finish that will last for years to come.
Common Mistakes to Avoid
Avoiding certain actions can be just as important as following best practices. Here are some key mistakes to steer clear of when repairing and preparing your walls for painting:
- Do Not Over-Sand: Over-sanding the joint compound can create dips and uneven surfaces, making it difficult to achieve a smooth finish. Sand lightly, focusing on making the surface even rather than trying to make it perfectly smooth.
- Avoid Using Mismatched Paint: Applying a different type of paint over the existing layer without proper priming can result in adhesion problems, leading to peeling or flaking paint. Always use compatible paints or apply an appropriate primer between different types.
- Do Not Skip Primer: Skipping the primer, especially on new drywall or patches, can lead to poor paint adhesion, uneven color, and a lack of durability. Primer creates a uniform surface that enhances the paint's bond to the wall.
- Do Not Paint Over Dirty or Wet Walls: Painting over walls that are not thoroughly cleaned or fully dried can trap dirt or moisture under the paint, resulting in mold growth or paint failure.
- Avoid Rushing Between Coats: Allow enough drying time between coats of paint. Applying a new coat too soon can cause the previous layer to lift or bubble, compromising the paint job's overall quality.
- Do Not Neglect Room Preparation:
Failing to properly cover furniture, floors, and fixtures can result in accidental paint splatters and spills, making cleanup more challenging and risking damage to your belongings.
While aging homes can have their share of challenges, with proper techniques and patience, it is possible to repair bulging drywall seams and damage for a flawless finish. However, if you want a professional look to restore your walls to their former glory, reach out to our team at
Pioneer Painters in East Longmeadow.
Our local painting professionals can handle all your drywall repair and painting needs, leaving your walls looking as good as new. Don't let loose or damaged drywall seams ruin the appearance of your home – contact us today for a free estimate! Call us today at
(413) 798-4088 or
request a quote online. Whether you want to
paint your home in Springfield or you need a
professional painter in Suffield, CT, we've got you covered. We cover all of Western MA and Northern, CT.
Recent Blogs