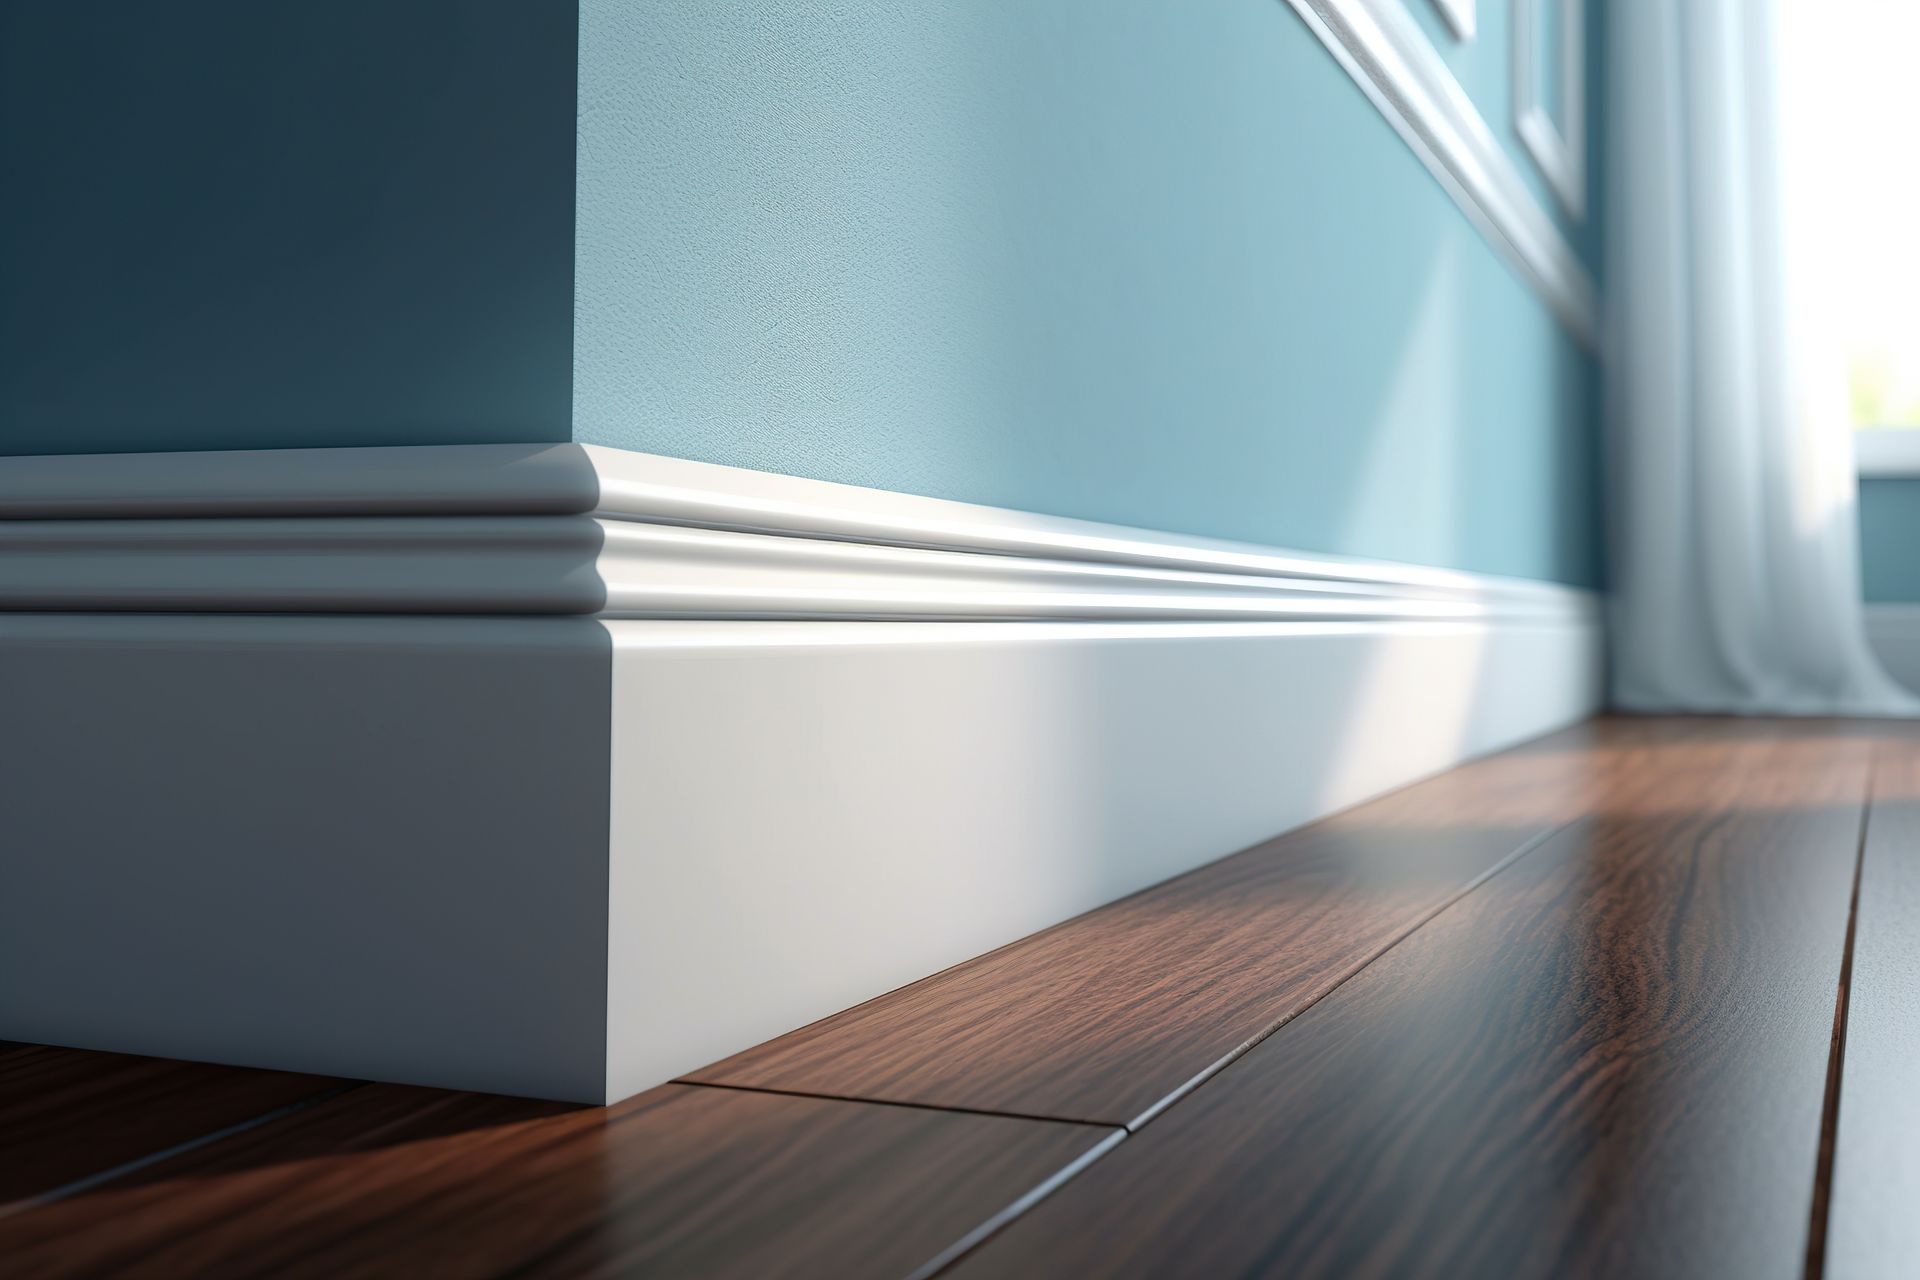
Painting trim may seem like a small detail in home improvement, but it can have a big impact on the overall look and feel of a room. Whether you're freshening up old trim or adding the finishing touches to a newly painted space, choosing the right paint type and finish is essential for achieving a professional, long-lasting result. In this ultimate guide, we’ll walk you through everything you need to know about selecting the best paint for trim, the most popular finishes, and expert tips for applying paint like a pro.
Choosing the Right Paint Type for Trim
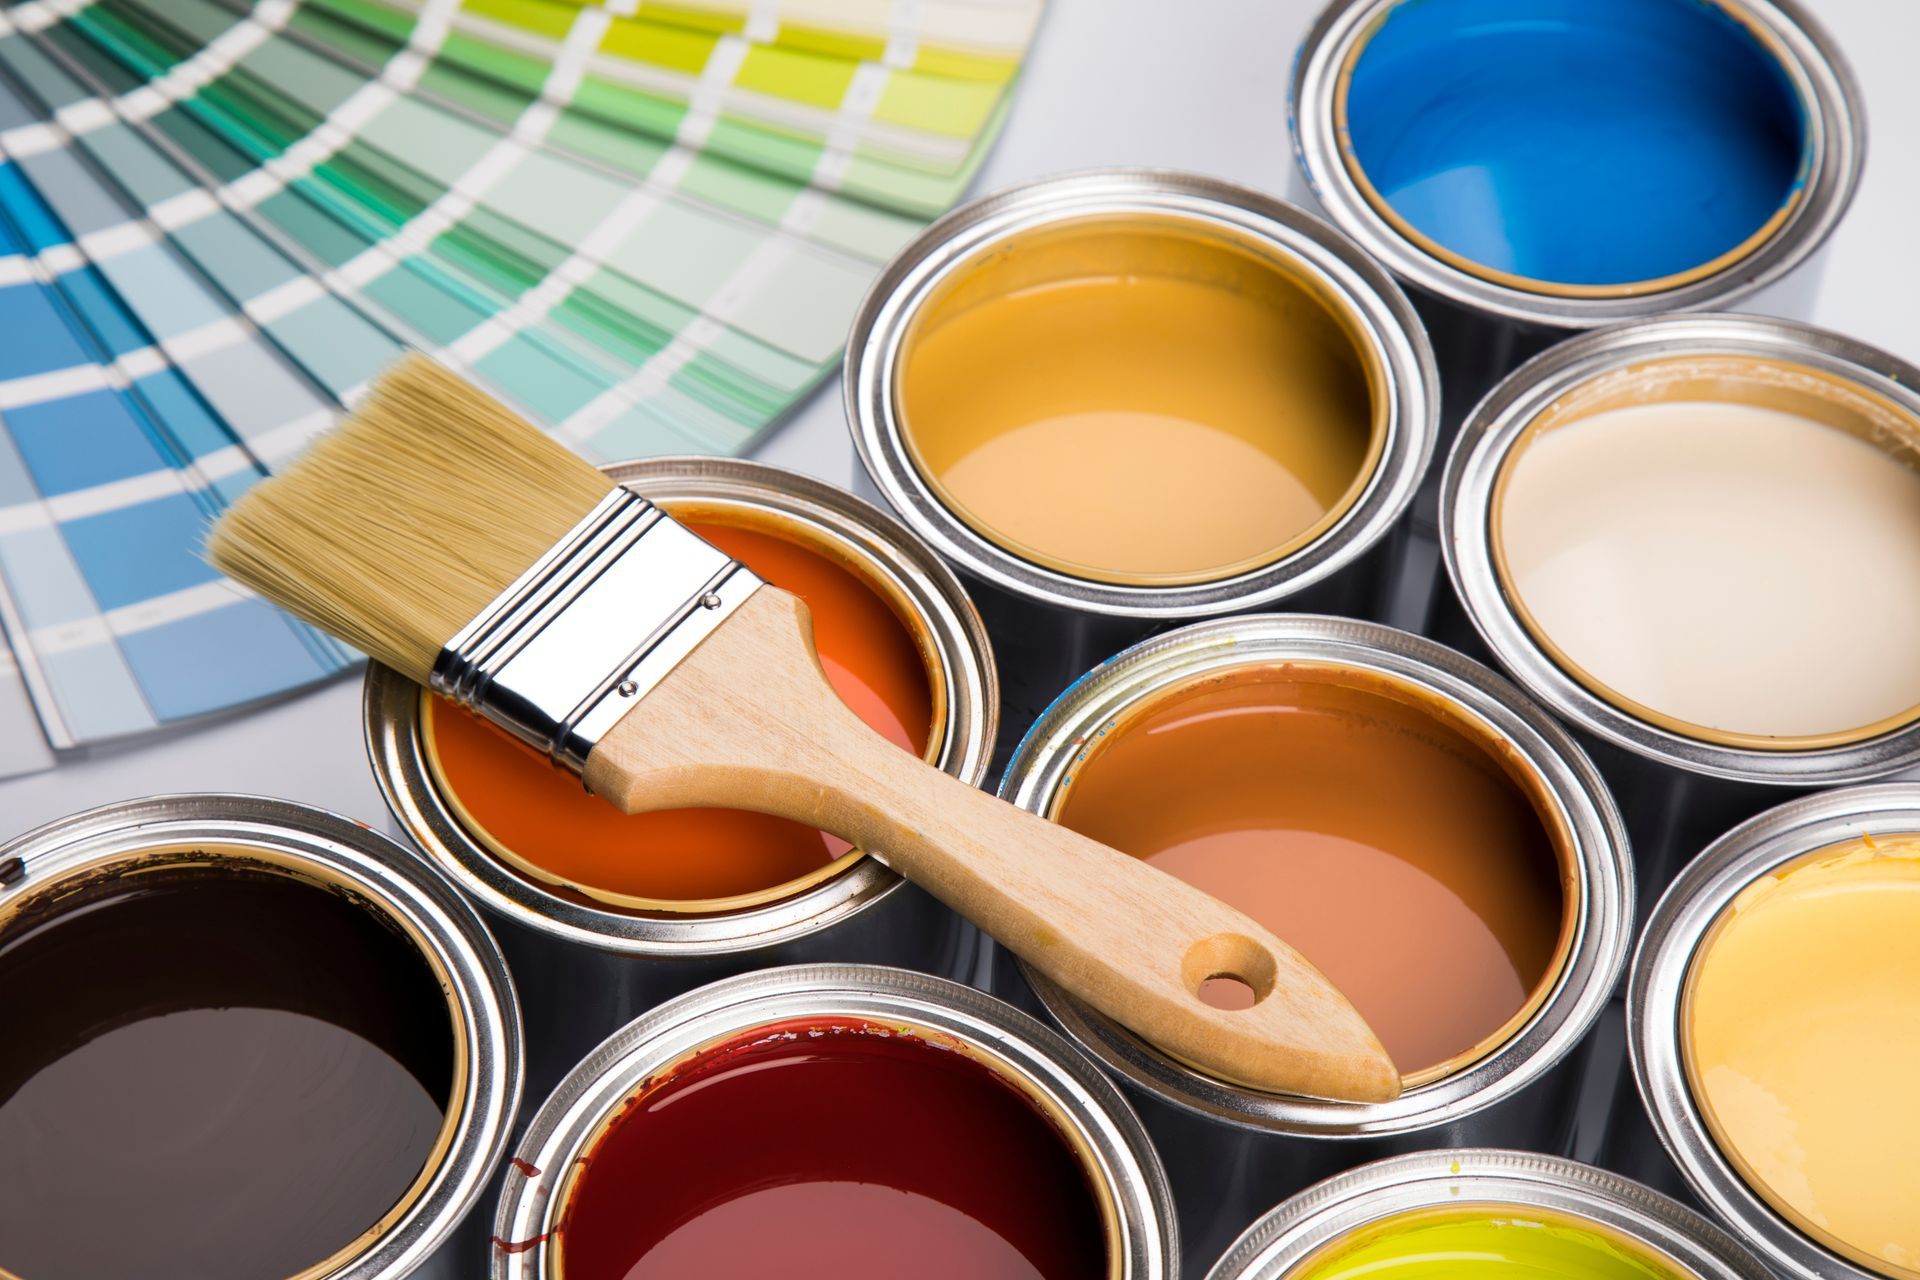
When it comes to painting trim, not all paint is created equal. The type of paint you choose will determine how durable the finish is, how easy it is to clean, and how well it stands up to daily wear and tear.
Latex Paint
- Pros: Latex (water-based) paint is a popular choice for trim because of its fast drying time, easy cleanup with soap and water, and minimal odor. It’s also more environmentally friendly than oil-based options since it has lower levels of volatile organic compounds (VOCs).
- Cons: While latex paint has improved in durability over the years, it may not be as tough as oil-based paint in high-traffic areas.
- Best For: Baseboards, crown molding, and interior trim where drying time and ease of application are a priority.
Oil-Based Paint
- Pros: Oil-based paint offers a smoother finish and better durability than latex paint. It’s highly resistant to scuffs and dents, making it ideal for trim in high-traffic areas like door frames and windowsills.
- Cons: Oil-based paint takes longer to dry and emits strong fumes. It also requires mineral spirits or turpentine for cleanup, which can be messy.
- Best For: Trim in areas that see a lot of wear, such as doorways and windows, or for a more polished, long-lasting finish.
Acrylic-Alkyd Hybrid Paint
- Pros: This hybrid paint combines the durability of oil-based paint with the easy application and cleanup of latex. It provides a durable, smooth finish while being more environmentally friendly than traditional oil-based options.
- Cons: Hybrid paints can be more expensive, and you may still need to use specialty brushes for the best results.
- Best For: Homeowners who want the durability of oil-based paint with the convenience of latex.
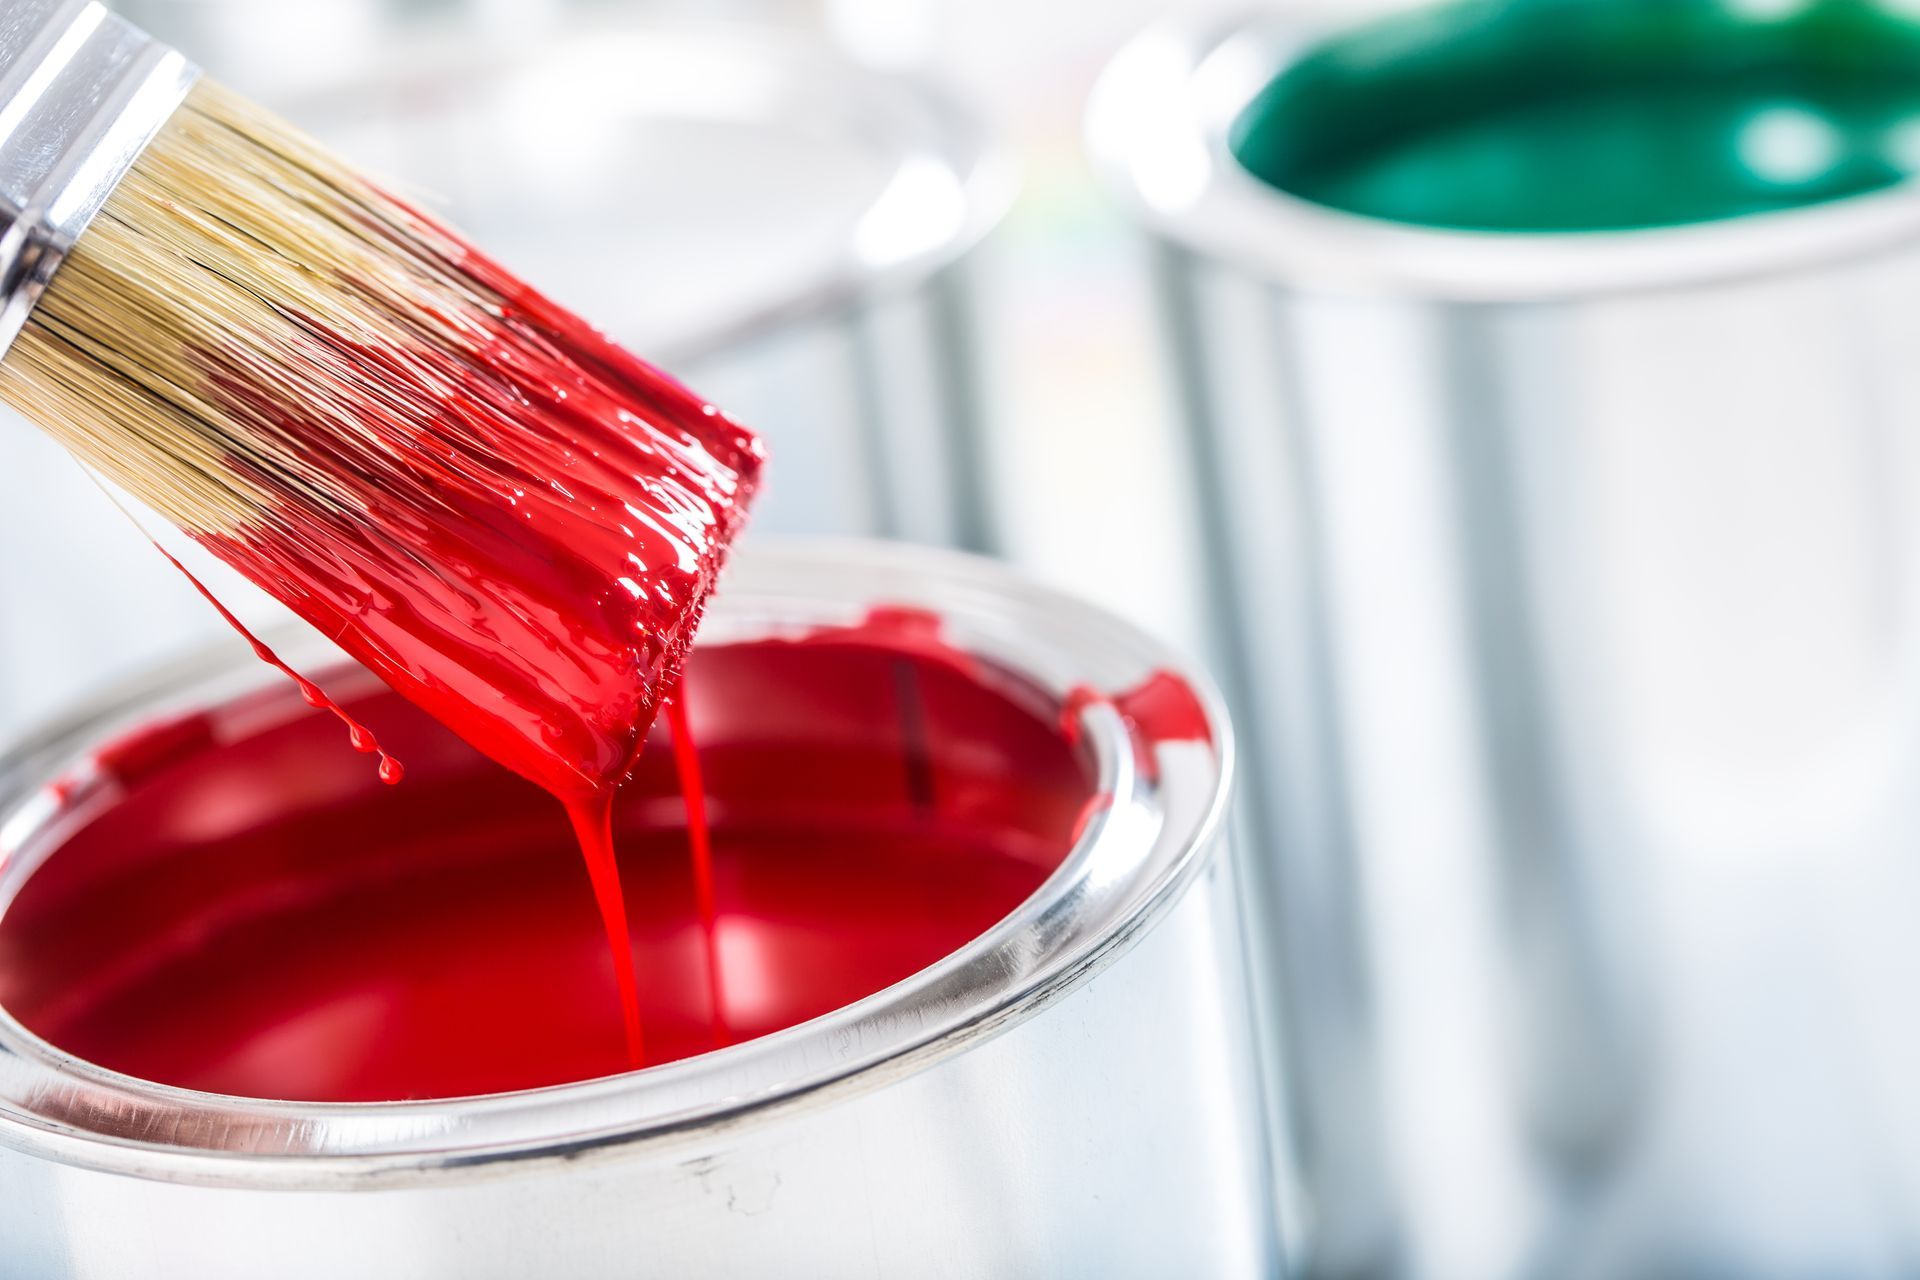
Selecting the Best Paint Finish for Trim
After choosing the type of paint, the next decision is the finish. The right finish can enhance the beauty of your trim while providing additional protection. The most common finishes for trim are semi-gloss, gloss, and satin.
Semi-Gloss Finish
- Pros: Semi-gloss is the most popular finish for trim because it strikes a perfect balance between durability and aesthetics. It’s easy to clean and resistant to moisture, making it ideal for bathrooms, kitchens, and baseboards.
- Cons: Semi-gloss can highlight imperfections, so be sure to prepare the trim surface properly before applying.
- Best For: Trim in areas prone to scuffs and moisture, such as kitchens, bathrooms, and high-traffic zones.
Gloss Finish
- Pros: Gloss provides a high-shine, reflective finish that’s extremely durable and easy to clean. It’s highly resistant to stains and moisture, making it perfect for high-traffic areas.
- Cons: Glossy finishes can be tricky to apply and will highlight any flaws in the surface, so thorough sanding and priming are essential.
- Best For: Doors, windowsills, and high-traffic trim that requires extra durability and a polished look.
Satin Finish
- Pros: Satin has a lower sheen than semi-gloss, offering a more subtle finish while still being relatively easy to clean. It’s a good middle ground for homeowners who want a softer look but still need some durability.
- Cons: Satin isn’t as moisture-resistant as semi-gloss or gloss, so it may not be the best choice for trim in bathrooms or kitchens.
- Best For: Living rooms, bedrooms, or areas where a less reflective finish is desired.
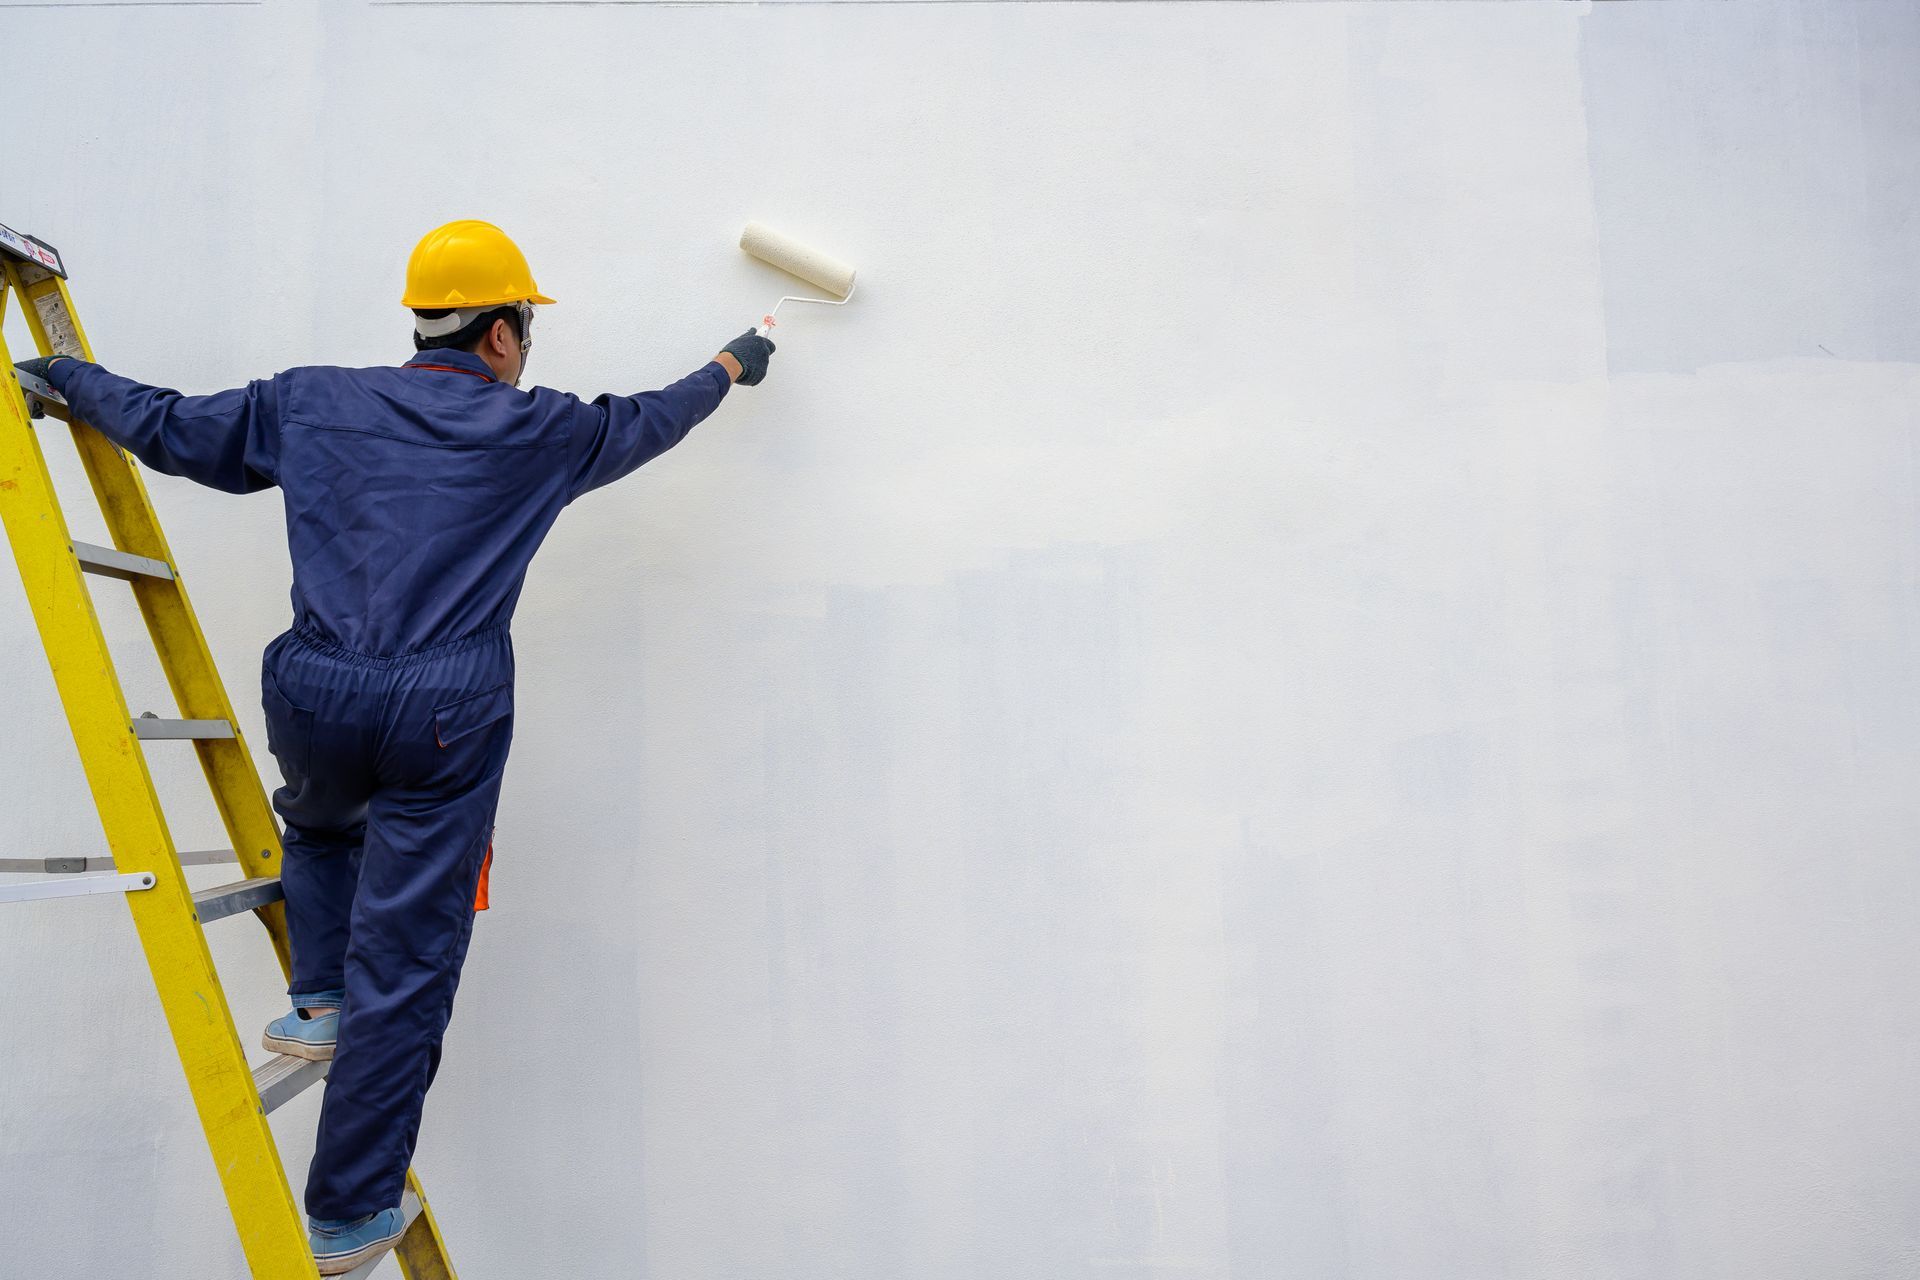
Application Tips for a Smooth, Professional Finish
Even with the best paint and finish, the application process is key to getting professional-looking results. Here are some expert tips to help you paint trim like a pro.
1. Prepare the Surface
Before applying any paint, ensure that the trim surface is clean, smooth, and free of imperfections. If the existing trim is painted, lightly sand it with fine-grit sandpaper to create a surface that the new paint can adhere to. Fill any holes, cracks, or dents with wood filler, and then sand the area smooth. Wipe away dust with a tack cloth.
2. Prime the Trim
Applying a primer is essential, especially if you're working with stained or dark trim. Primer helps the paint adhere better and provides a uniform base for your topcoat. Use a stain-blocking primer if necessary to prevent any bleed-through.
3. Use High-Quality Brushes
A high-quality brush will make a huge difference when painting trim. Look for angled sash brushes made with synthetic bristles for latex paint or natural bristles for oil-based paints. These brushes provide more control and help achieve crisp, clean edges.
4. Cut In with Precision
When painting trim, cutting in refers to carefully painting along the edges without overlapping onto the walls or adjacent surfaces. Use painter’s tape to protect areas where the trim meets the wall or floor. For best results, work slowly and use smooth, controlled strokes with your brush.
5. Apply Multiple Thin Coats
Instead of applying one thick coat of paint, which can result in drips and an uneven finish, apply two or three thin coats. Allow each coat to dry completely before applying the next. This ensures a smooth, even finish that lasts.
6. Let the Paint Cure
After the final coat is applied, give the paint time to cure properly. Even if it feels dry to the touch, it may take a few days to fully harden, depending on the paint type and finish. Avoid heavy cleaning or putting pressure on the trim until the paint has fully cured.
Hire Pioneer Painters for Your Trim Painting Needs
Painting trim can be a time-consuming and detail-oriented task, but with the right preparation and technique, it can dramatically enhance the appearance of any room. If you're looking to achieve a flawless finish without the hassle, Pioneer Painters is here to help. Based in Longmeadow, MA, and serving Western Massachusetts and Northern Connecticut, our team of experienced painting professionals specializes in trim painting, interior and exterior painting, offering expert craftsmanship and attention to detail. Whether you’re updating baseboards, crown molding, or windowsills, we can help transform your space.
Contact Pioneer Painters today for a free painting consultation!
Recent Blogs
Get A Fast Quote Online
Have a painting project you need a quote for? Submit a fast and easy quote request online