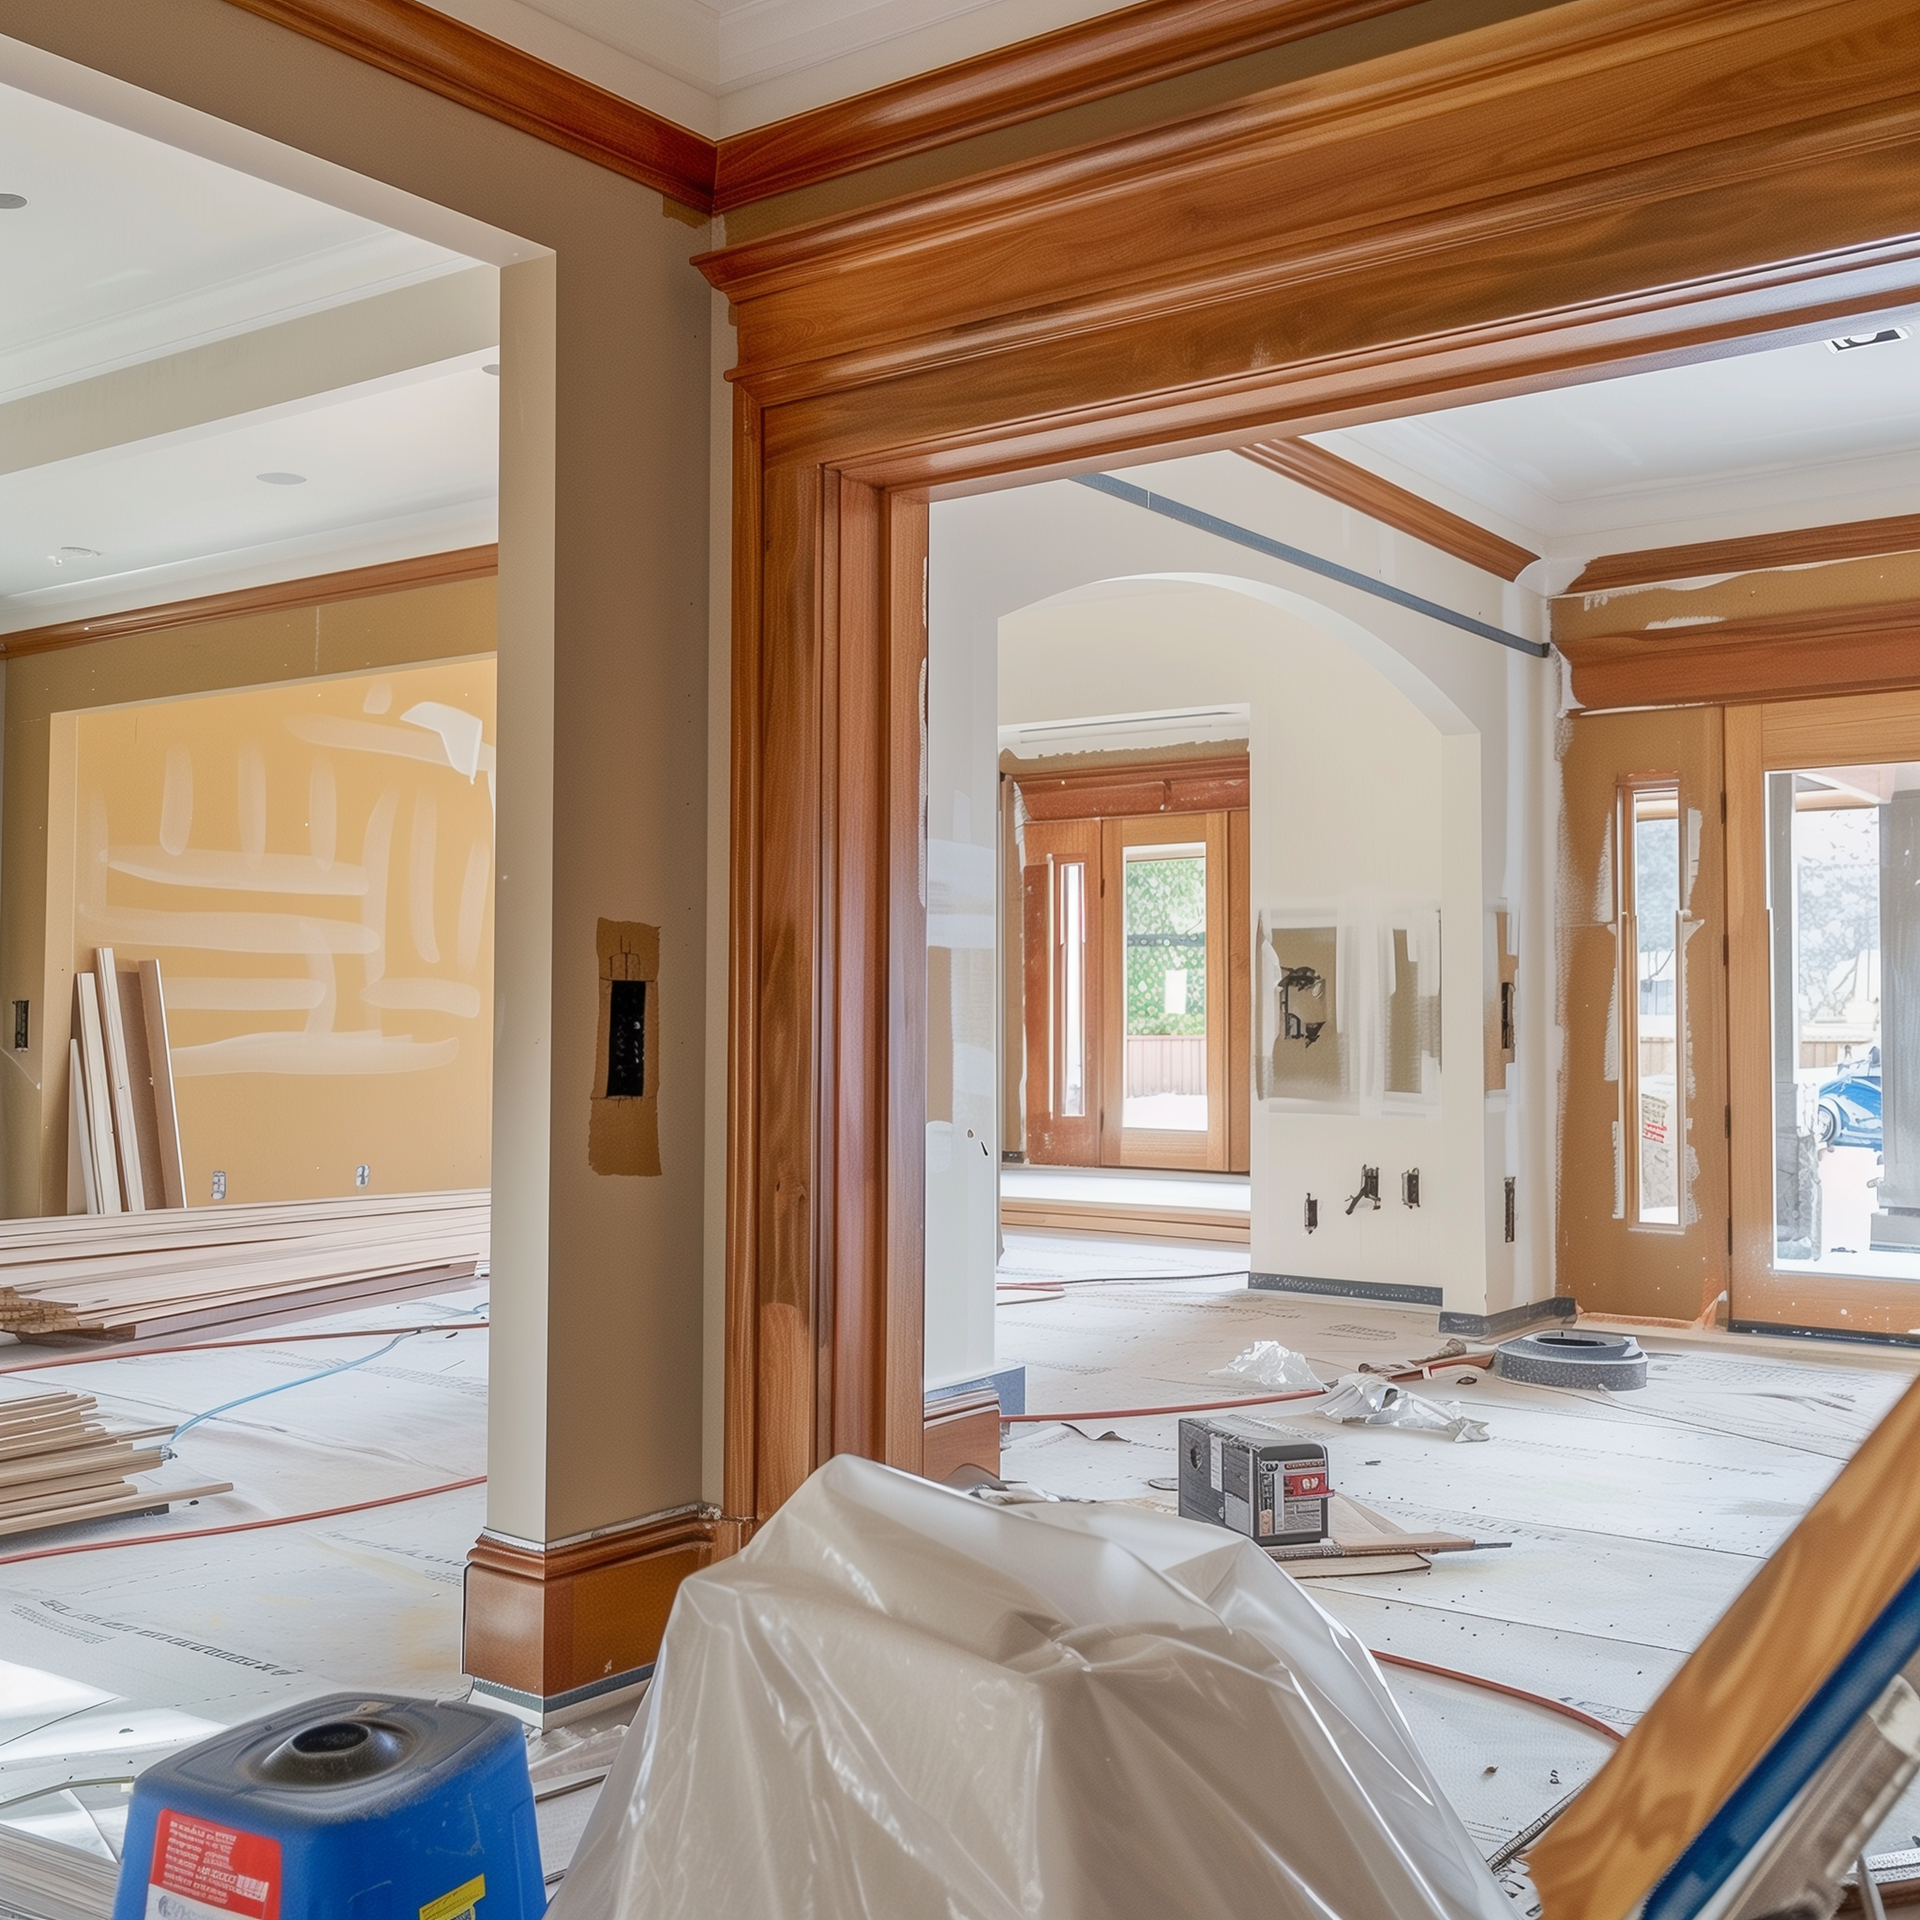
Painting over stained wood can be an excellent way to refresh old furniture, update cabinetry, or modernize the trim in your home. While it’s tempting to simply paint over the wood and call it a day, the process requires more than just a brush and a can of paint. Stained wood has a finish that can make it difficult for paint to adhere properly, so preparation is key to achieving a smooth, long-lasting result. In this guide, we’ll walk you through the necessary steps for painting over stained wood, from cleaning and sanding to applying the right primer and paint.
How to Paint Over Stained Wood: Key Preparation Steps
Successful painting over stained wood starts with thorough preparation. Without proper prep, the paint may not stick well, leading to peeling, chipping, or bleed-through from the original stain. Follow these steps to ensure your project turns out smooth and professional.
Step 1: Clean the Surface
Before you begin sanding or priming, the surface needs to be clean and free of dust, grease, or dirt. Stained wood, especially on furniture or trim, can collect grime over time. Use a gentle cleaner like TSP (trisodium phosphate) or a mixture of vinegar and water to remove any buildup. After cleaning, wipe down the wood with a damp cloth and allow it to dry completely.
Step 2: Sand the Wood
Sanding the wood is a crucial step in preparing the surface for paint. Lightly sand the wood using fine-grit sandpaper (180-220 grit) to roughen up the surface and help the paint adhere better. You don’t need to remove the stain entirely; the goal is to create a smooth, scuffed surface for the primer to cling to. Once sanding is complete, wipe away any dust with a tack cloth to avoid it mixing with the primer or paint.
Step 3: Apply a Stain-Blocking Primer
One of the most important steps is applying a stain-blocking primer, especially if the wood has a dark stain or a glossy finish. Without primer, the stain can bleed through the paint and ruin your hard work. A high-quality stain-blocking primer, such as an oil-based or shellac-based primer, will seal the wood and prevent any discoloration from seeping through the paint. Apply one or two coats of primer, depending on the severity of the stain, and let it dry thoroughly before proceeding to the next step.
Steps to Paint Over Stained Wood
Now that your surface is properly prepared, it’s time to start painting. Follow these steps to achieve a smooth, even finish.
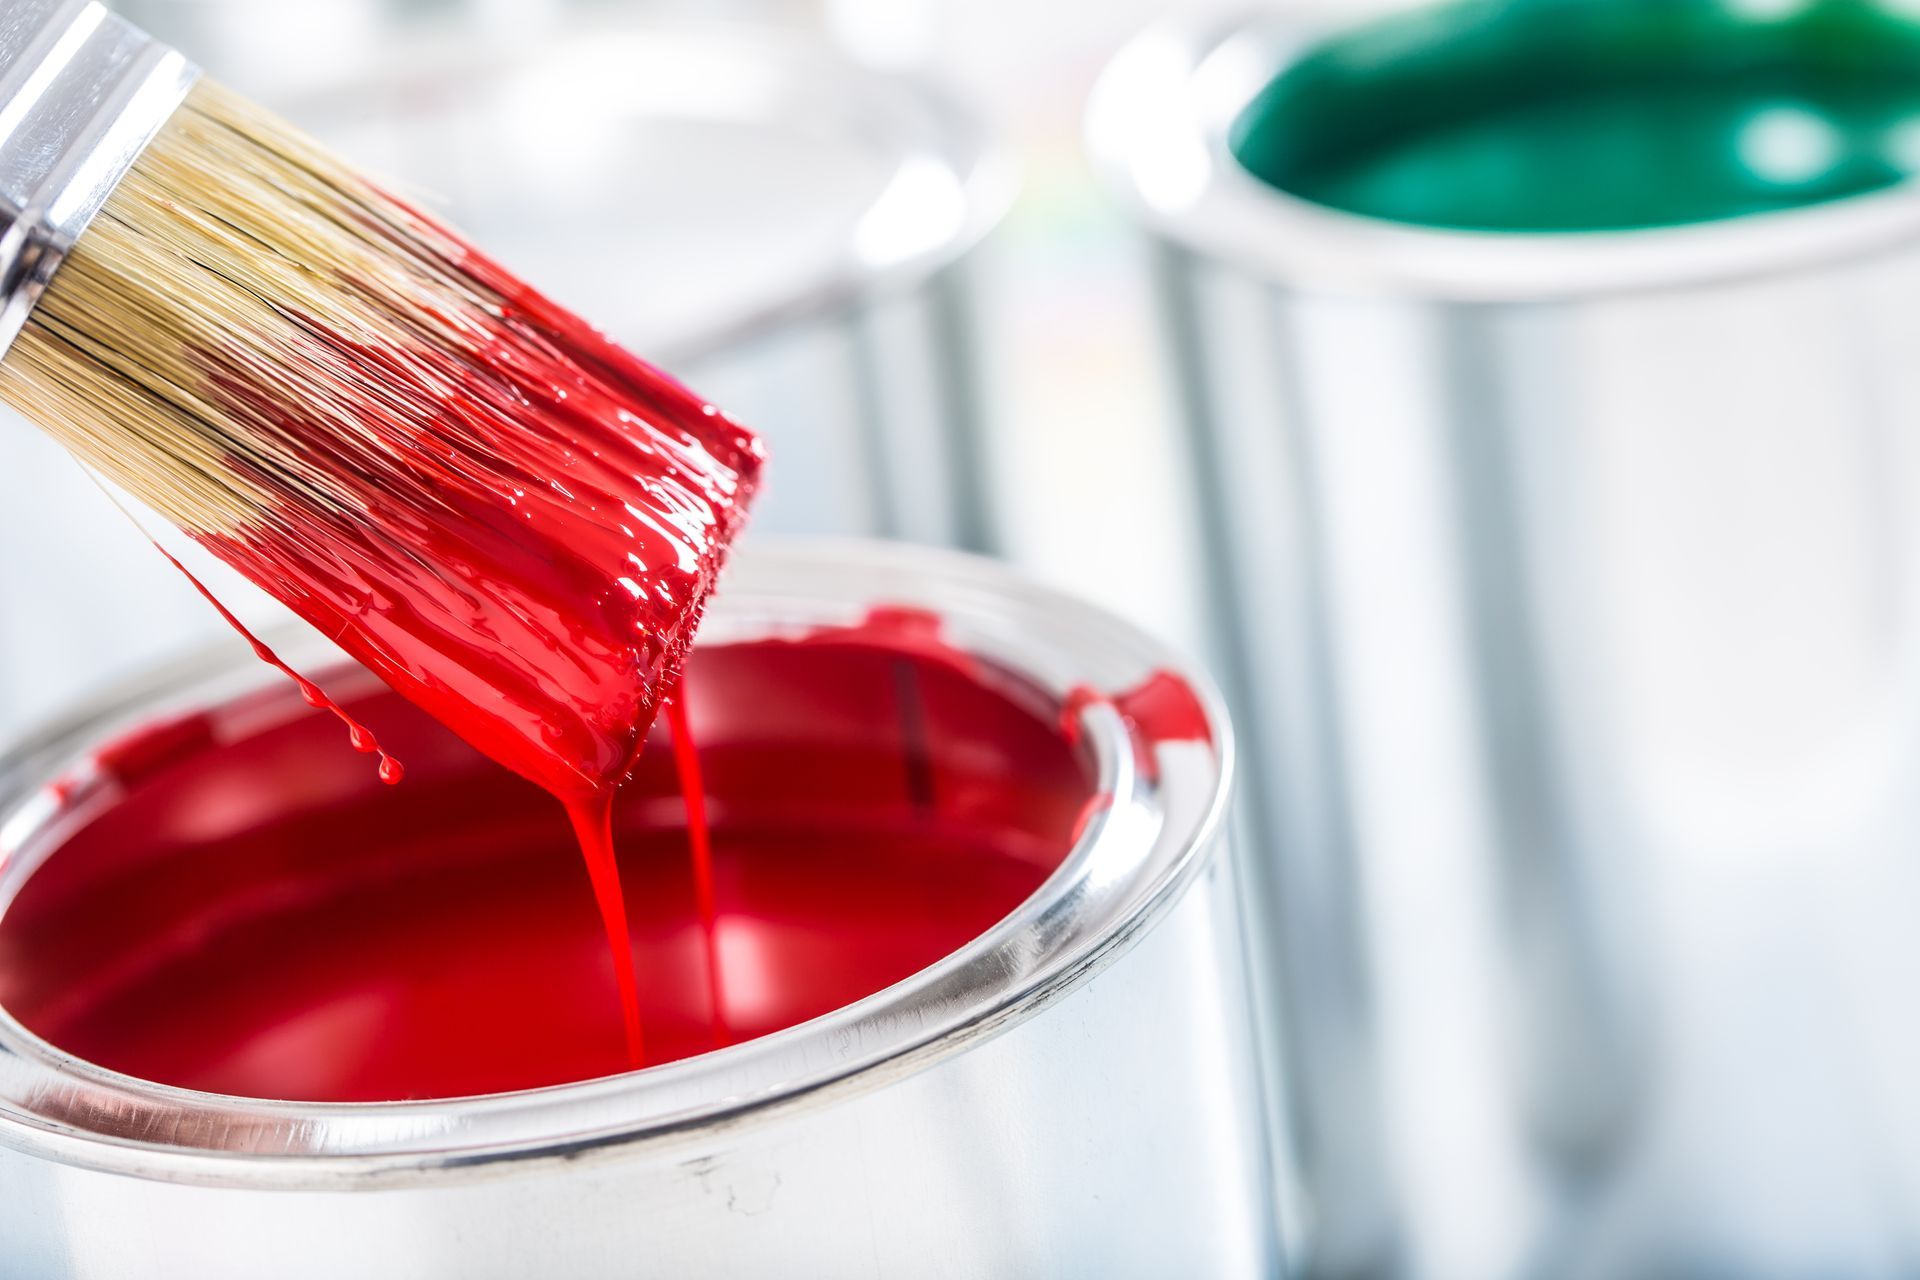
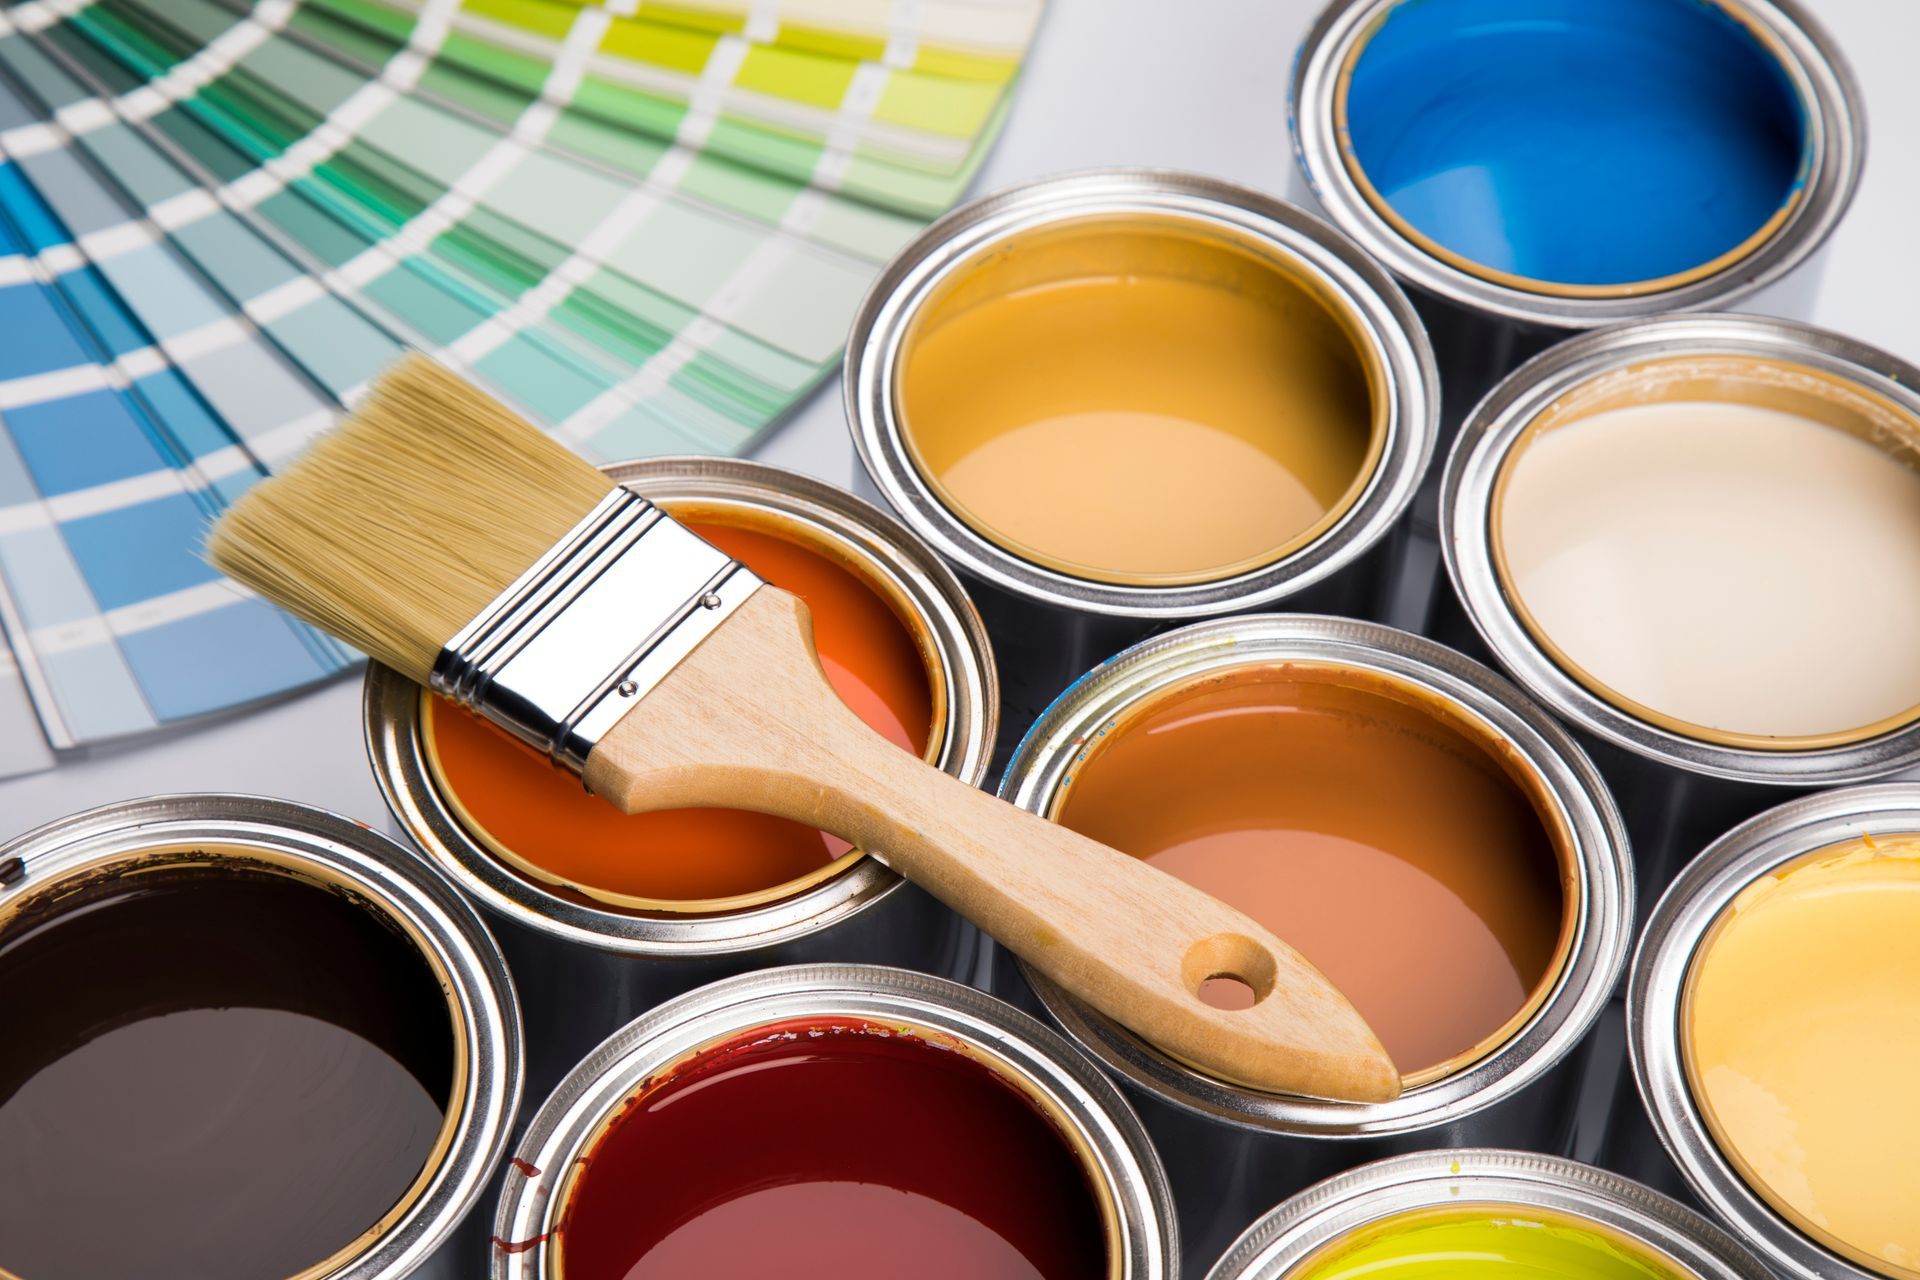
Step 4: Choose the Right Paint
Selecting the right type of paint is essential for a durable and attractive finish. Both latex and oil-based paints can work for stained wood, but your choice will depend on the project. Latex paint is water-based, dries quickly, and is easy to clean up, making it a popular choice for most indoor projects. However, for surfaces that will see heavy use, like furniture or cabinets, oil-based paint may offer more durability and a smoother finish.
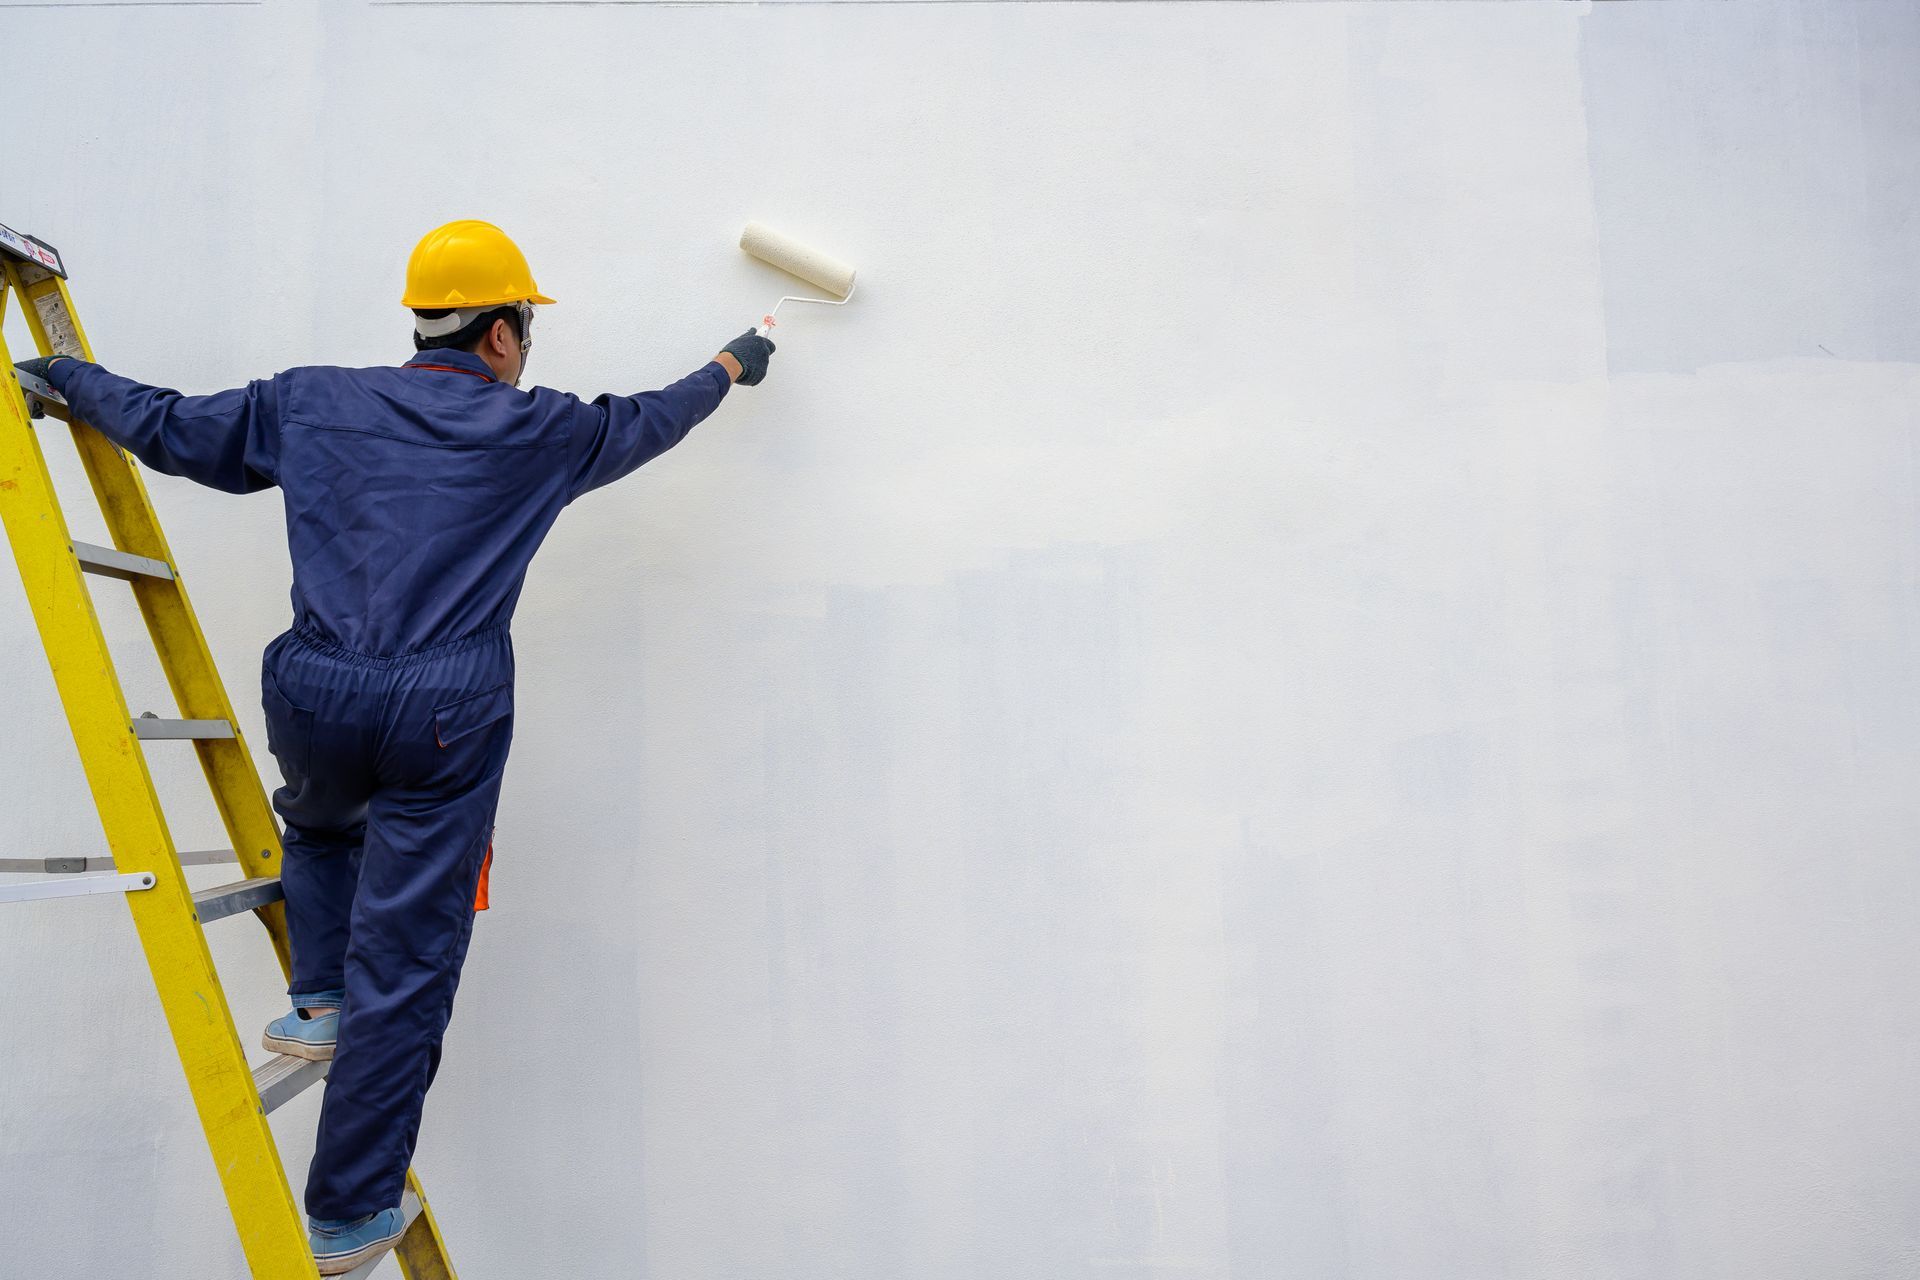
Step 5: Apply the Paint
Once you’ve chosen your paint, it’s time to start applying it. Use smooth, even strokes with a high-quality brush or roller to apply the paint to the primed surface. Start with a thin first coat, and allow it to dry completely before applying a second coat. Two coats are typically recommended for complete coverage, especially when covering darker stains. If necessary, apply additional coats until you achieve the desired finish.
Step 6: Inspect and Finish
After the final coat of paint has dried, inspect the surface for any missed spots or imperfections. If the surface looks smooth and evenly covered, you can leave it as is. For added protection, especially on high-traffic surfaces like tabletops or cabinetry, you may want to apply a clear protective finish or sealant. This will help protect your painted wood from wear and tear over time.
What Happens if You Paint Without Removing the Stain?
Skipping the preparation steps and painting directly over stained wood may seem like a quick fix, but it can lead to several problems down the road. Without sanding and priming, the paint may not adhere properly to the stained surface, resulting in an uneven finish or worse—peeling and chipping over time. Here are some potential issues you might face if you skip the preparation process:
Bleed-Through
One of the most common issues when painting over stained wood without proper preparation is bleed-through. Stains, particularly oil-based ones, can seep through the layers of paint and create unsightly discolorations, especially if the wood was stained with a darker color. Even multiple coats of paint may not completely cover the stain, leaving you with a blotchy or uneven appearance.
Peeling and Flaking
Without sanding or priming, the paint won’t have a good surface to grip. Over time, especially in high-traffic areas or on surfaces that experience frequent use, the paint can begin to peel or flake away. This not only looks unappealing but can also expose the stained wood underneath, leaving you right back where you started.
Uneven Finish
Stained wood often has a slick, glossy surface that can cause paint to glide off rather than adhere smoothly. This can lead to an uneven texture or visible brush strokes. Without sanding and priming, your paint may end up looking streaky or patchy, even after multiple coats.
In the end, while skipping the prep work may save you some time initially, it’s likely to result in more work in the long run when you need to repair or repaint the surface.
Hire Pioneer Painters for Your Stained Wood Painting Projects
Painting over stained wood can be a time-consuming and detail-oriented process, but it’s essential to do it right to achieve lasting results. If you want to ensure a flawless finish without the hassle of sanding, priming, and painting on your own, Pioneer Painters is here to help. Our team of expert interior painters and exterior painters specializes in transforming wood surfaces with precision and care, ensuring that the paint adheres smoothly and stands the test of time. We serve Western Massachusetts and Northern Connecticut, offering high-quality interior and exterior painting services.
Whether you're looking to refresh your cabinetry, trim, or wood furniture, we have the tools and experience to get the job done right. Contact Pioneer Painters today for a free painting estimate!
Recent Blogs
Get A Fast Quote Online
Have a painting project you need a quote for? Submit a fast and easy quote request online