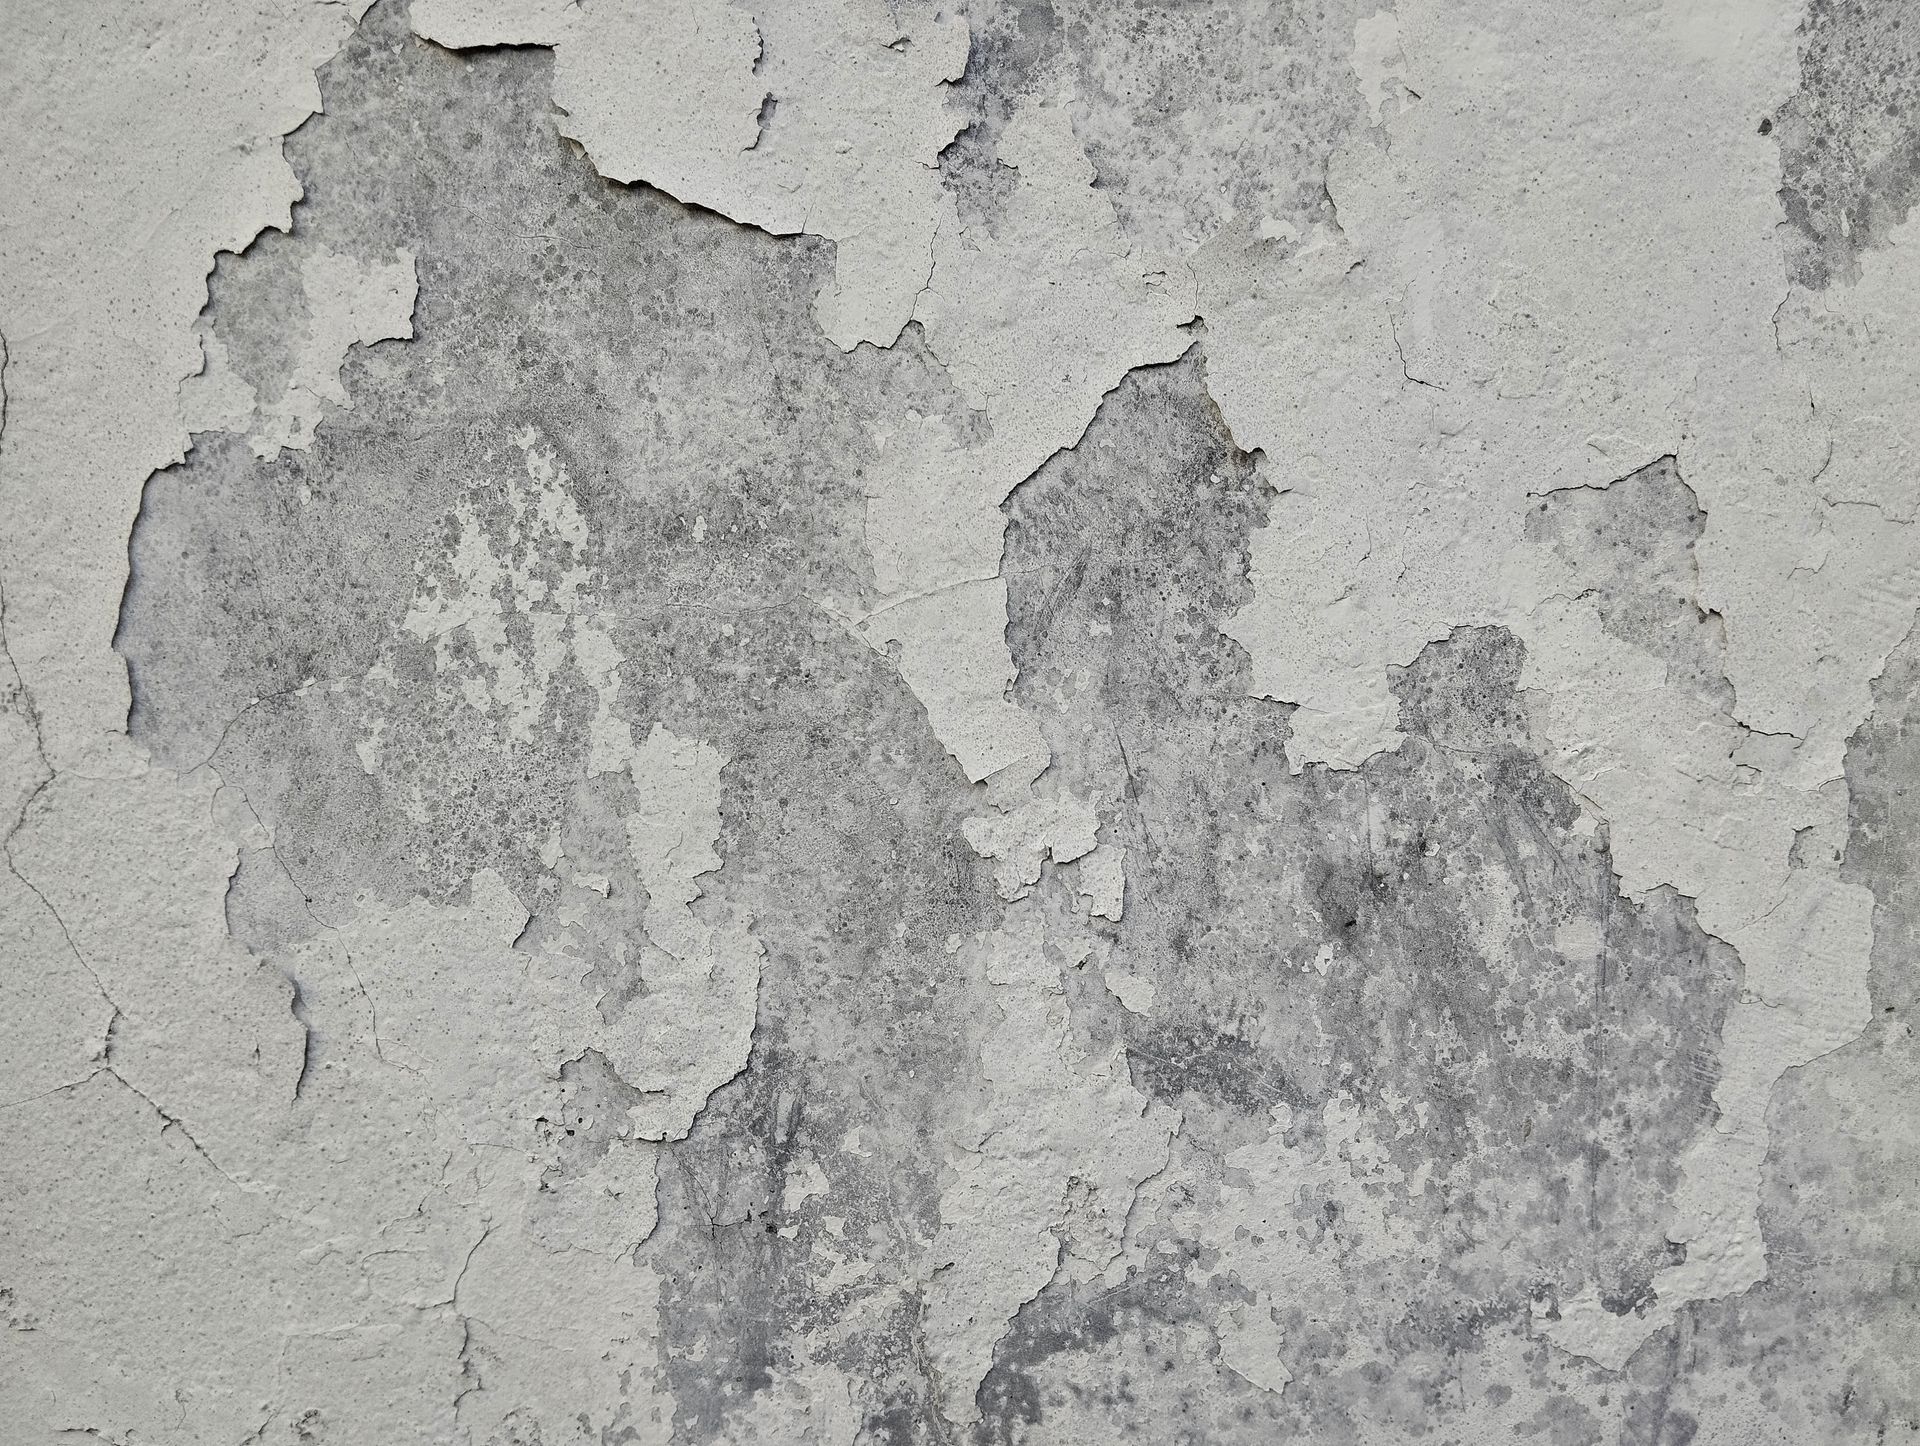
While caulking seems like a simple step in the final painting process, it's execution can make or break the final look of your project. Poorly done caulking can be an eyesore, while perfectly executed caulk lines can make a world of difference in the overall appearance of your walls and trim. Therefore, it's important to consider when to caulk - before or after painting.
In addition to giving our take on this, we'll cover various aspects of caulking so you can be a pro by the time you're ready for your next project
Article Highlights:
- Should you caulk before or after you paint?
- Why use caulk
- How to Caulk various projects
- Choosing the right caulk
- Removal of old caulk
- Drying times
- Tips: Interior and exterior caulking pro tips
Caulk Before or After Painting?
When deciding whether or not to caulk before or after painting, it's generally advisable to caulk before applying paint. There are a few benefits behind the reasoning of this sequence. Firstly, caulking before painting provides a smoother, more seamless finish, filling any gaps, cracks, or small imperfections that might stand out post-painting.
In addition, paint tends to adhere better to caulk than the other way around, especially if the caulk is designed to be paintable. This bonding ensures a more uniform appearance and long-lasting finish.
There are a few situations where you may want to reverse this and apply caulk after paint. One situation may simply be when you are making minor touch-ups or to fill small gaps that may have formed as materials settled, expanded or contracted after painting. You may also find it useful to caulk after painting when working with certain decorative finishes where the caulk needs to stand out or provide a contrasting detail.
Despite these exceptions, it's our recommendation that for the majority of projects and to achieve the best professional-looking outcome, caulking before painting remains the preferred method.

Why Use Caulk?
Caulk is an incredibly versatile material that is crucial in achieving a smooth finish in various home improvement projects. One of the primary reasons to use caulk is its ability to fill gaps and cracks. This function is not only aesthetic, improving the overall appearance of your walls, trims, and other surfaces, but it also prevents air, dust, or water from entering through these spaces.
Caulk is an efficient insulator, making your home more energy efficient by keeping cold air out in New England winters and hot air out in summers. This can significantly reduce your heating and cooling costs. Additionally, using caulk around your windows, doors, or plumbing fixtures can help prevent water damage and the consequent costly repairs.
Using caulk can also help in noise reduction, as it blocks outdoor noise from entering through gaps and cracks around windows and doors. Furthermore, it's an effective way to keep out insects and other pests that can squeeze through tiny openings.
Another great benefit is the caulk is very simple to use for even the most inexperienced DIYers. It's easy to apply and requires no special skills, making it ideal for quick touch-ups or minor repairs around the house.
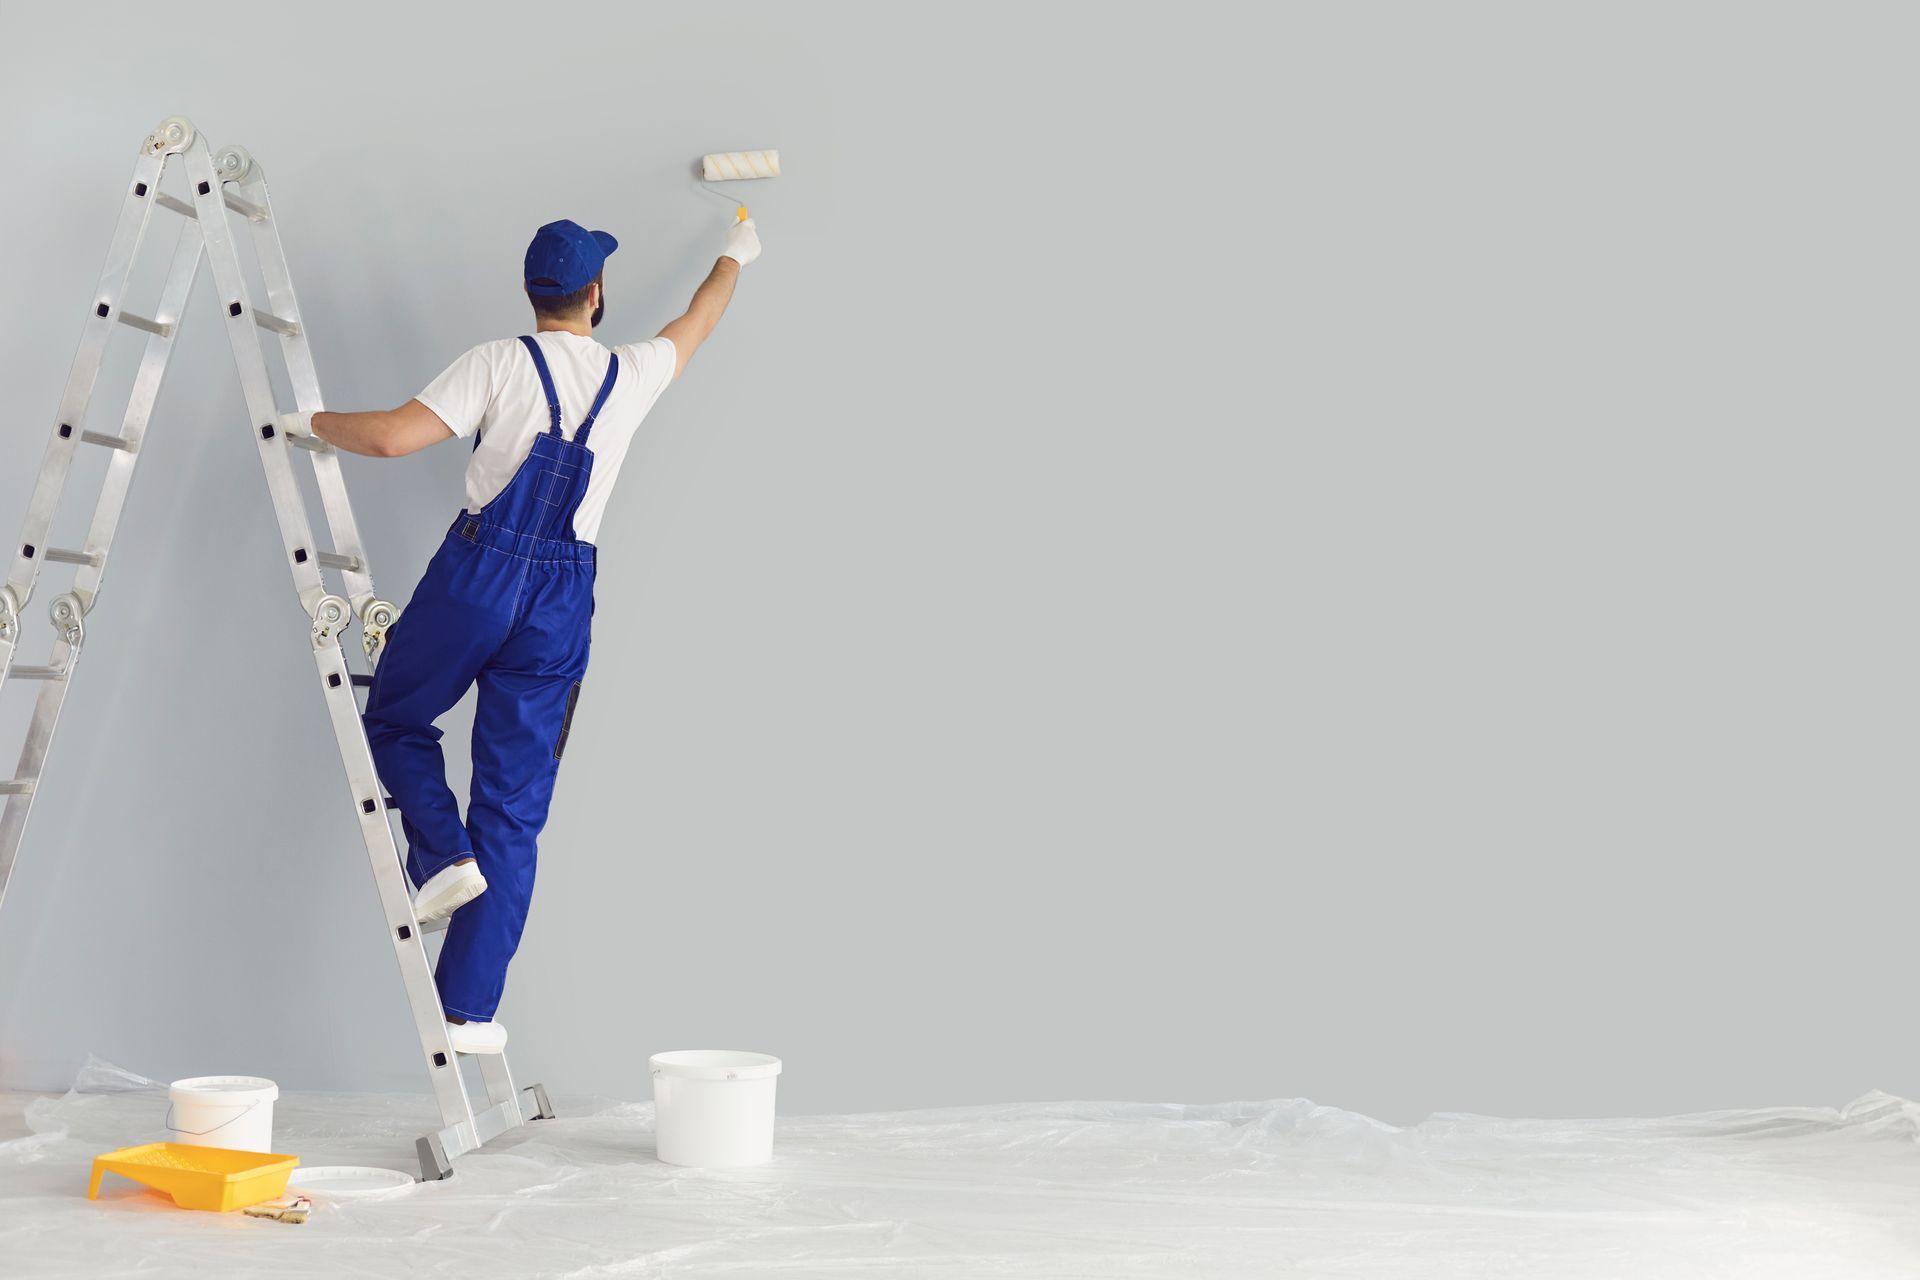
Pioneer Painters offer professional interior and exterior painting services throughout Western Massachusetts and Northern Connecticut. If you are located in this service area and are searching "painters near me" Pioneer Painters can help. Simply schedule a free quote today!
How to Caulk Various Projects - Our Guide
Caulking is a simple process that can be applied on various surfaces, including walls, ceilings, baseboards, windows, trims, and even exterior surfaces. Different areas may demand slightly different approaches.
Here's a guide to caulking different zones:
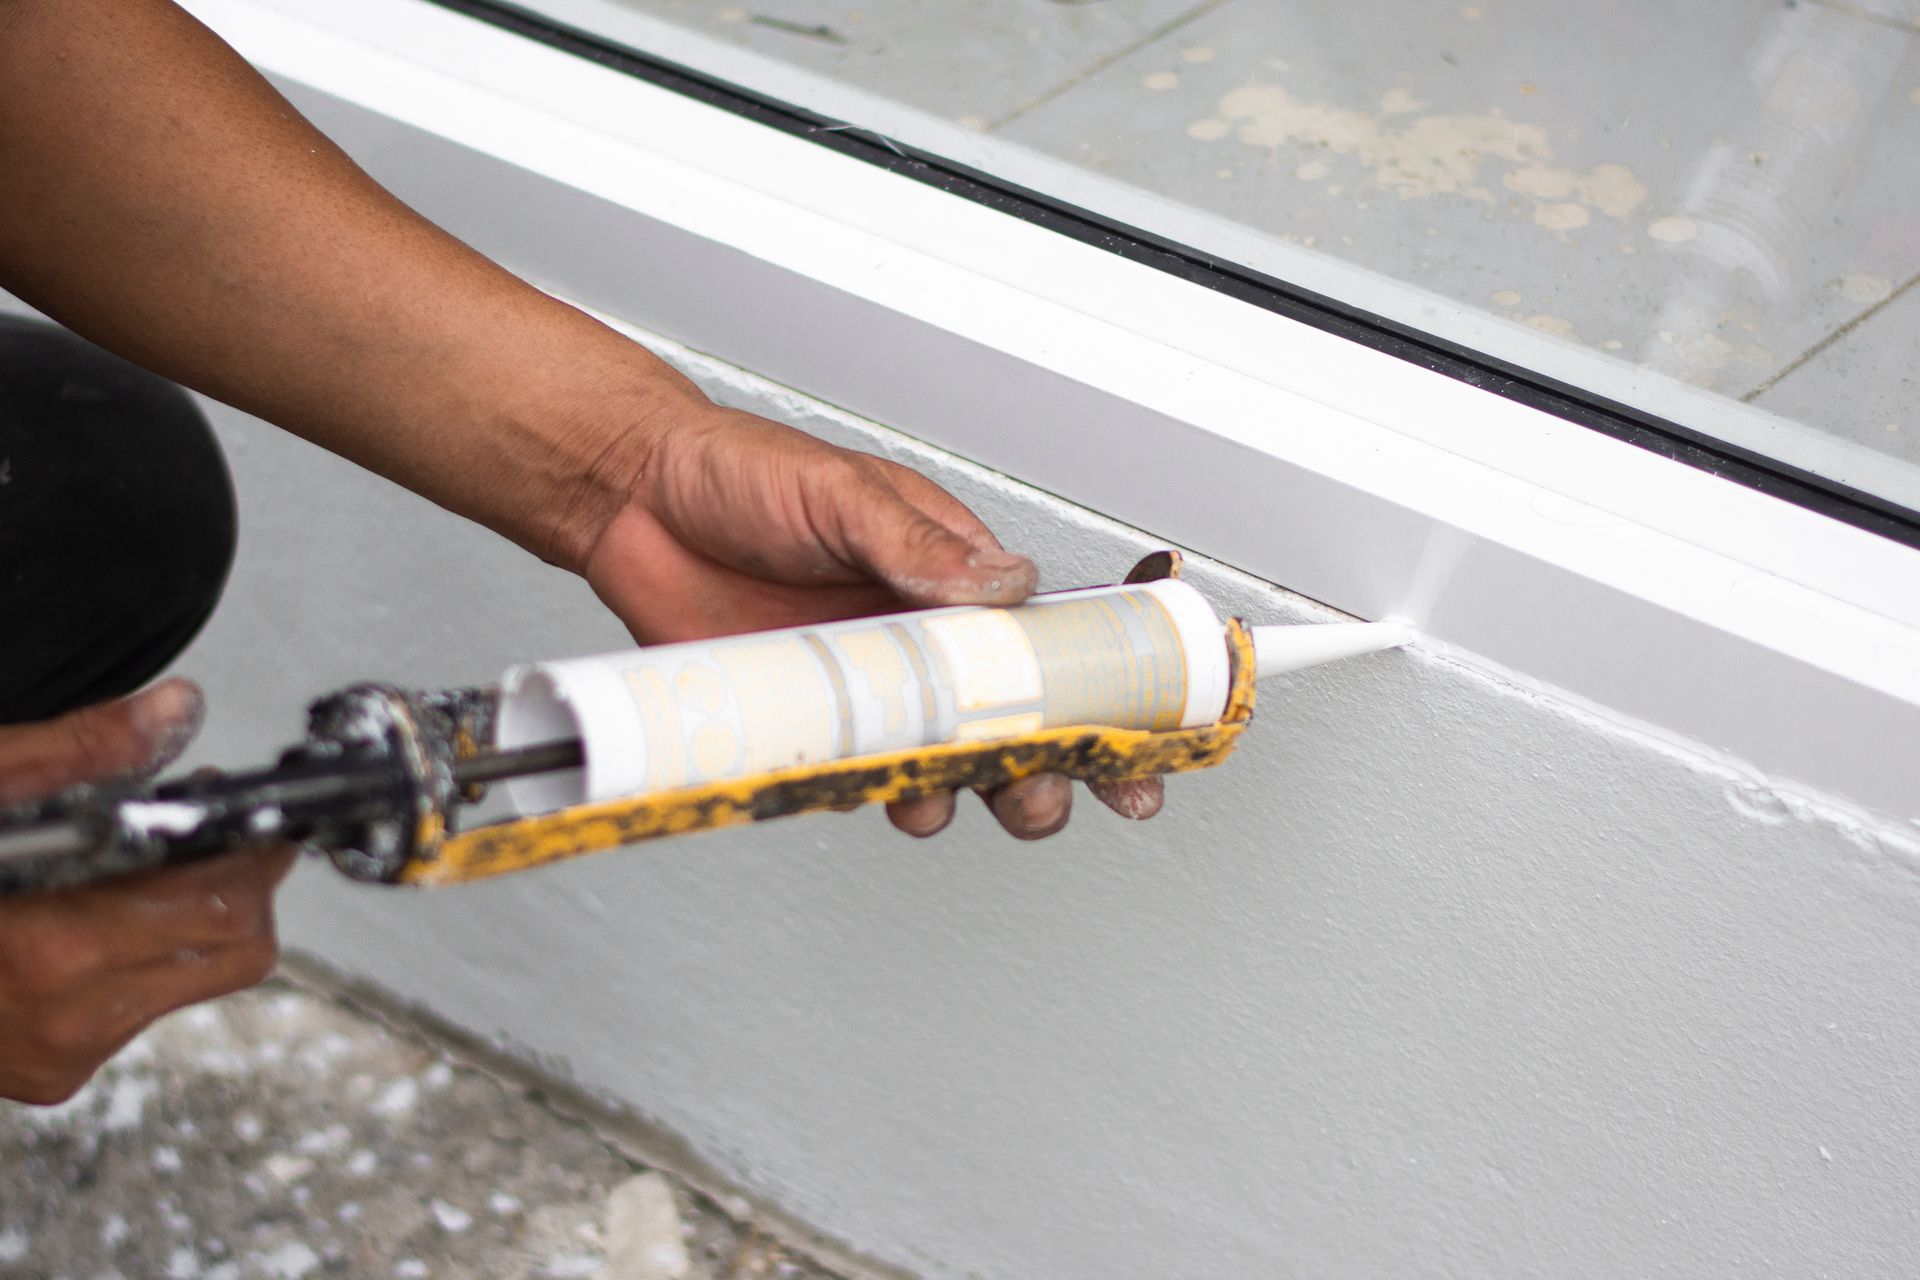
Caulking Windows and Doors:
- Preparation: Clean the area to remove old caulk, dust, or debris. Use a scraper or a caulk-removing tool if necessary.
- Technique: Hold the caulking gun at a 45-degree angle. Start at a corner and move smoothly along the seam or joint. Ensure the caulk penetrates the gaps for a proper seal.
- Smoothing: Wet your fingertip or use a caulk-smoothing tool to press down and smooth out the bead for a neat finish.
Caulking Baseboards:
- Preparation: Vacuum or wipe down the area to remove dust. Ensure baseboards are securely fastened to the wall.
- Technique: Apply a thin bead of caulk along the top of the baseboard where it meets the wall. Also, consider caulking gaps at the bottom if they exist.
- Smoothing: Smooth the caulk with your finger or a tool to ensure it's flush with the wall and baseboard.
Caulking in Bathrooms (bathtubs, sinks, tiles):
- Preparation: Clean and dry the areas thoroughly. Remove any mold, mildew, or old caulk. Use a bathroom-specific caulk, which is mold and mildew-resistant.
- Technique: Especially around bathtubs, maintain consistent pressure on the caulking gun for an even bead. Fill gaps between tiles, around sinks, and along tubs or showers.
- Smoothing: Due to the moisture-rich environment, it's crucial to smooth out caulk efficiently to prevent water seepage.
Caulking in Kitchens (countertops, backsplashes):
- Preparation: Clean surfaces of grease or debris. If old caulk is present, remove it completely.
- Technique: Caulk the seam where the countertop meets the wall or the backsplash. For areas around the sink, ensure no gaps remain to prevent water damage.
- Smoothing: Achieve a clean line by smoothing out the caulk bead promptly after application.
Removal of Old Caulk
Before you can apply new caulk to any surface, it's important to properly and thoroughly remove any old or damaged caulk. Here's a step-by-step guide to help you through the process:
- Gather Your Tools: You will need a few basic tools to get started, including a utility knife, a caulk remover tool, or a putty knife. A pair of tweezers can also be handy for removing small bits of caulk.
- Cut Along the Caulk: Use your utility knife to make a cut along the top and bottom edges of the caulk. This should free the caulk from the surfaces it's adhering to, making it easier to remove.
- Scrape Out the Caulk: Once you've made your cuts, use your putty knife or caulk remover tool to carefully scrape out the caulk. Take care not to damage the surrounding surfaces.
- Remove Residue: After removing the bulk of the caulk, there may be some residue left behind. You can use a caulk remover solution to soften this residue, making it easier to scrape off. Apply the solution as directed by the manufacturer and allow it to sit for the recommended amount of time.
- Clean the Area: Once all the caulk and residue has been removed, clean the area thoroughly. You can use rubbing alcohol or a similar cleaning agent to ensure the surface is clean and free from any oils or debris.
- Inspect and Prepare for New Caulk: Before applying new caulk, inspect the area for any remaining old caulk or residue. The surface should be completely clean (very important) and dry before you begin the caulking process. Allow the caulk time to dry, especially in areas like your shower or around the sink, before using those areas again. If the caulk is exposed to water prior to it fully drying, it may not adhere properly and you will have to start the process over again.
Searching for painters near me? Pioneer Painters offer interior and exterior painting services throughout local towns including Ludlow, Springfield, Suffield, CT and more. Get a quote today!
Types of Caulk: Paintable and Non-Paintable
Caulk comes in multiple types, each designed for a specific use. Knowing the right type for your project is essential in ensuring a sturdy and lasting seal. Here's a breakdown of the different types of caulk and their paintability:
- Silicone Caulk: Resilient and flexible, silicone caulk is excellent for areas exposed to high moisture or temperature changes like kitchens and bathrooms. It's also perfect for filling gaps around windows and doors. However, silicone caulk isn't paintable, so it's best used in areas where the caulk color matches the surrounding surface or where it won't be visible. Attempting to paint over this type of caulk will result in the paint not adhering properly and the area will look unfinished. If you accidentally paint over this type of caulk, you'll have to remove properly remove the caulk, prep the surface for repainting.
- Acrylic Latex Caulk: Also known as painters' caulk, it's easy to work with and is paintable, making it ideal for filling cracks in interior walls and ceilings before painting. It dries quickly and can be cleaned up with water.
- Vinyl Latex Caulk: Similar to acrylic, this caulk is also paintable and suitable for indoor and outdoor use. It offers better flexibility and durability than acrylic caulk, so it's a good choice for joints or seams that may expand or contract.
- Butyl Rubber Caulk: With superior adherence to metal and masonry, butyl rubber caulk is a great choice for gutters, chimneys, or on brick or concrete surfaces. It's paintable but requires a lengthy drying time and solvent cleanup.
- Polyurethane Caulk: Offering excellent flexibility and adhesion, polyurethane caulk is ideal for high-traffic areas and where movement or vibration is a concern. It's paintable, but it's more challenging to work with, needing mineral spirits for cleanup.
Remember to check the label of your chosen caulk. If it's paintable, it will usually indicate it on the packaging. Additionally, even if the caulk is paintable, it's advisable to let it fully cure before painting for best adherence.
Caulk Colors
Caulk is available in a variety of colors to match the surfaces you are sealing. The standard colors include clear, white, and almond. However, many manufacturers offer a broader color palette to blend seamlessly with your decor. Here are a few pointers on choosing the right color:
- Clear Caulk: Clear caulk is a versatile option, as it adapts to the color of the surfaces it's applied between. It's particularly useful in areas where the joint or seam is not uniform in color, or where you want the caulk to be less noticeable.
- White Caulk: This is a commonly used caulk color, especially in bathrooms and kitchens. White caulk works well where it matches the color of the surrounding surfaces, such as white tiles, bathtubs, or sinks.
- Almond Caulk: Often used for countertops and wooden surfaces, almond caulk blends well with various shades of beige, cream, and brown.
- Custom Colors: For specific projects, manufacturers offer caulk that can be custom-tinted to match the color of your surface.
Keep in mind, the color of the caulk can greatly influence the aesthetic result of your finishing project. It is advisable to choose a color that blends well with the surfaces you are sealing together.
Looking for professional painters in the Western MA or Northern CT area? The painting professionals at Pioneer Painters can help. We're experts in interior and exterior painting and we service a wide range of towns including Suffield, Enfield, Springfield, East Longmeadow and all surrounding communities. Whether you need help with touching up interior or exterior trim or you need to paint the full exterior of your home, we're the painters who can handle any job. Contact us today to schedule a free quote!
Recent Blogs