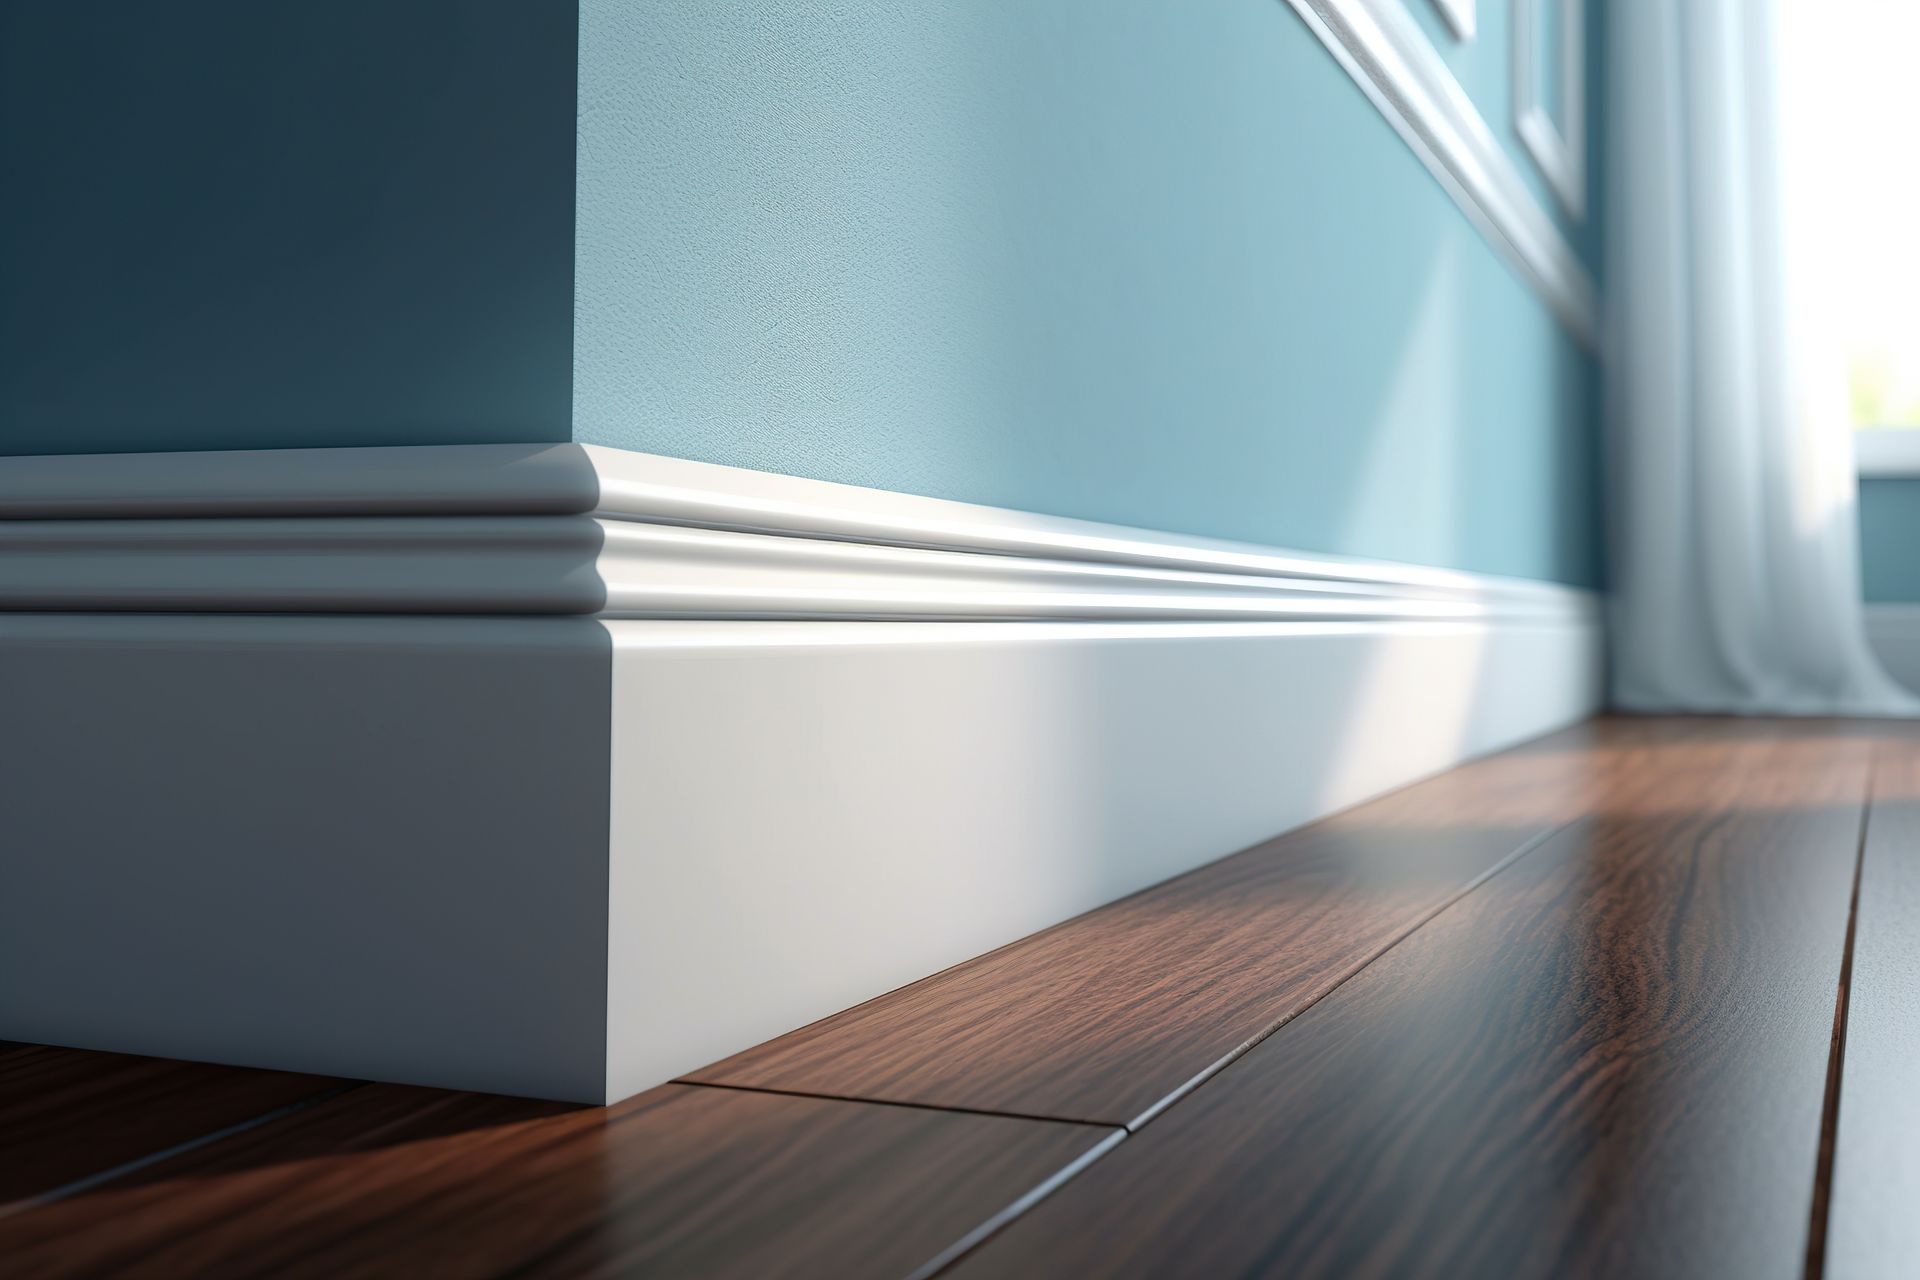
When it comes to painting a room, the order of operations matters. Do you paint trim first or do you paint the walls first? Generally, for interior painting projects, it's advisable to paint the trim first, before the walls. There are several reasons for this. Firstly, it's easier and more efficient to tape off the trim than it is to tape off the walls. Moreover, if you paint the trim first, you don't have to be incredibly precise or neat, as any mistakes or overruns can be covered up when you paint the walls next.
Every painting job is unique and may require different approaches based on the specific circumstances of the room being painted, the type of trim and walls, and the desired final look.
Step-by-Step Guide: Painting an Interior Room
If you are located in the Western MA and Northern CT area and are in need of a professional interior painter, Pioneer Painting can help. Request a quote to get started on your next project!
Taking on a home painting project? It's essential to know the types of materials you'll need first and then know the steps to take to have the best outcome. The basic steps will be covered below, they include planning your project, protecting your workspace, preparing the walls, painting the trim, and finally, painting the walls.
Materials you'd need to begin your project:
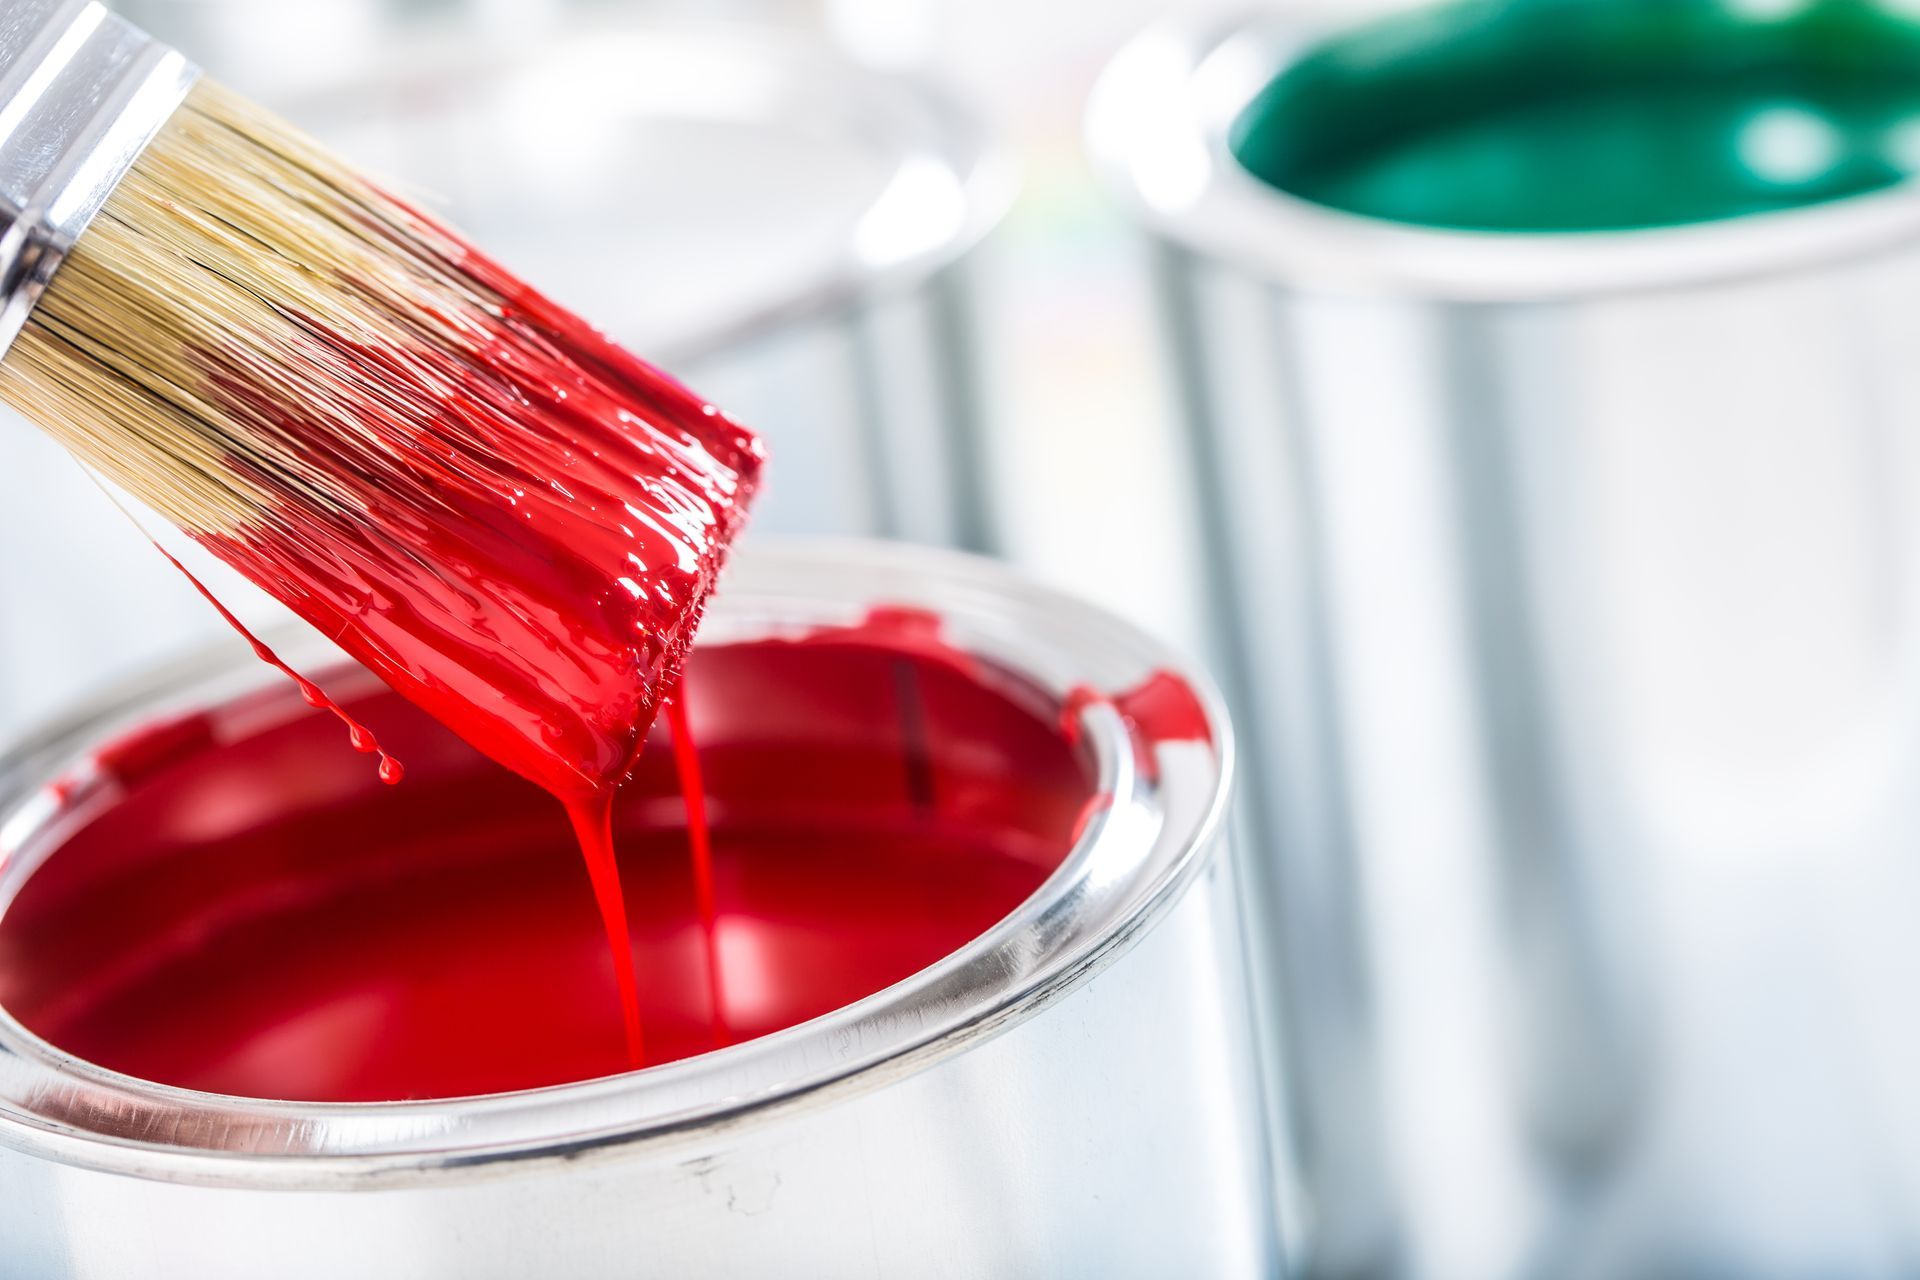
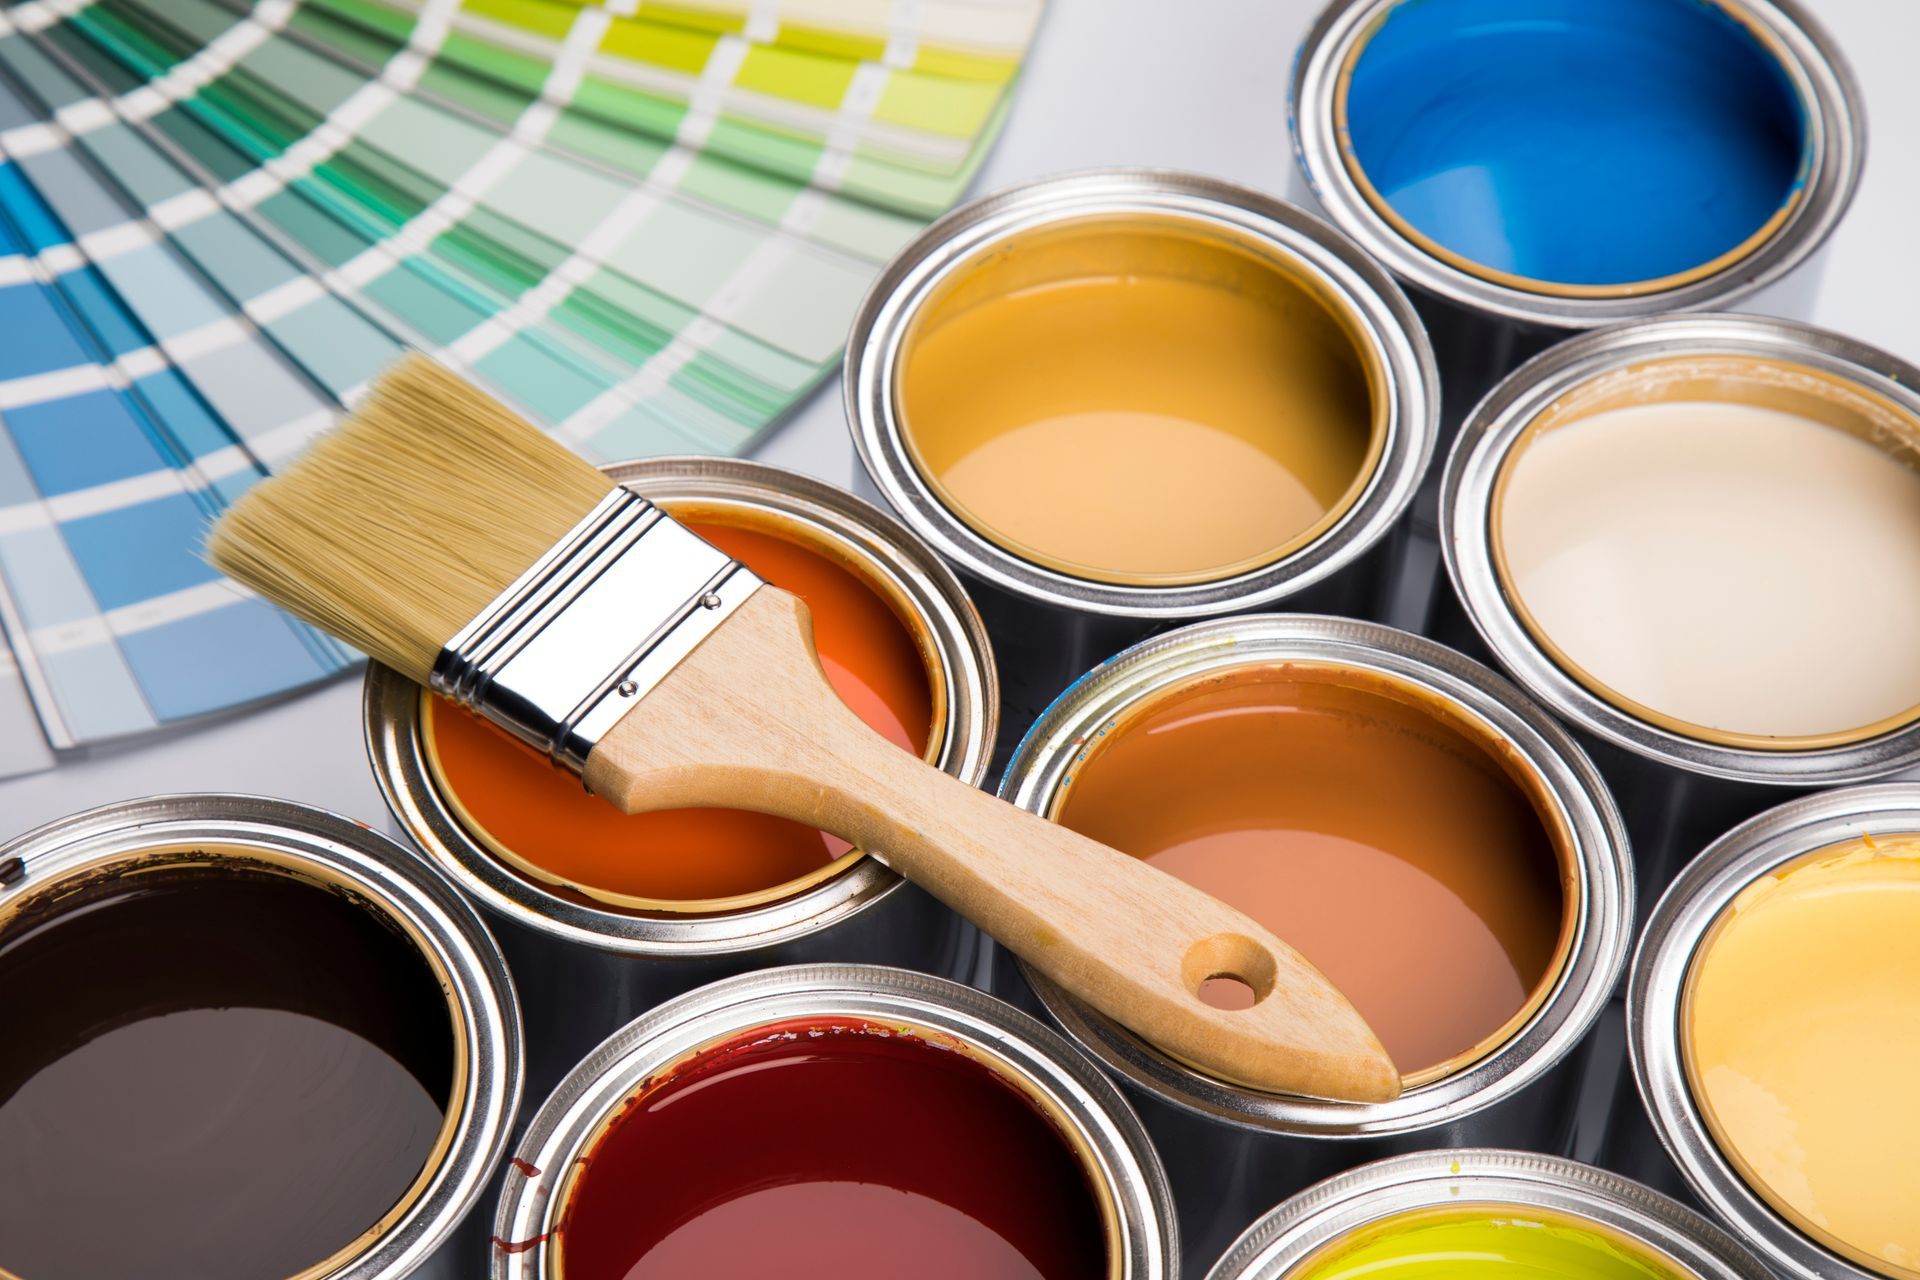
- Paint:
Choose quality paint in your desired color and finish. The quantity will depend on the size of the room. Seek the help for a local painting store or professional painting contractor.
- Brushes and Rollers: You'll need various sizes for different areas of the room.
- Paint Tray: For holding and rolling out the paint.
- Primer: Essential for preparing the walls and ensuring the paint adheres well.
- Painter’s Tape: For protecting areas you don't want to paint, like the trim or ceiling.
- Drop Cloths or Plastic Sheeting: To protect your floor and furniture from paint splatters.
- Ladder: For reaching high parts of the walls or ceiling.
- Sandpaper: For smoothing out any rough spots on the walls before painting.
With these materials at hand, you're ready to embark on your interior painting journey.
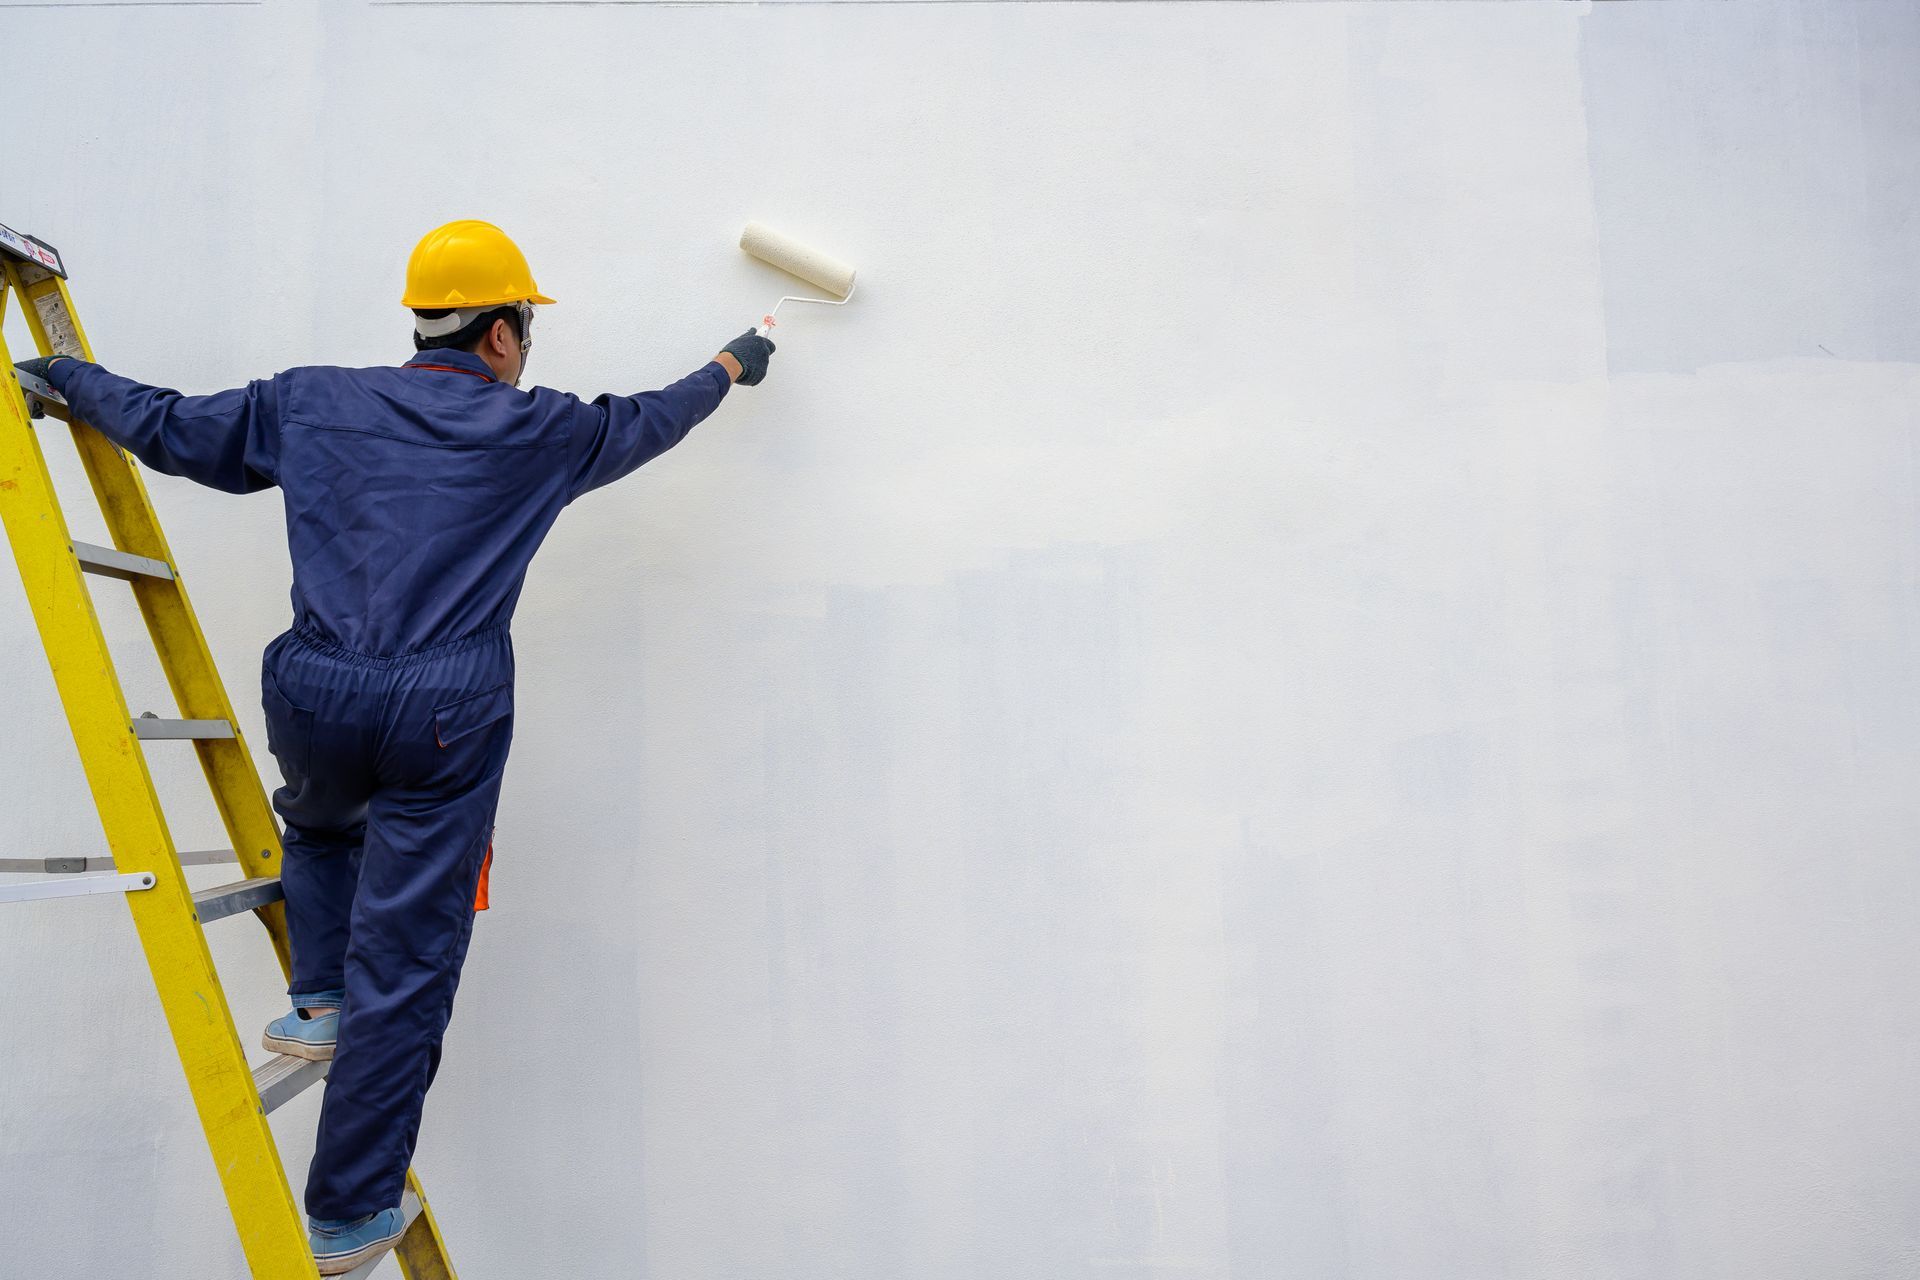
Step 1: Prepare the Room
Before you begin painting, move all furniture out of the room or push it into the center and cover it with a drop cloth. Remove any wall decor, switch plates, and outlet covers. Cover the floor with a drop cloth for protection against accidental paint drips and spills.
Step 2: Prepare the Walls and Trim
Clean the walls and trim to ensure they are free from dust and grime. Use a patching compound for any holes or cracks, and sand the patched areas for a smooth finish. For the trim, sand it lightly to allow the paint to adhere better.
Step 3: Tape the Trim
Apply painter's tape along the edge of the trim to protect it from paint drips. Make sure the tape is applied straight and firmly pressed down to prevent the paint from seeping under it.
Step 4: Prime the Walls
Apply a coat of primer to the walls. This will help the paint adhere better and provide a more uniform color. Allow the primer to dry completely before proceeding to the next step.
Step 5: Paint the Trim
Using a high-quality brush, paint the trim. Start with the horizontal sections and finish with the vertical parts. Allow the paint on the trim to dry completely before moving on to the next step.
Step 6: Paint the Walls
After the trim is completely dry, start painting the walls. Start at the top and work your way down for an even application. Apply a second coat if necessary, allowing the first coat to dry before applying the second one.
Step 7: Clean Up
Once the paint is dry, carefully remove the painter's tape. Clean your brushes and paint trays, and dispose of the used drop cloths. Move the furniture back in place, reattach the switch plates and outlet covers, and hang back your wall decor.
Remember, painting a room is an extensive process that requires patience and attention to detail. However, with careful preparation and the right tools, you can achieve a professional-looking paint job.
What to Do If You've Painted the Walls Before the Trim
Not to worry if you've painted the walls before the trim. It can be a bit more challenging to achieve a neat finish, but it's certainly not impossible. Here's how to handle it:
- Protect Your Walls:
Use painter's tape to cover the areas where the walls meet the trim (Make sure you're walls are completely dry prior to this step). This will help prevent your trim paint from spilling onto the walls. Be sure to press the tape down firmly to prevent any paint seeping underneath.
- Paint the Trim:
Using a high-quality brush, carefully paint the trim. Ensure your brush strokes follow the grain of the wood to achieve a smoother finish.
- Let it Dry:
Allow the paint on the trim to dry completely before moving on to the next step.
- Remove the Tape:
Once the trim paint is dry, slowly and carefully remove the painter's tape. If any paint got onto the walls, touch it up with the wall color.
- Clean Up:
Clean your brushes and dispose of the used tape.
While some professionals may have different takes as to whether to paint walls or trim first, our recommendation is to always paint the trim first. This will make the process smoother and prevent any mishaps, especially for beginners.
If you are looking for local interior painters or exterior painting contractors, Pioneer Painters are here to help. Whether you're looking for a painter in Springfield, Massachusetts or painters in Suffield, Connecticut, we cover all of Western, MA and Northern, CT. Contact us to schedule a free quote today!
Recent Blogs
Get A Fast Quote Online
Have a painting project you need a quote for? Submit a fast and easy quote request online