Restoring stained window trim is an excellent way to enhance the beauty and longevity of your home’s interior. Whether your trim has faded, scratched, or just needs a refresh, the process doesn’t have to be difficult. In this comprehensive guide, we’ll walk you through the steps of restoring your stained window trim to its original luster, along with helpful tips for achieving a professional finish.
Why Restore Stained Window Trim?
Stained wood trim adds a classic, elegant touch to any room. However, over time, exposure to sunlight, dust, moisture, and everyday wear can cause the stain to lose its rich color or even show signs of damage. Restoring your stained window trim not only improves the overall look of your home but also protects your investment by prolonging the life of the wood.
Materials You’ll Need:
Before diving into the restoration process, gather the following materials:
- Sandpaper (medium and fine grit)
- Tack cloth or lint-free cloth
- Painter’s tape
- Wood filler (if needed)
- Primer (wood bonding primer recommended)
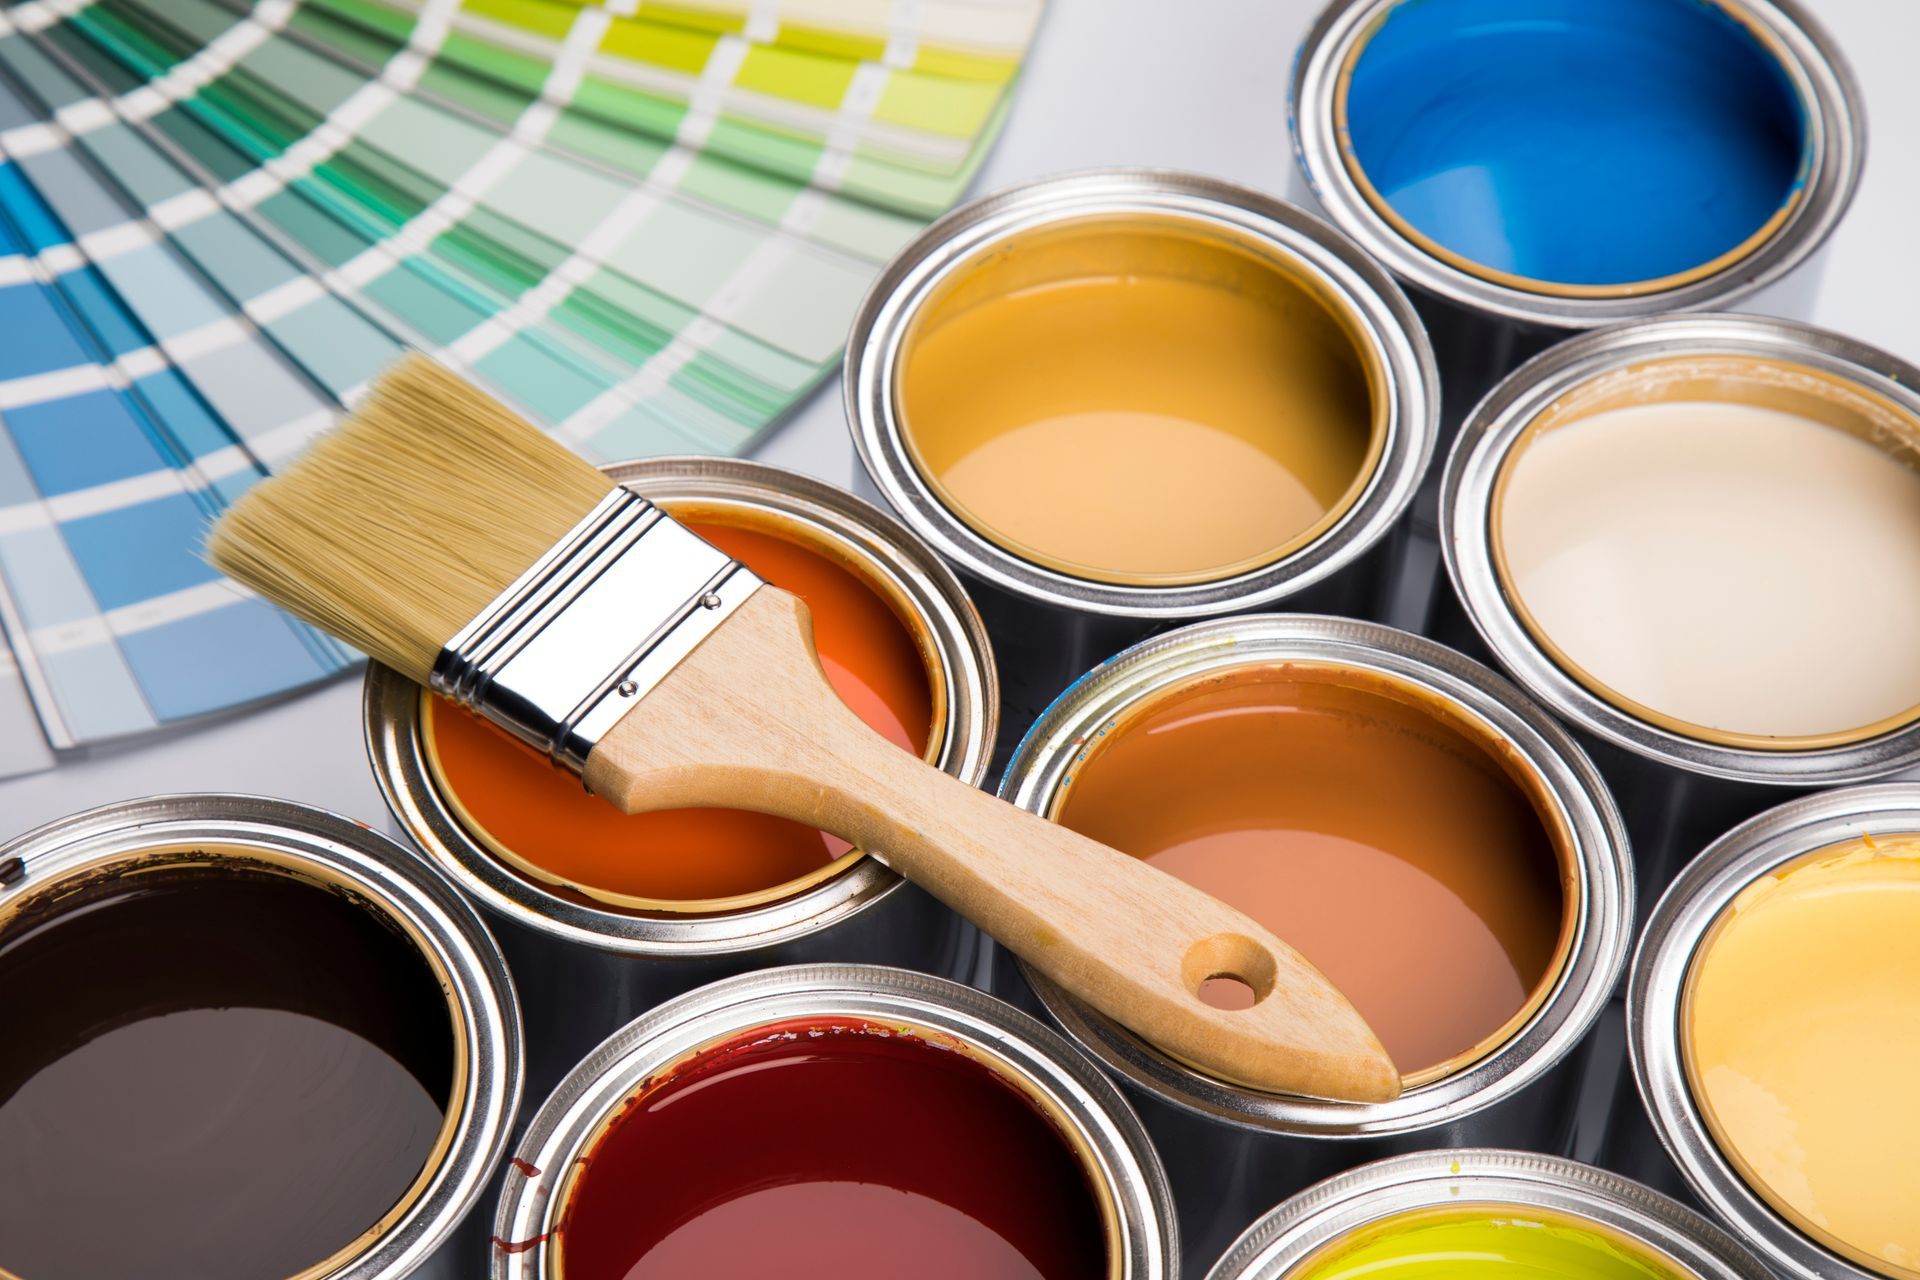
- Stain (matching the original color)
- Polyurethane (for finishing)
- Brushes (foam brushes are ideal for staining)
- Drop cloths to protect your floors and furniture
Step-by-Step Guide to Restoring Stained Window Trim
Step 1: Remove Old Finish (If Necessary)
To begin restoring your stained window trim, start by assessing whether the old stain is still intact. If the trim has flaked or worn away in certain spots, or if you want to completely change the look, you’ll need to remove the old finish.
- Use medium-grit sandpaper to gently sand the trim, removing any old varnish, stain, or damaged wood.
- Be sure to work in the direction of the wood grain to avoid scratches.
- After sanding, wipe the trim with a tack cloth to remove all dust and debris.
Step 2: Repair Any Imperfections
Next, inspect your trim for any dings, dents, or scratches. These imperfections can be fixed using wood filler.
- Apply the wood filler using a putty knife, smoothing it into the damaged areas.
- Allow it to dry according to the manufacturer's instructions, then lightly sand the repaired areas to make them level with the rest of the trim.
- Clean the surface again with a tack cloth to remove any dust.
Step 3: Tape Off Surrounding Areas
Before you begin staining, it's crucial to protect your walls, windows, and floors from any accidental drips.
- Use painter’s tape to mask off any areas surrounding the trim that you want to protect.
- Lay down drop cloths to catch any excess stain or polyurethane that might spill.
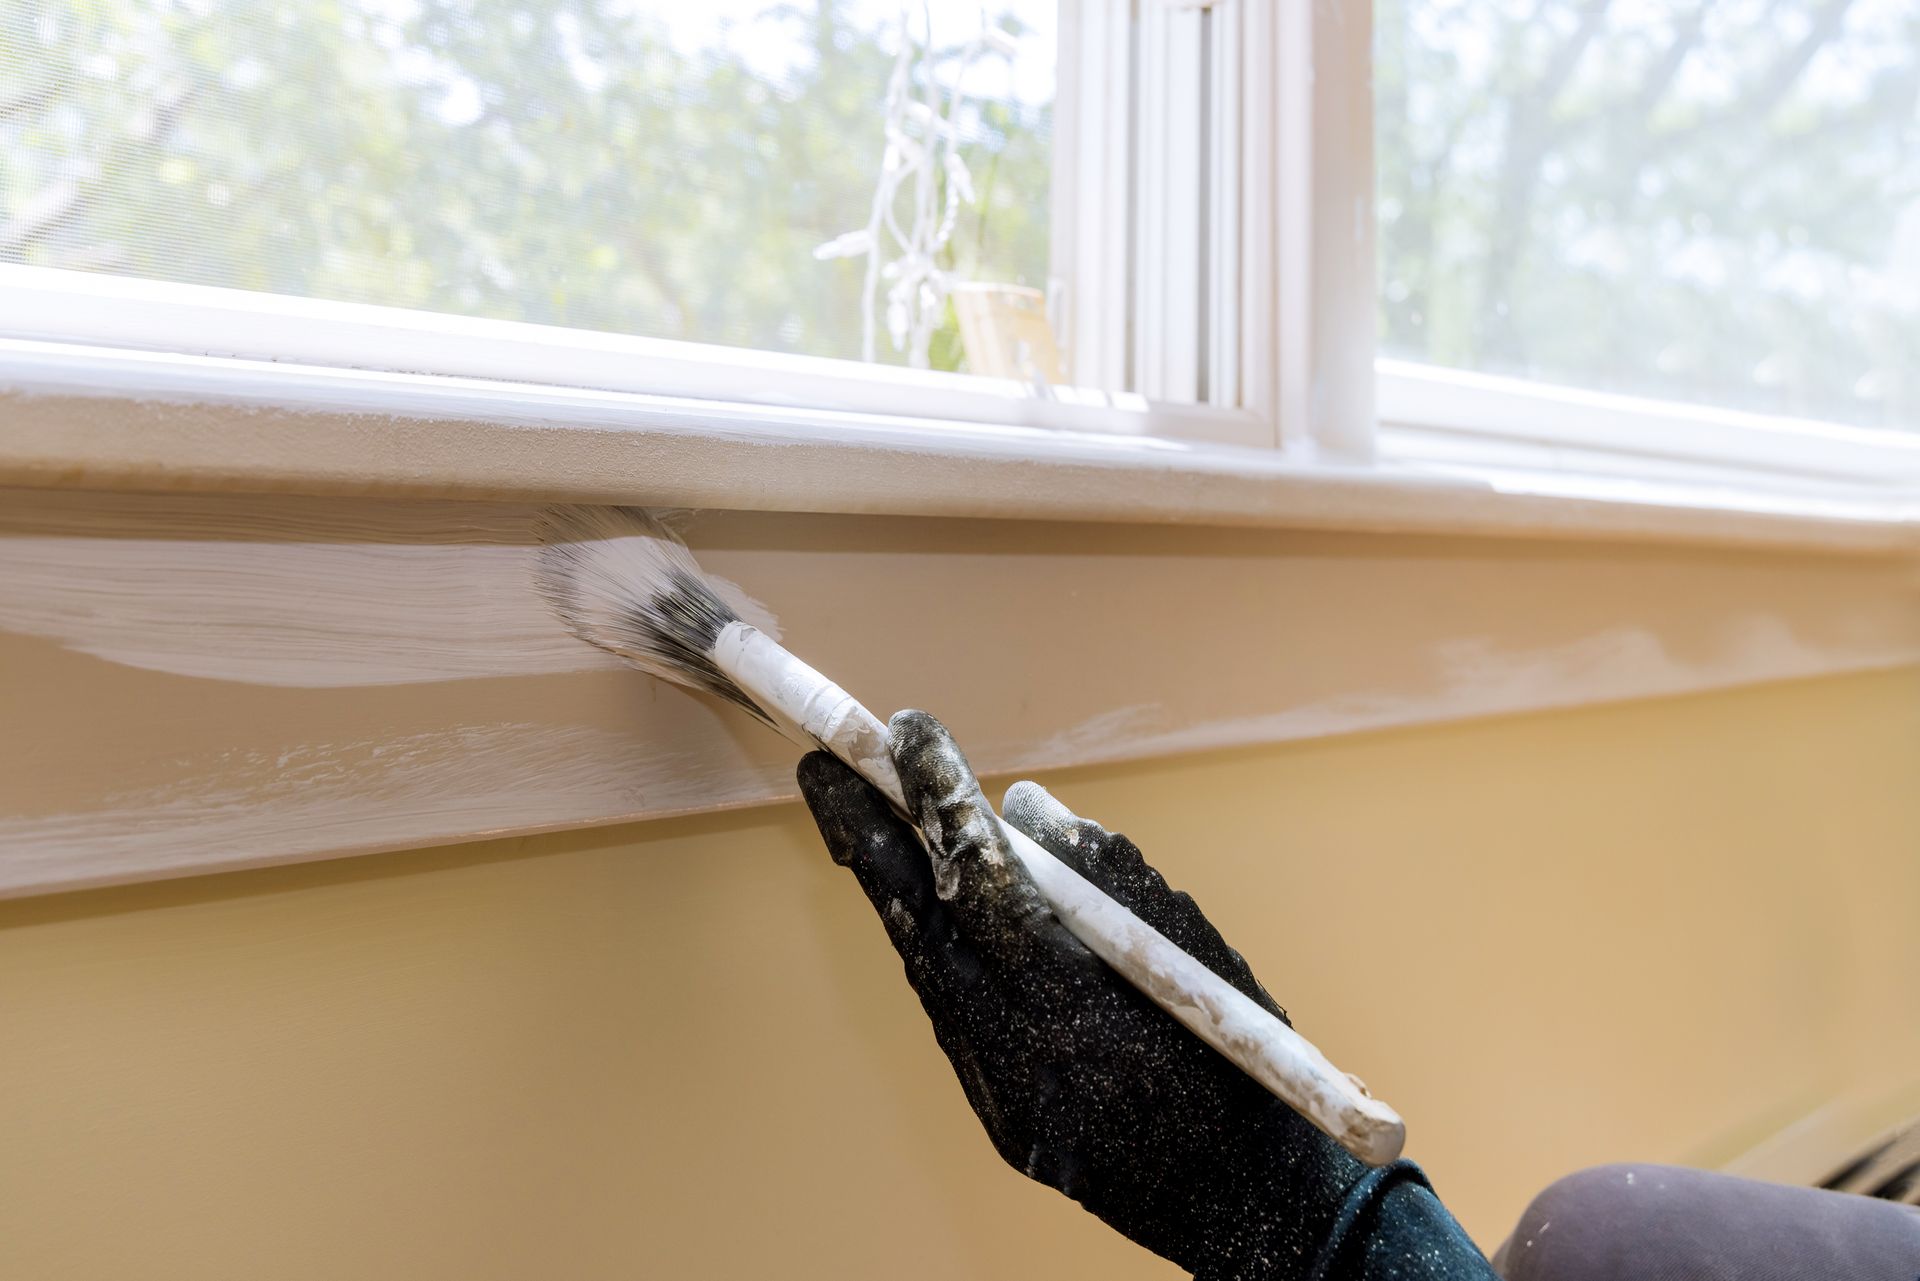
Step 4: Apply Primer
Priming your window trim is an essential step for ensuring that the stain adheres properly and for achieving an even finish.
- Using a clean brush, apply a coat of wood primer to the trim.
- Make sure the primer is evenly distributed, covering all the wood.
- Allow the primer to dry completely before moving to the next step.
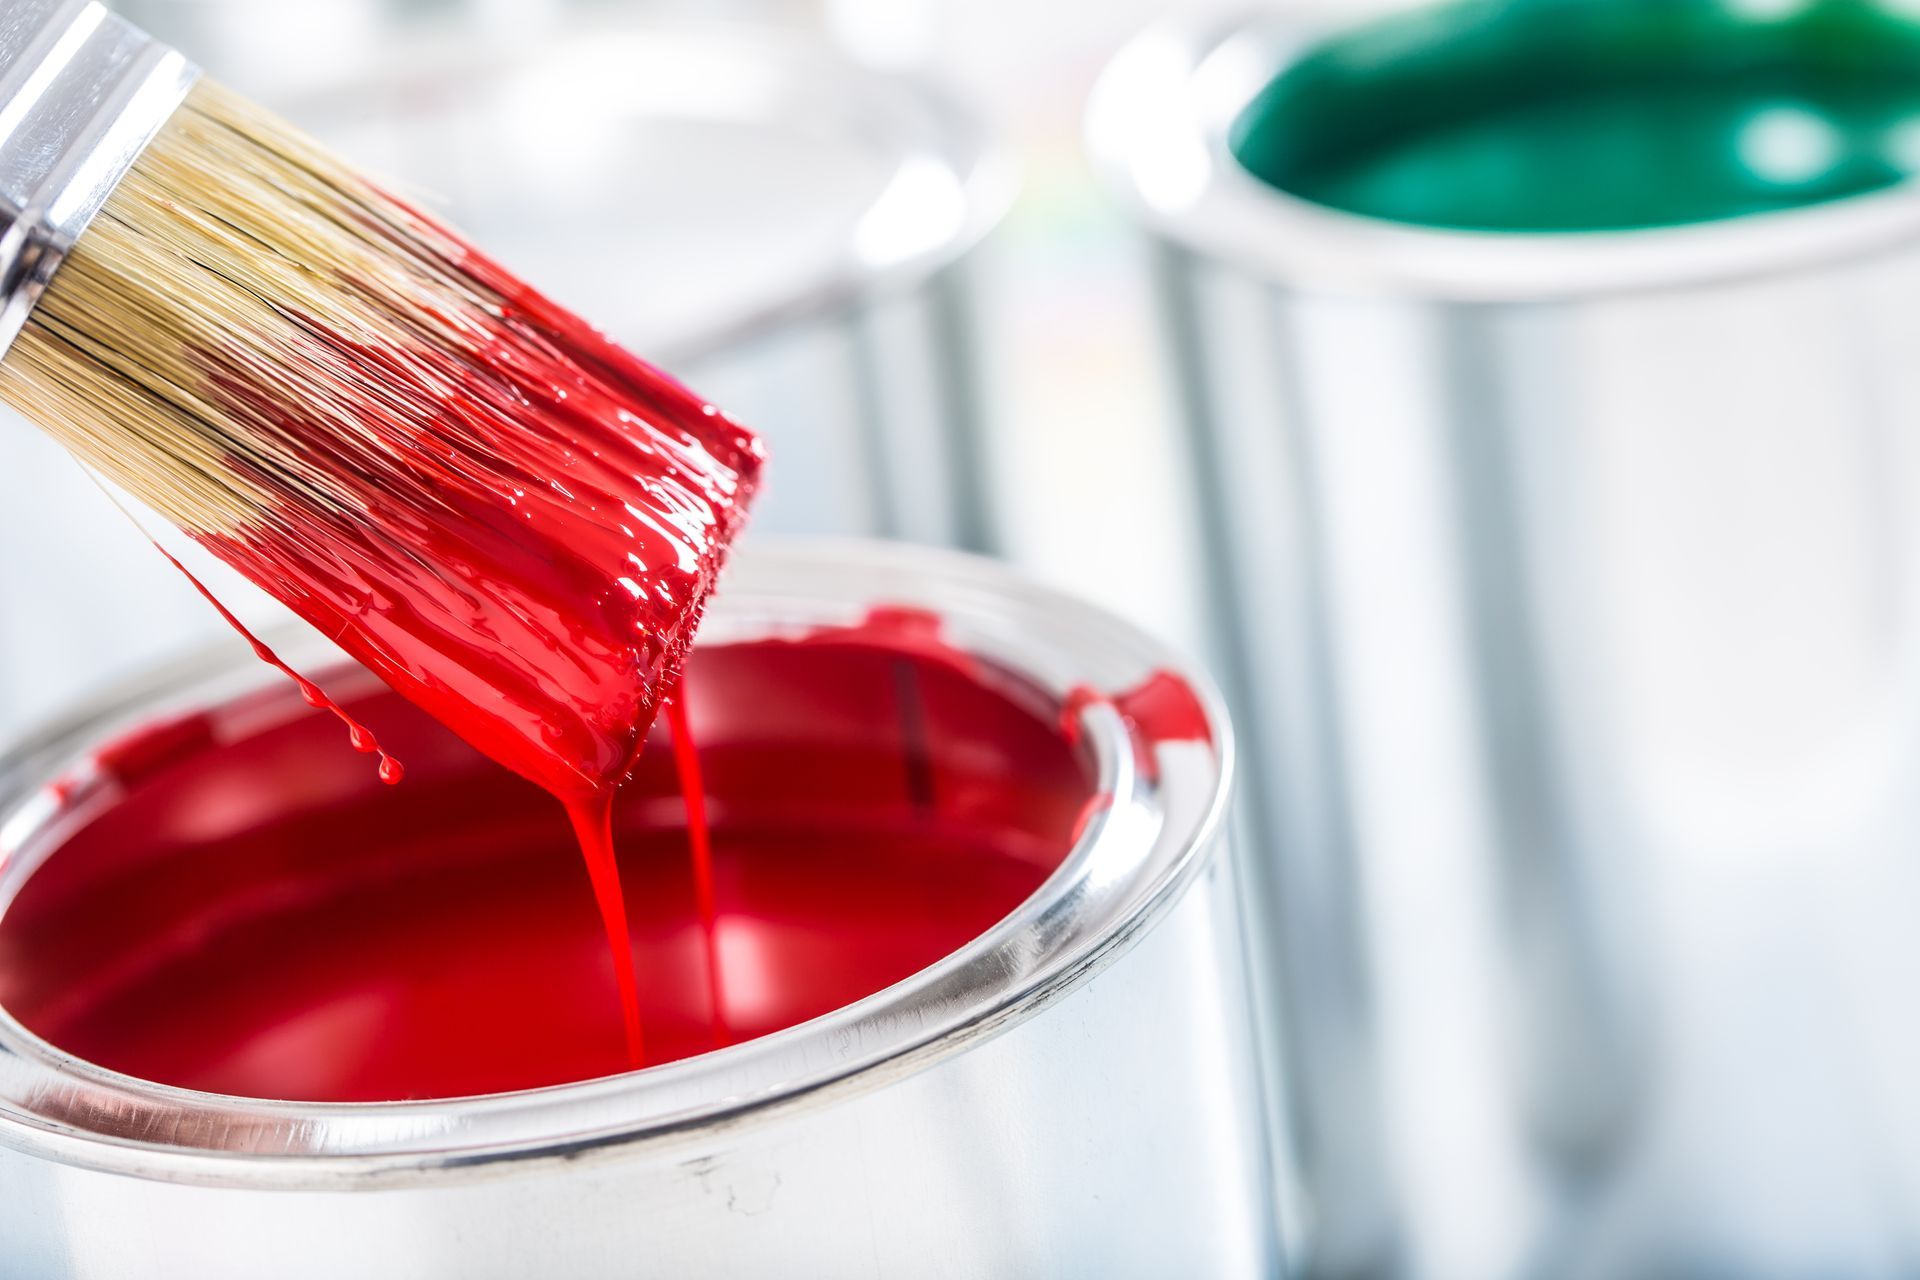
Step 5: Stain the Trim
Once the primer is dry, it’s time to apply the stain. Choose a wood stain that matches your existing trim or a shade you prefer.
- Using a foam brush or lint-free cloth, apply the stain evenly across the trim, working in the direction of the grain.
- Be sure to wipe off any excess stain with a clean cloth to avoid blotchy spots.
- Allow the stain to dry according to the product’s instructions. If necessary, apply a second coat for a deeper color.
Step 6: Finish with Polyurethane
After your stain has dried and you’re satisfied with the color, it’s time to protect your work with a clear finish.
- Apply a thin, even coat of polyurethane using a clean brush.
- Choose a polyurethane finish that offers the level of sheen you desire, from matte to glossy.
- Allow the polyurethane to dry completely, then lightly sand with fine-grit sandpaper to smooth any imperfections.
- Apply a second coat of polyurethane for added protection, and allow it to dry fully.
Additional Tips for a Professional Finish
- Work in a Well-Ventilated Area: Staining and polyurethane can release fumes, so it’s best to work in a well-ventilated room or open window while applying these products.
- Test the Stain First: If you’re unsure about the final look, test the stain on a small, inconspicuous area of the trim to see how it will appear once applied.
- Use the Right Tools: High-quality brushes and foam applicators can make a huge difference in the final result. Invest in good tools to ensure an even, smooth application.
- Patience is Key: While it’s tempting to rush through the process, allowing each coat to dry properly before moving to the next step ensures a flawless finish.
Common Mistakes to Avoid
- Skipping Sanding: Even if your trim looks smooth, sanding helps remove any previous finishes and ensures better adhesion of the new stain.
- Overstaining: Applying too much stain can result in a blotchy, uneven finish. Remember to wipe off excess stain immediately to maintain control over the color.
- Neglecting Drying Time: Each step, especially the polyurethane, needs sufficient drying time to prevent smudging or imperfections.
When to Call the Experts
While DIY restoration can be a rewarding project, there are times when you may want to consult with professionals, especially if you’re dealing with intricate trim, large windows, or if the trim is in poor condition. At Pioneer Painters, we specialize in restoring stained window trim and can provide expert guidance or take on the entire project for you.
Bringing Your Trim Back to Life: The Final Touch for a Fresh, Timeless Look
Restoring stained window trim is a simple way to refresh your home’s interior and elevate the overall look of your space. By following these steps and taking your time, you can achieve a beautiful, long-lasting finish that revitalizes your trim.
If you'd rather leave it to the experts, contact Pioneer Painters today! We’ll make sure your window trim looks as good as new.
Recent Blogs
Get A Fast Quote Online
Have a painting project you need a quote for? Submit a fast and easy quote request online