Let’s be honest—nothing says “stuck in the 70s” like that bold, floral wallpaper taking over your living room. Sure, it had its moment, but now it’s time to move on. Ready to trade in that retro vibe for something more modern? We hear you. But before you jump into painting your walls a fresh new color, there’s a bit of prep work involved. Removing wallpaper isn’t just about peeling off the past; it’s about making sure your walls are in top shape for that sleek, smooth paint finish. So, grab your steamer (and maybe a little patience) because prepping your walls is the key to ensuring that paint job lasts for years to come.
Removing Your Groovy Wallpaper
Congrats again on leaving the days of leg laps and shag carpets! Now comes the fun (or not so fun part) - how to remove that dated wallpaper. It’s not exactly a one-and-done deal, but with the right approach, you can peel back the years without too much of a struggle.
Here’s the game plan:
- Score the Wallpaper: The first step is to break through that tough wallpaper surface. Grab a wallpaper scoring tool (yes, it’s a real thing!) and gently roll it across your walls. The tool creates tiny perforations, which helps the water or steam get through to the adhesive. Don’t press too hard—you’re just trying to break the surface, not puncture the wall underneath. Think of it as giving your wallpaper a few parting words before you send it packing.
- Soften the Glue: Now comes the fun part: using either a homemade solution of warm water and vinegar or going high-tech with a wallpaper steamer. Spray or steam the walls generously, making sure to saturate the paper so the adhesive loosens up. Be patient here—let the solution soak for a few minutes before you start peeling. If you rush it, the wallpaper will resist, and you might end up spending more time picking at tiny bits than you’d like. This is the wallpaper’s final stand, but don’t worry—you’ve got the upper hand.
- Peel It Off: Time to get down to business. Starting at a corner or seam, gently pull the wallpaper away from the wall. If everything goes well, you might just get that oh-so-satisfying long strip that comes off in one smooth motion. But if the paper tears or comes off in chunks, don’t panic—it’s normal! Just keep working on those smaller sections. Use a putty knife to help lift stubborn spots, but be careful not to gouge the wall beneath. Take your time—this isn’t a race, it’s a goodbye party for the wallpaper.
- Clean Up the Leftovers: Once the wallpaper is off, don’t think you’re done just yet. Chances are, there will be some glue residue left on the walls, and you definitely don’t want to paint over that mess. Grab a sponge or cloth and wash the walls down with warm water and a mild detergent to remove the gunk. Make sure the surface is smooth and clean because any leftover adhesive could ruin that sleek paint finish you’re dreaming of.
Still Struggling? Here Are Some Tips for Hard-to-Remove Wallpaper
Sometimes wallpaper can be as stubborn as a 70s disco hit stuck in your head. If you’re facing some tough areas, try these tricks:
- Hotter water: Try increasing the temperature of your water/vinegar mix—it’ll help soften the glue more effectively.
- More soak time: Give those problem spots an extra few minutes to really absorb the moisture. The glue might just need a bit more time to surrender.
- Score deeper: If nothing’s budging, you might need to go back and score a little more aggressively—but remember, don’t damage the wall!
Avoiding & Addressing Damage to Drywall
Removing wallpaper can sometimes leave behind more than just a bare wall. If your drywall is looking worse for wear with a few dings, tears, or small holes, don’t worry—it happens to the best of us. The key to a flawless paint job is ensuring the wall underneath is as smooth as possible. Here’s how to get those walls back in shape, even if they took a little beating during the wallpaper removal process.
Tips for Avoiding Drywall Damage During Wallpaper Removal:
- Tip 1 - Go Easy with the Scoring Tool. When scoring the wallpaper, make sure you’re not pressing too hard. You want to cut through the wallpaper, not carve into your drywall. Light pressure is all it takes to create the perforations needed to loosen the glue.
- Tip 2 - Use a Putty Knife Carefully. When scraping off wallpaper that doesn’t peel off easily, use a plastic putty knife instead of a metal one. The plastic is gentler on the wall surface and less likely to gouge or scratch the drywall. Also, keep the blade flat and don’t dig into the wall—you're guiding the paper off, not chiseling it away.
- Tip 3 - Don’t Soak the Wall. Yes, you need to get the wallpaper wet to remove it, but soaking your drywall for too long can cause water damage. Saturate the paper enough to loosen the adhesive, but avoid drenching the wall. Too much moisture can soften the drywall itself, making it easier to dent or damage.
- Tip 4 - Peel Slowly. Resist the temptation to yank the wallpaper off in one go. Pulling too fast can rip the drywall paper layer, leaving you with torn and uneven patches that will need extra repair. Slow and steady wins this race!
Repairing Any Damage:
If you do end up with a few nicks or tears (because, let’s be honest, it happens), here’s how to fix it:
Small Holes & Dents
For minor dings or nail holes, apply a small amount of spackle with a putty knife, smoothing it over the hole until it’s flush with the wall. Let it dry, then sand it lightly with fine-grit sandpaper until smooth.
Torn Drywall Paper
Sometimes removing wallpaper can tear the top layer of drywall paper. To fix this, apply a thin layer of joint compound over the tear, making sure to feather the edges. Let it dry, sand it smooth, and then prime the area before painting.
Deep Gouges or Larger Holes
If there are bigger areas of damage, use joint compound to fill them. Apply in thin layers, allowing each to dry before adding another. Once it’s built up to the level of the wall, sand it smooth. For really large holes, you might need a drywall patch—don’t worry, it’s an easy fix that any local painting contractor (like Pioneer Painters!) can handle.
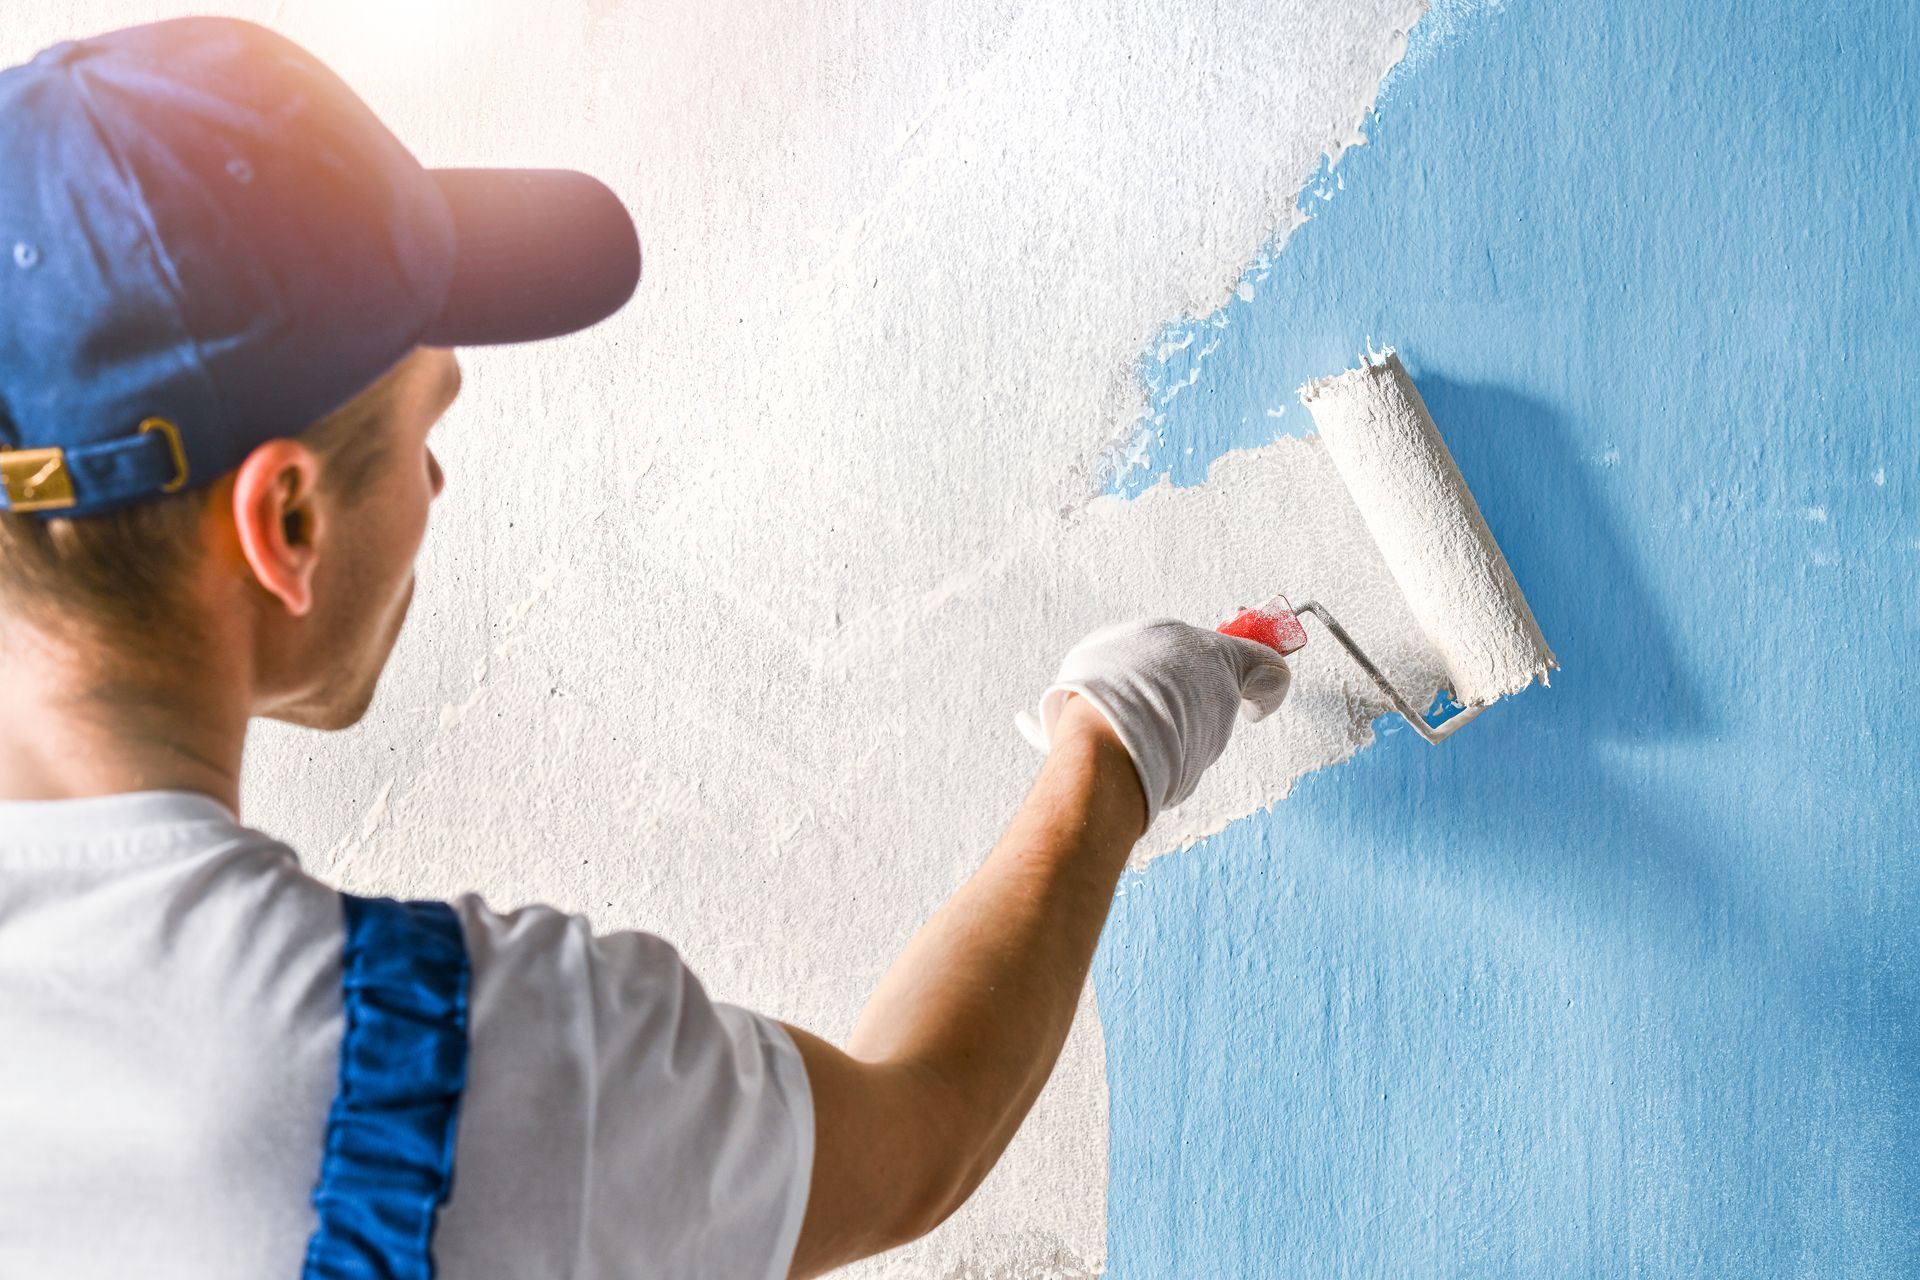
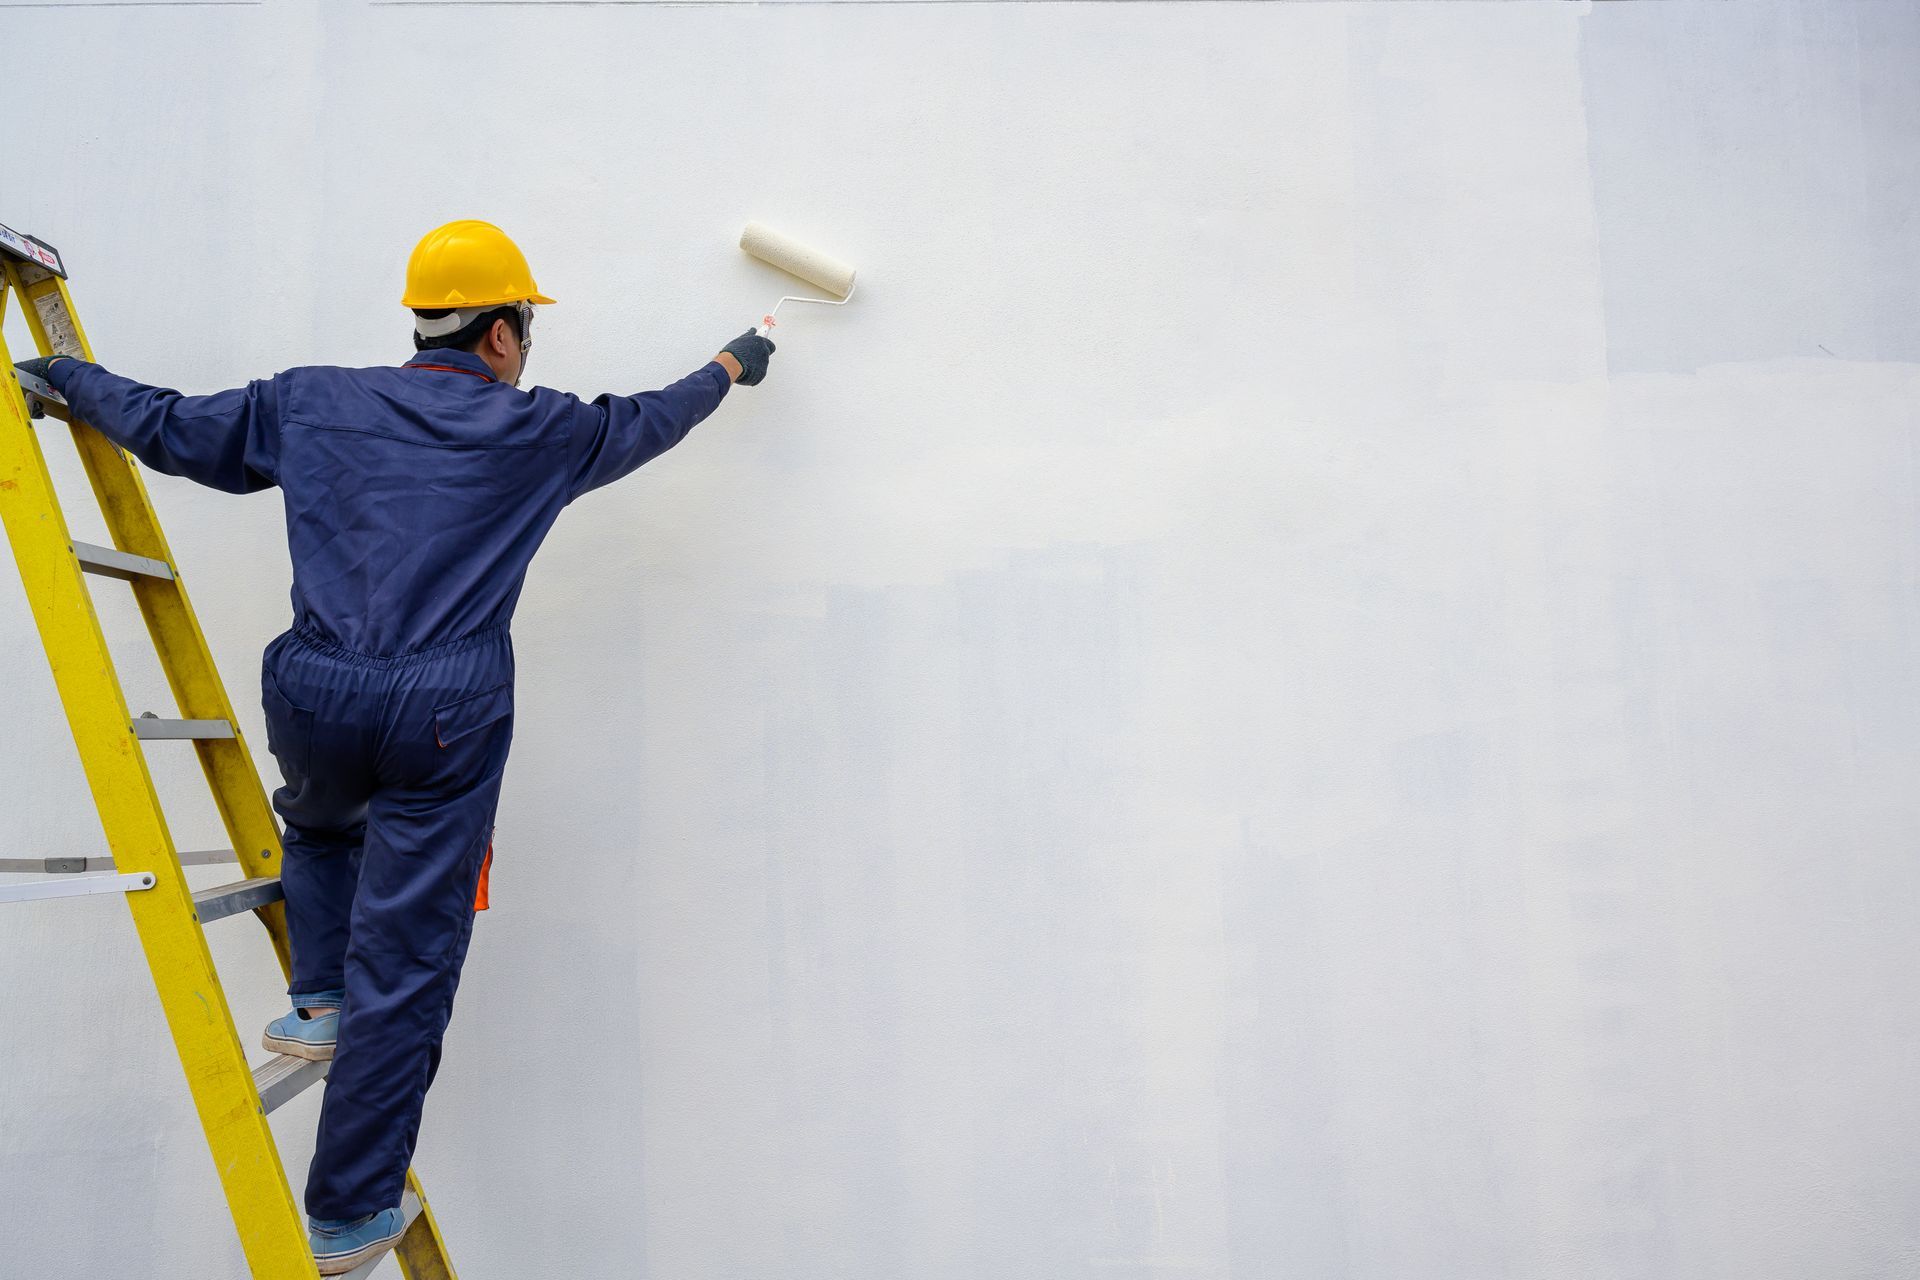
Prepping Your Walls for Painting
Once your walls are clear of wallpaper and any necessary repairs have been made, it's time to get them ready for painting. Proper preparation is crucial to achieving a professional-looking paint job. Here's a quick process to help you in your prepping process:
- Sanding the Walls: Lightly sand the walls to smooth out imperfections and create a slightly rough texture. This "tooth" will help the paint adhere better. Use fine-grit sandpaper and go over any filled areas or spots with joint compound.
- Clean the Surface: Ensure the walls are free from dust, dirt, and any remaining residue. Use a damp cloth or sponge with a mild detergent to wipe down the entire surface. Rinse with clean water afterward to remove any soap.
- Priming: Applying a coat of primer, especially on repaired or patched areas, is essential. Primer not only seals the surface but also provides a uniform base that will enhance the paint's color and finish. Choose a primer based on your paint type—oil-based primers work well under both oil and latex paints.
- Masking and Protecting: Use painter's tape to mask off areas you don’t want painted, such as trim, baseboards, and windows. Lay down drop cloths to protect your floors and any furniture that can't be moved out of the room.
Ready for Paint!
After completing the essential steps of wallpaper removal, drywall repair, and wall preparation, all that's left is to transform your space with a fresh coat of paint. Brighten up your space with a soft yellow color to replace that reddish flower print or go a moody green to step into a sleek modern look, leaving behind the evergreen forest wallpaper the previous owners loved! Whatever your vision may be, with a little patience and effort, you can achieve the perfect backdrop for your style.
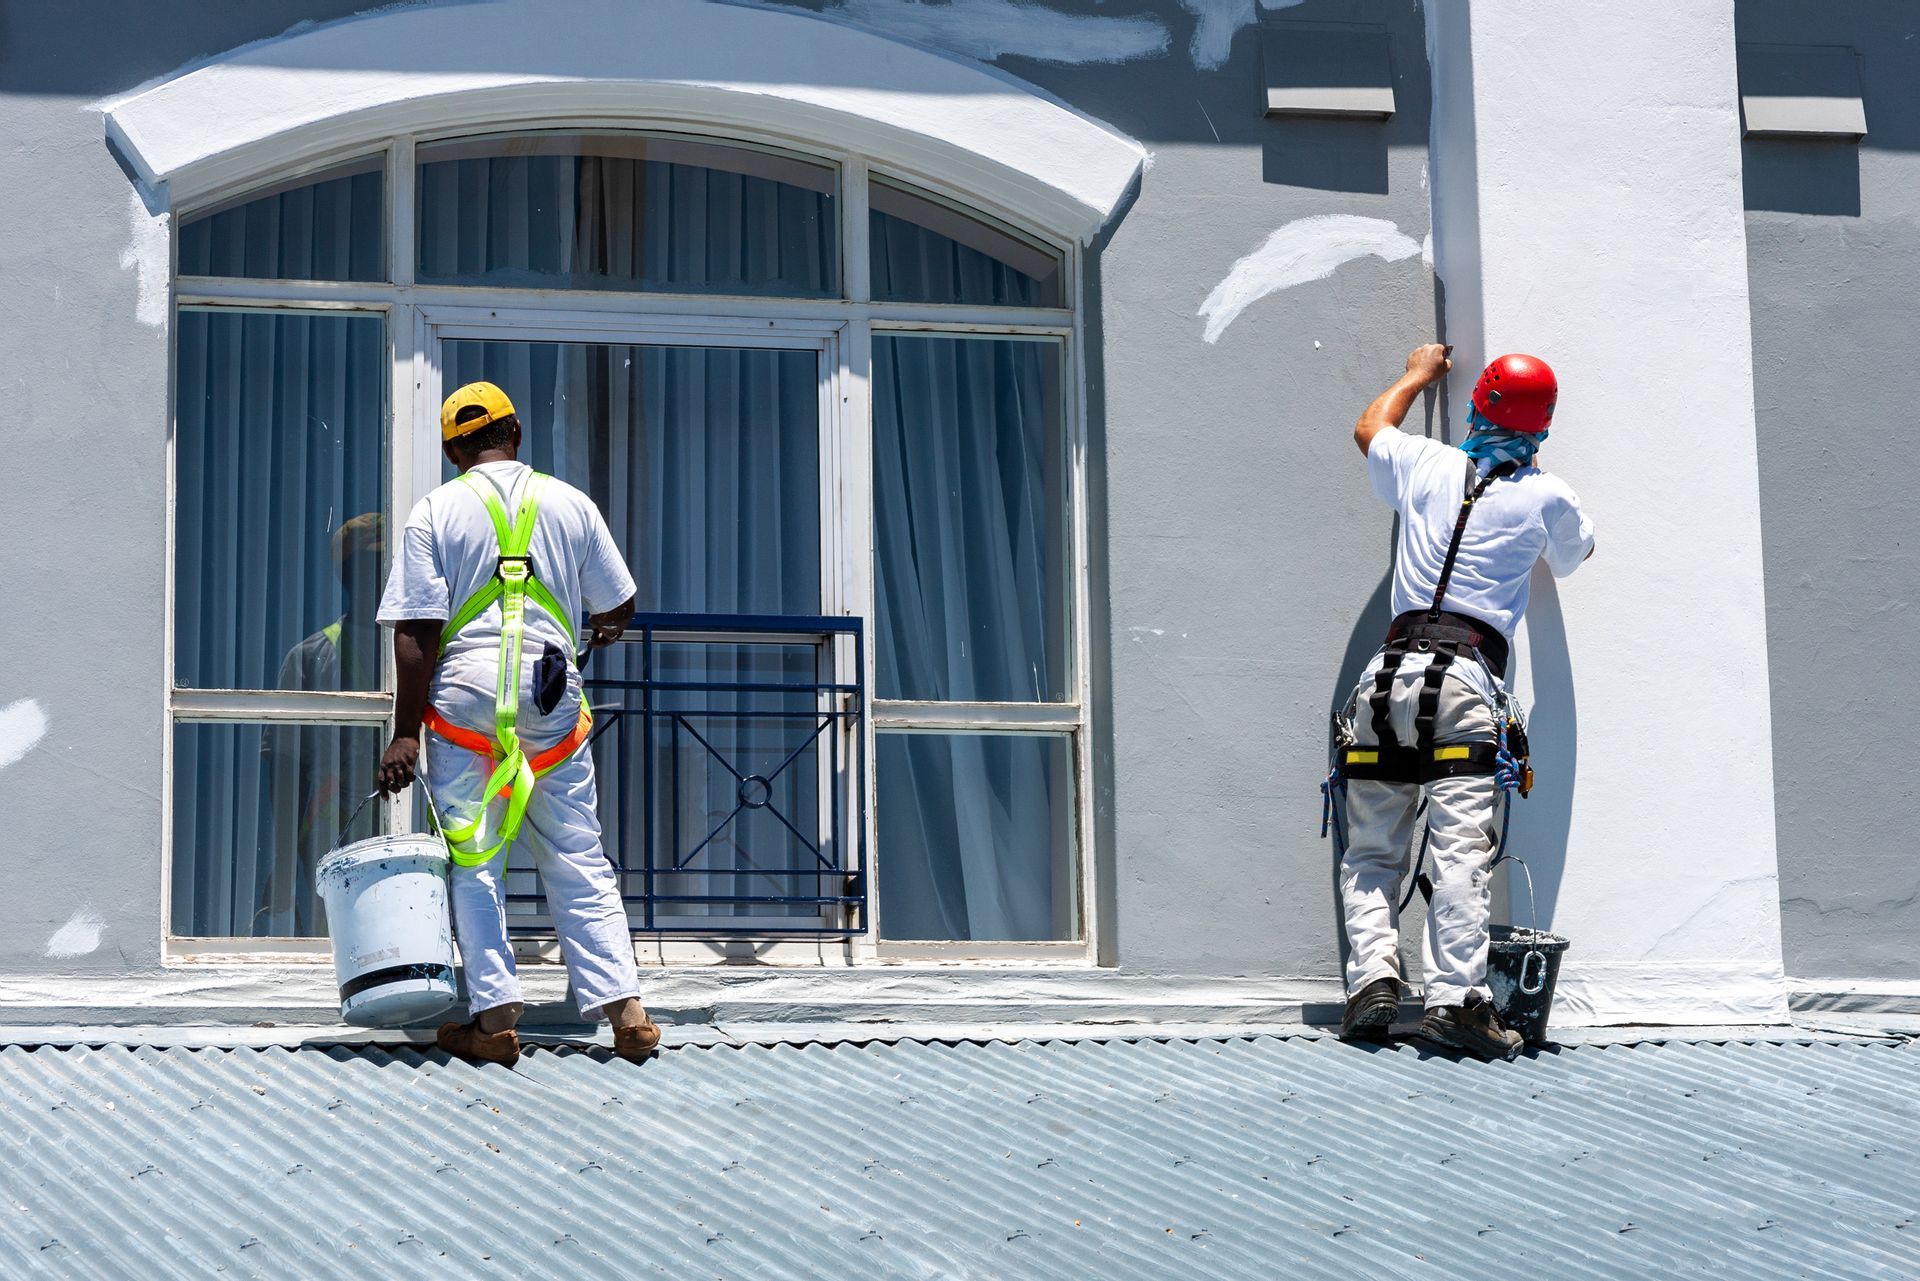
Let Pioneer Painters Handle the Hard Work!
Feeling overwhelmed with the wallpaper removal or repair process? Let Pioneer Painters take care of it for you. We’re your go-to local painting contractors in the Western MA/ Northern CT area, offering professional wallpaper removal, wall repairs, and expert home painting services. Contact us today to schedule a painting consultation and get one step closer to the fresh, modern look your home deserves!
Recent Blogs